New video up on my YouTube channel. Check it out and remember to subscribe
New video up on my YouTube channel. Check it out and remember to subscribe.
High Sierra Flight Instruction / Backcountry Flight Training LLC.
This is your home for Tail Wheel training, Backcountry and Mountain Flying Instruction! Based here in Truckee California, density altitude, the mountain environment and our close proximity to the endless regions in Nevada offer pilots opportunities that are second to none. Come pay us a visit and take your flying to the next level while learning to do it safely.

New video up on my YouTube channel. Check it out and remember to subscribe.
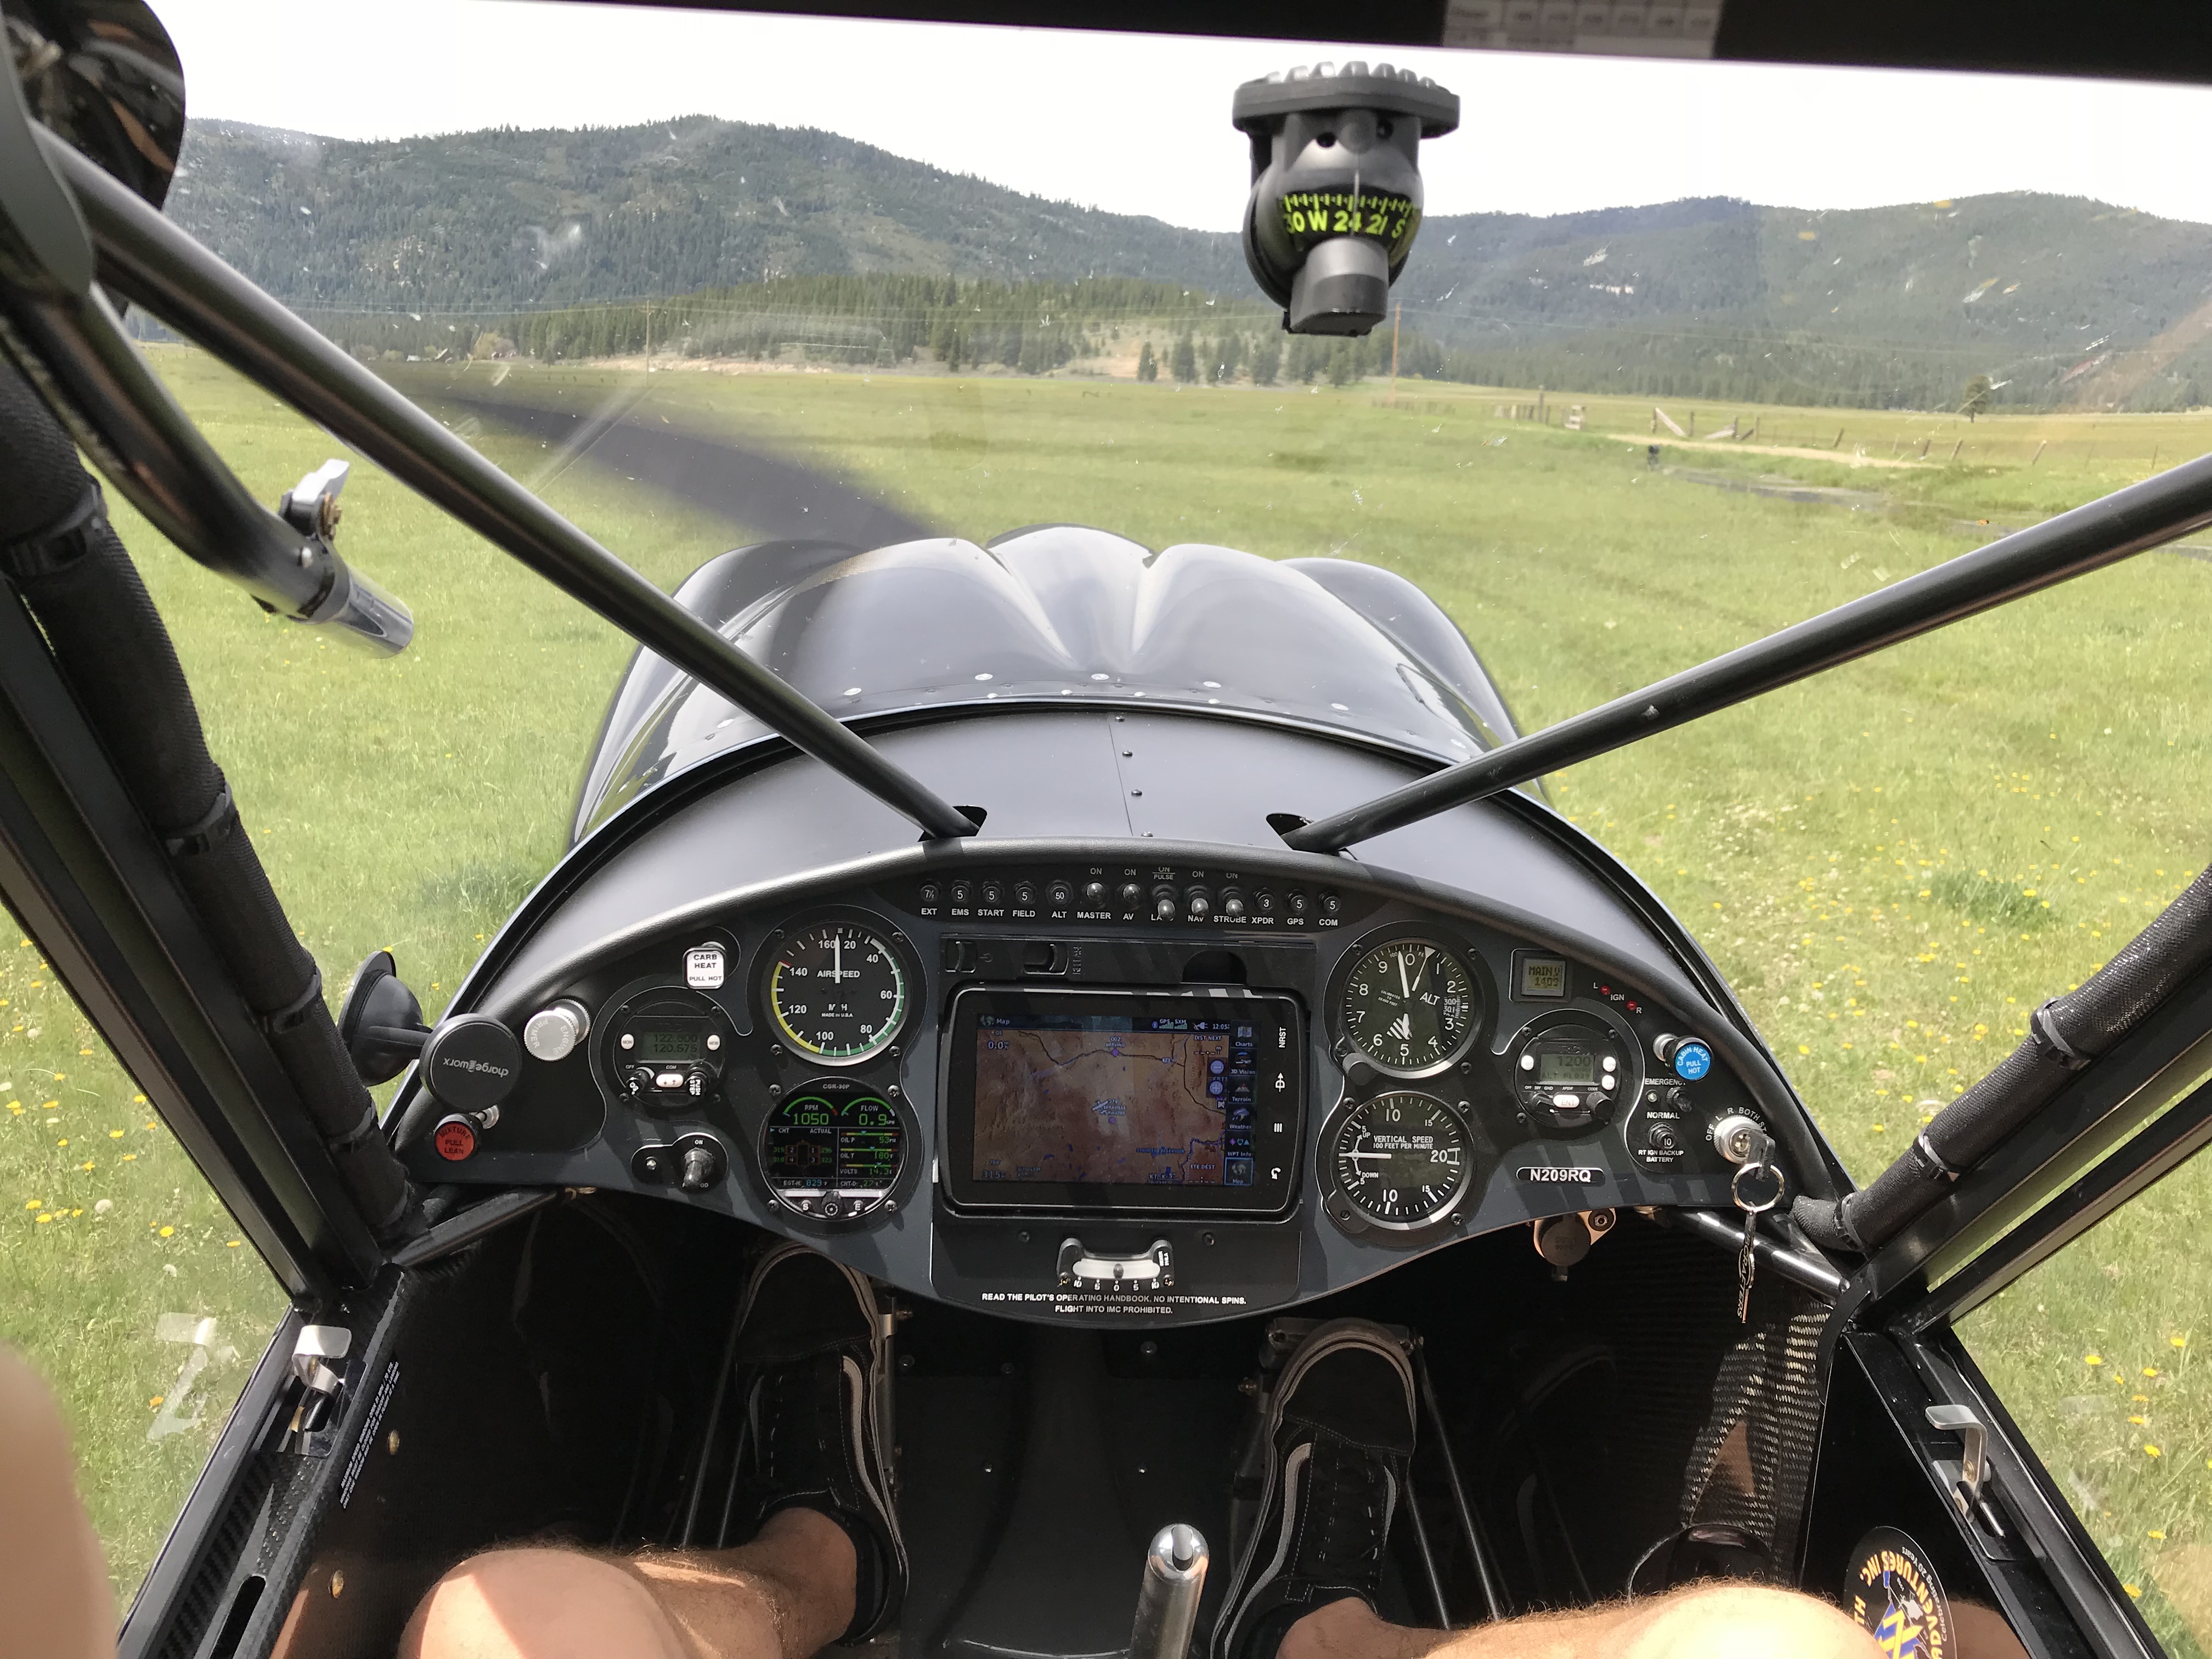
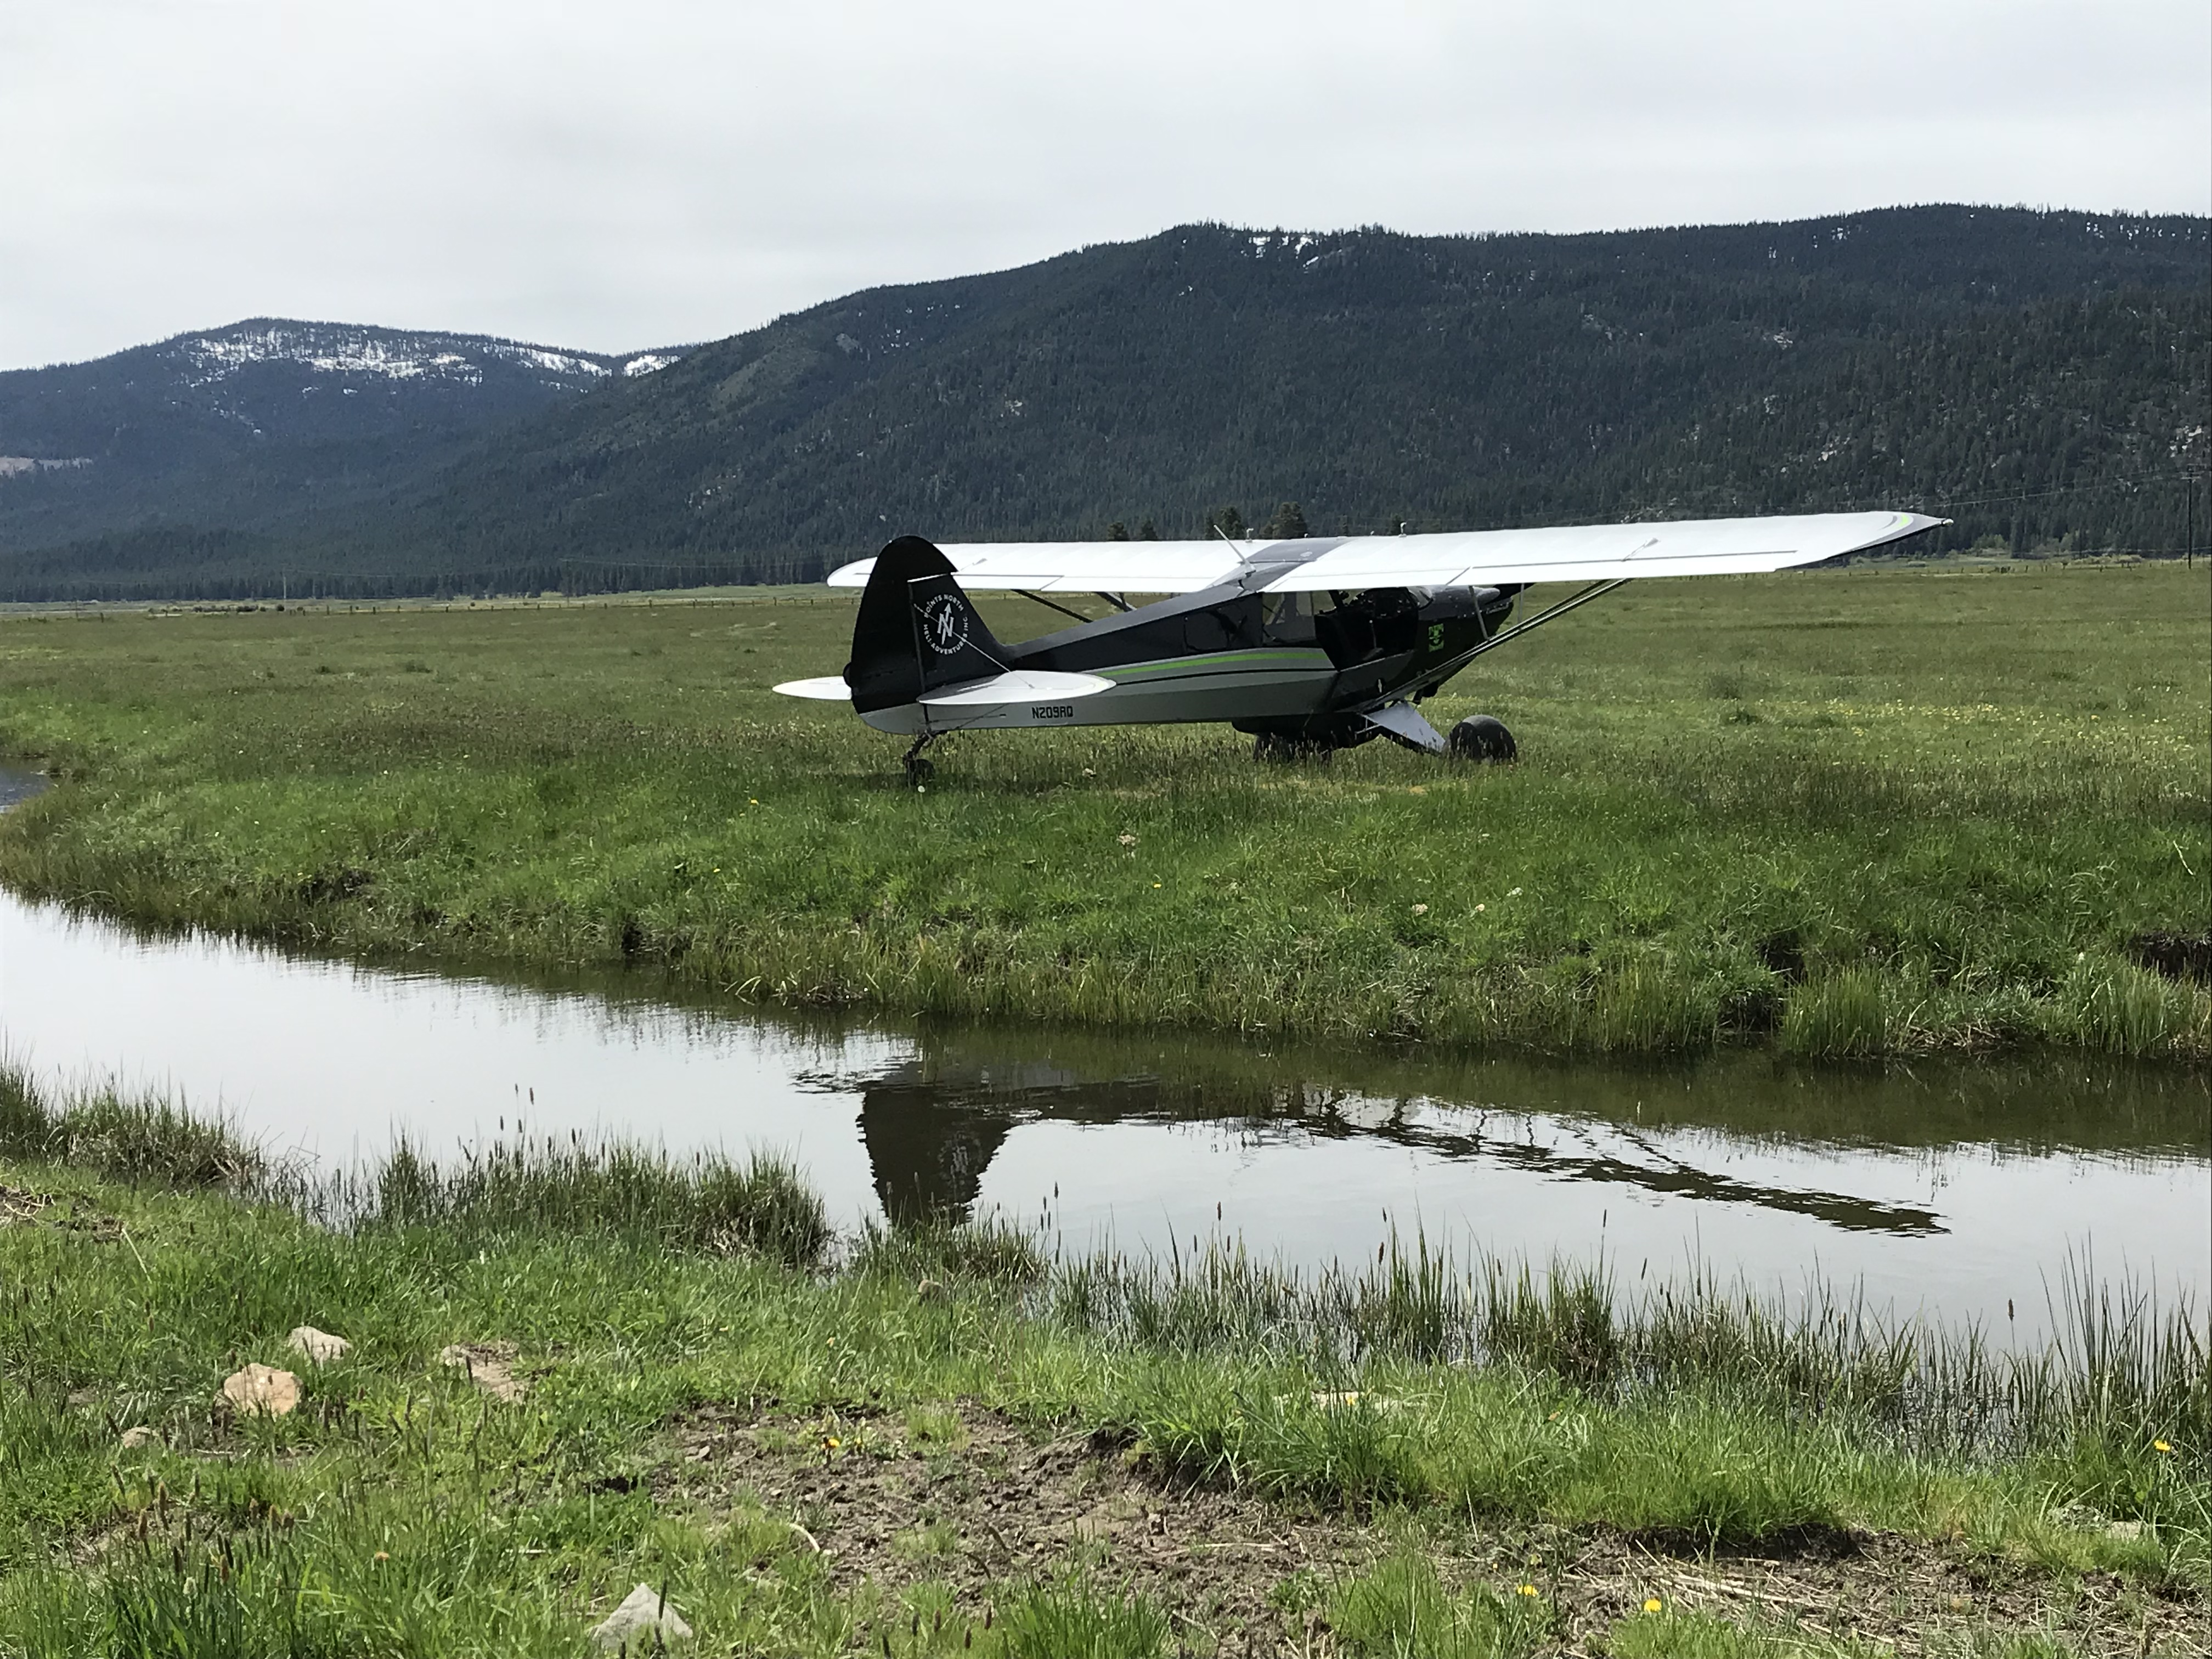
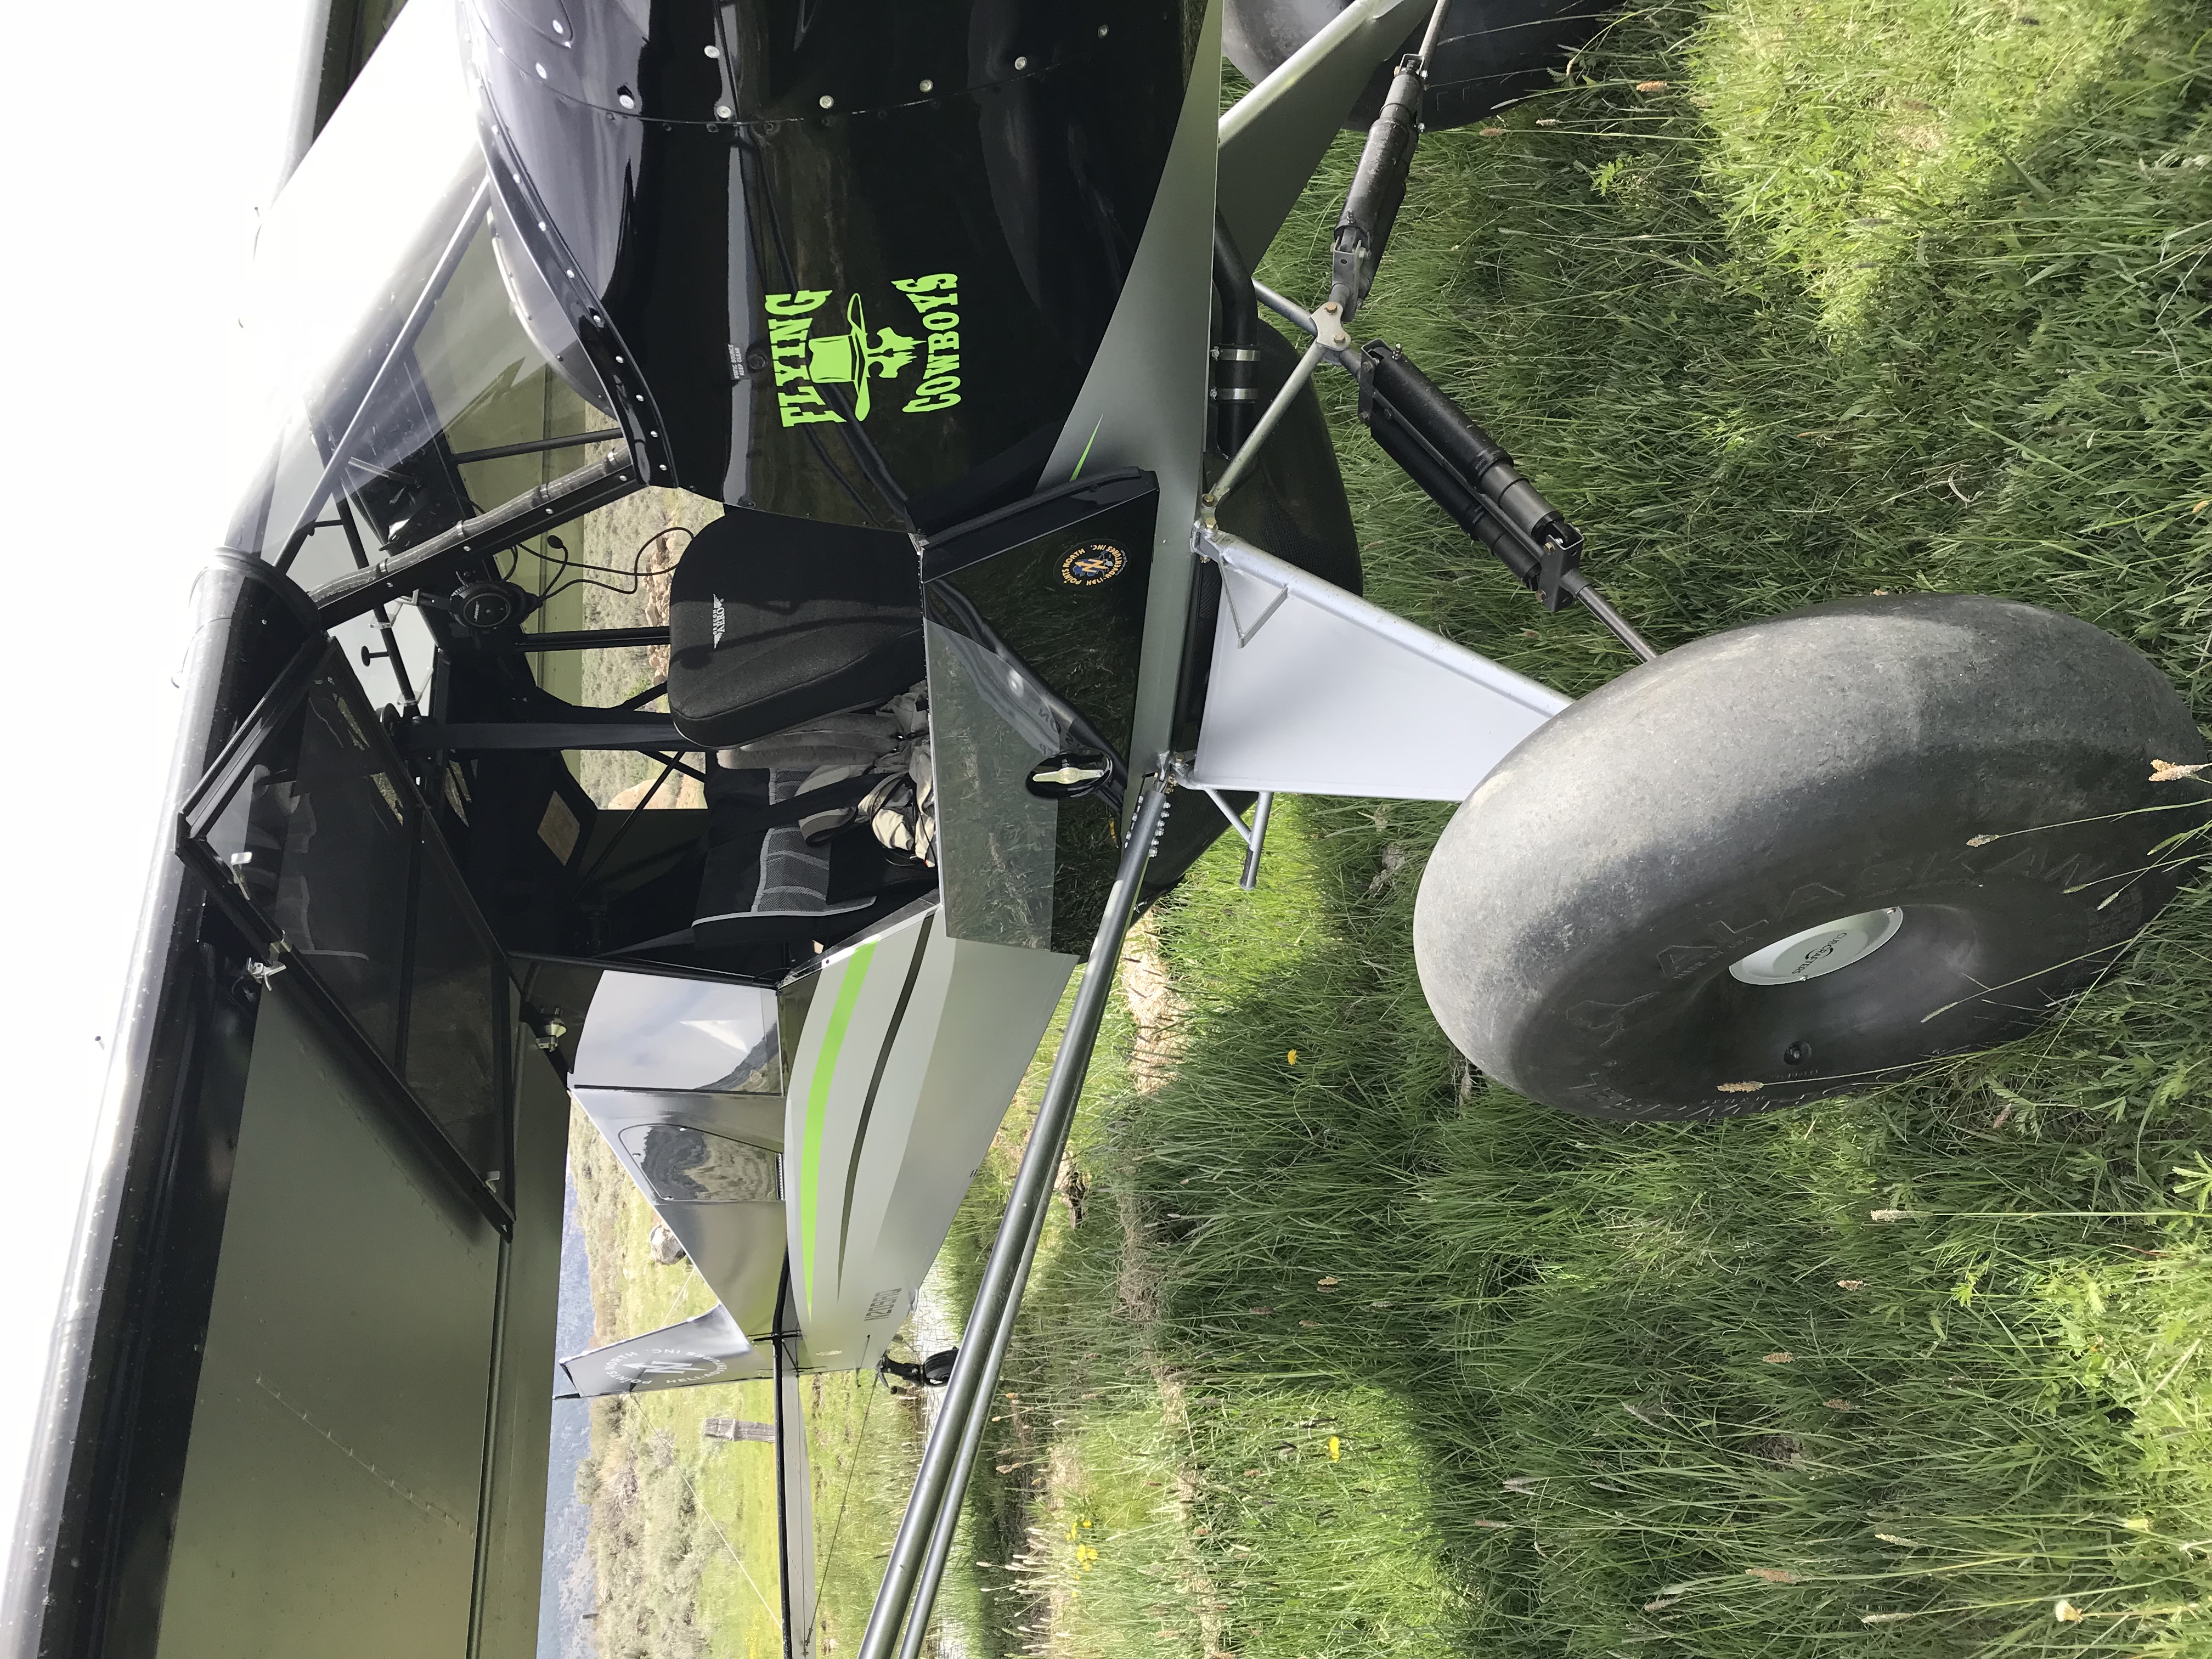
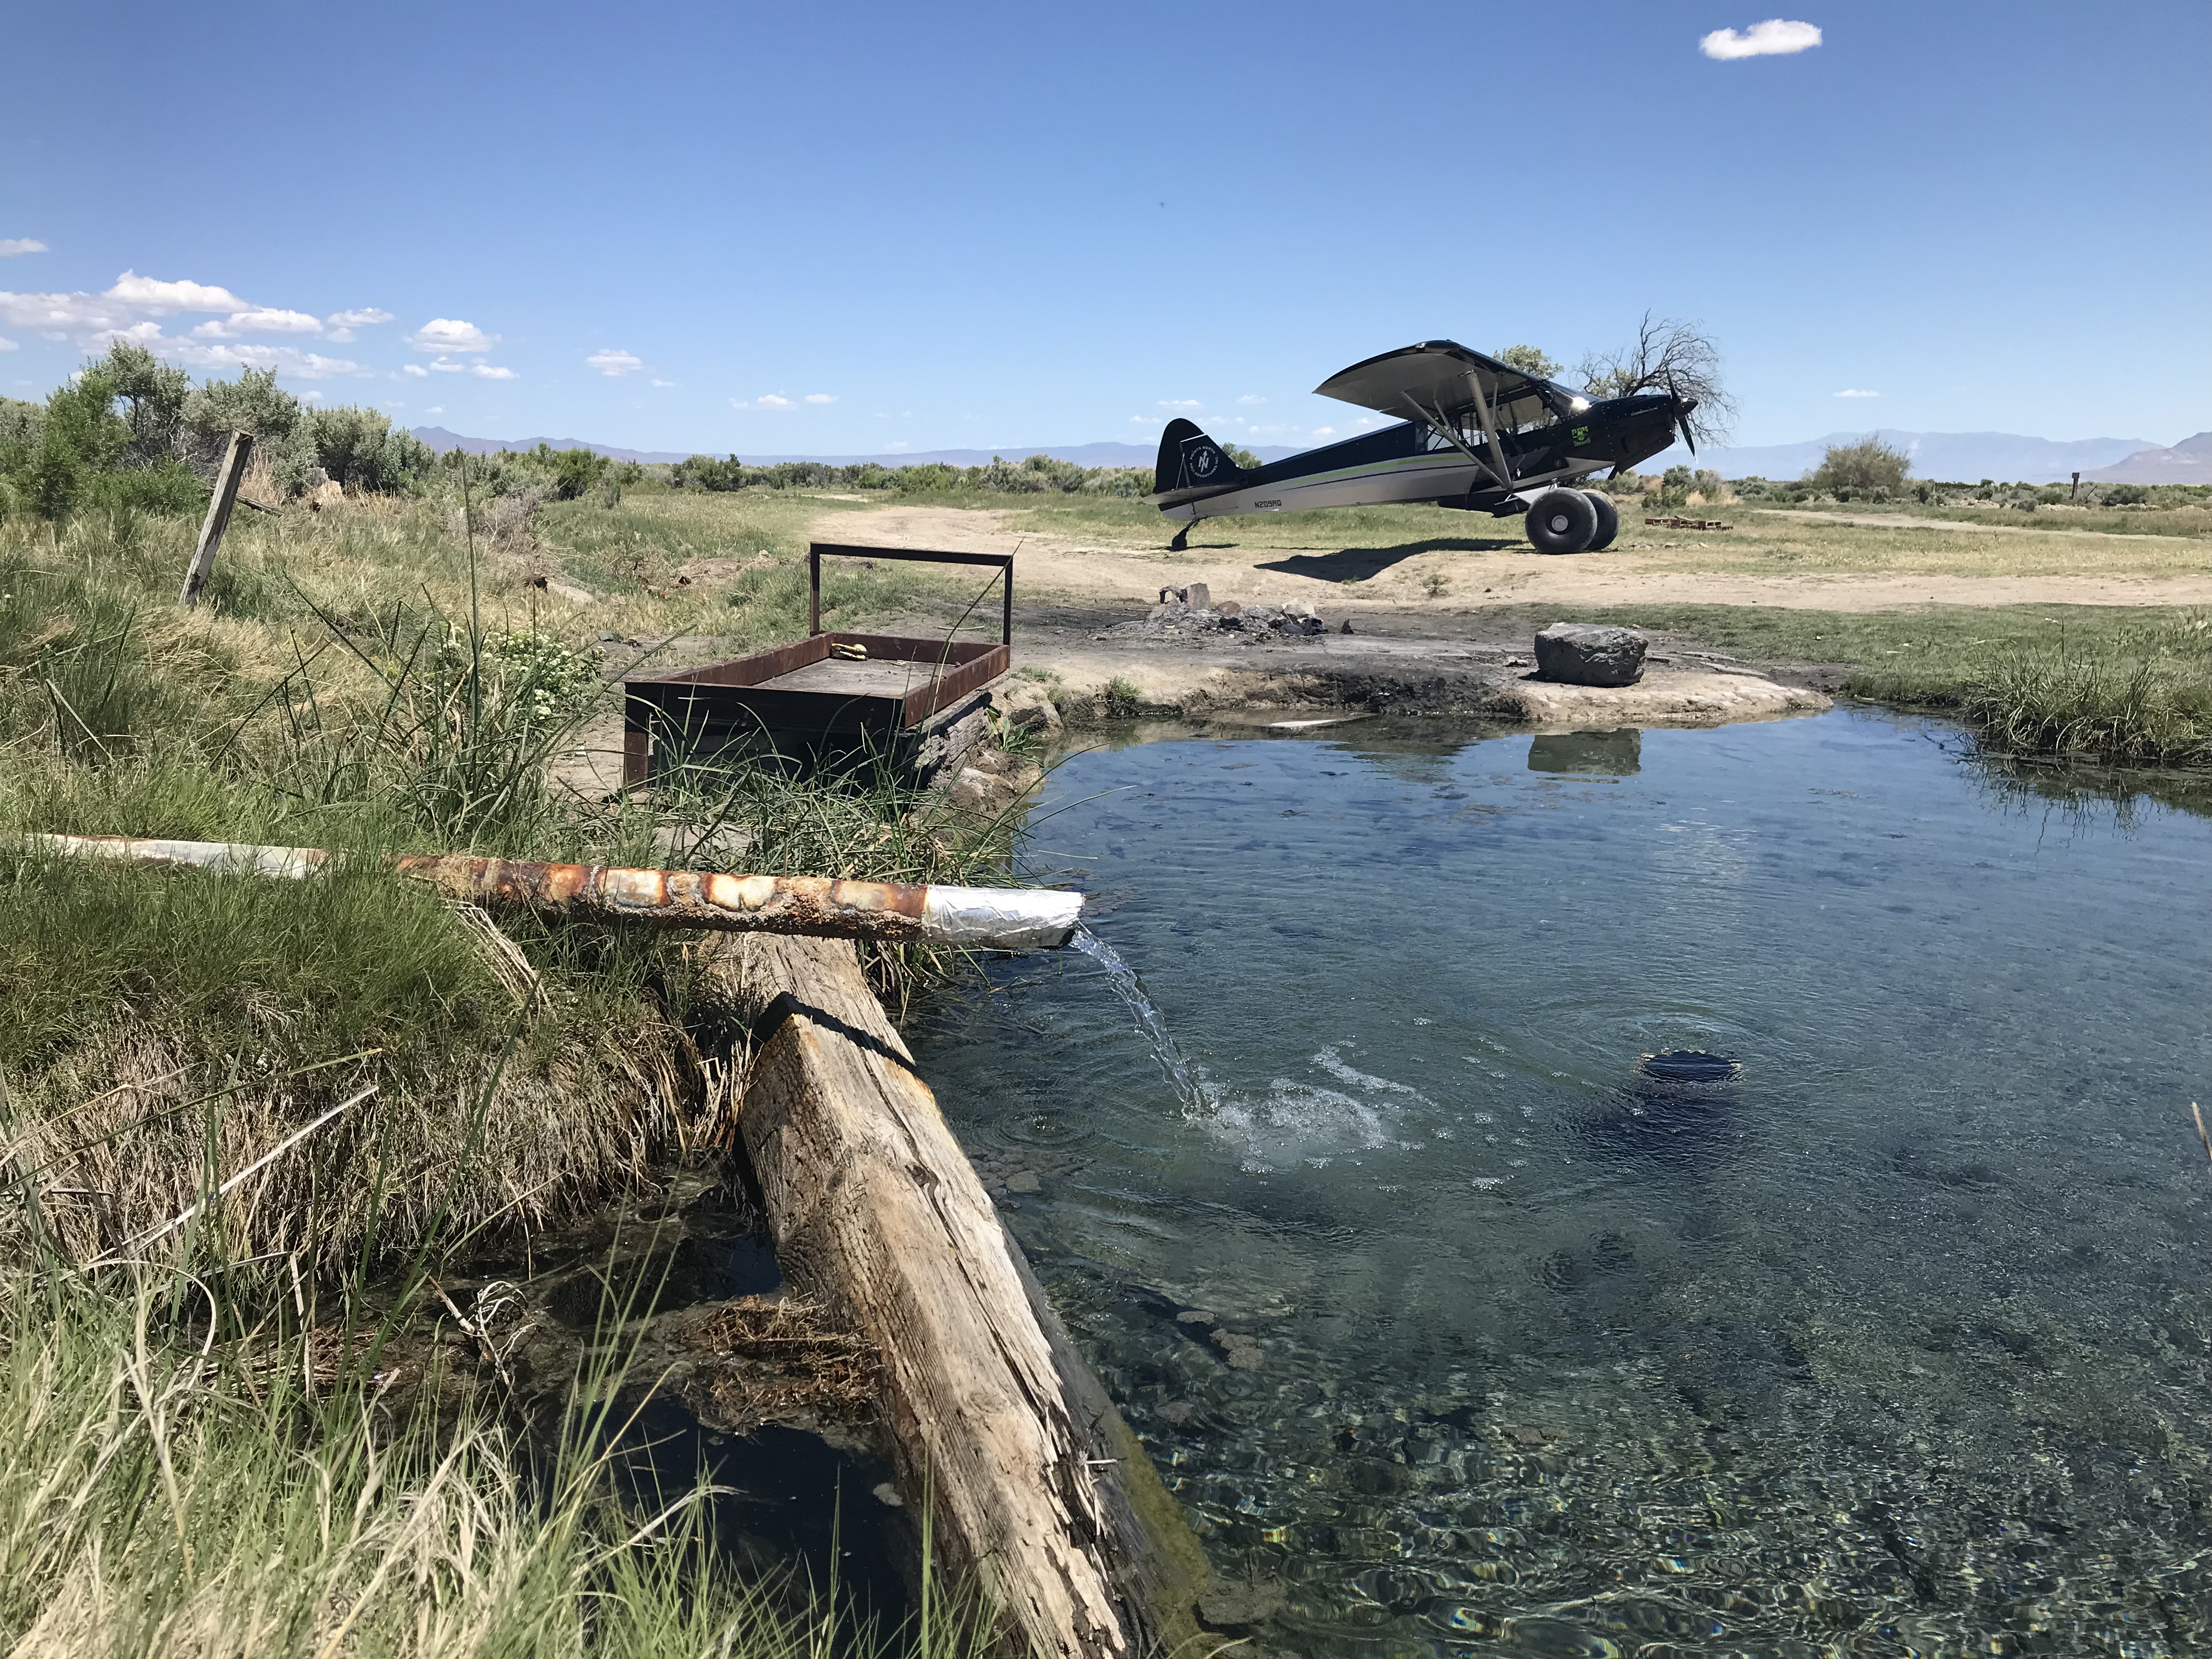
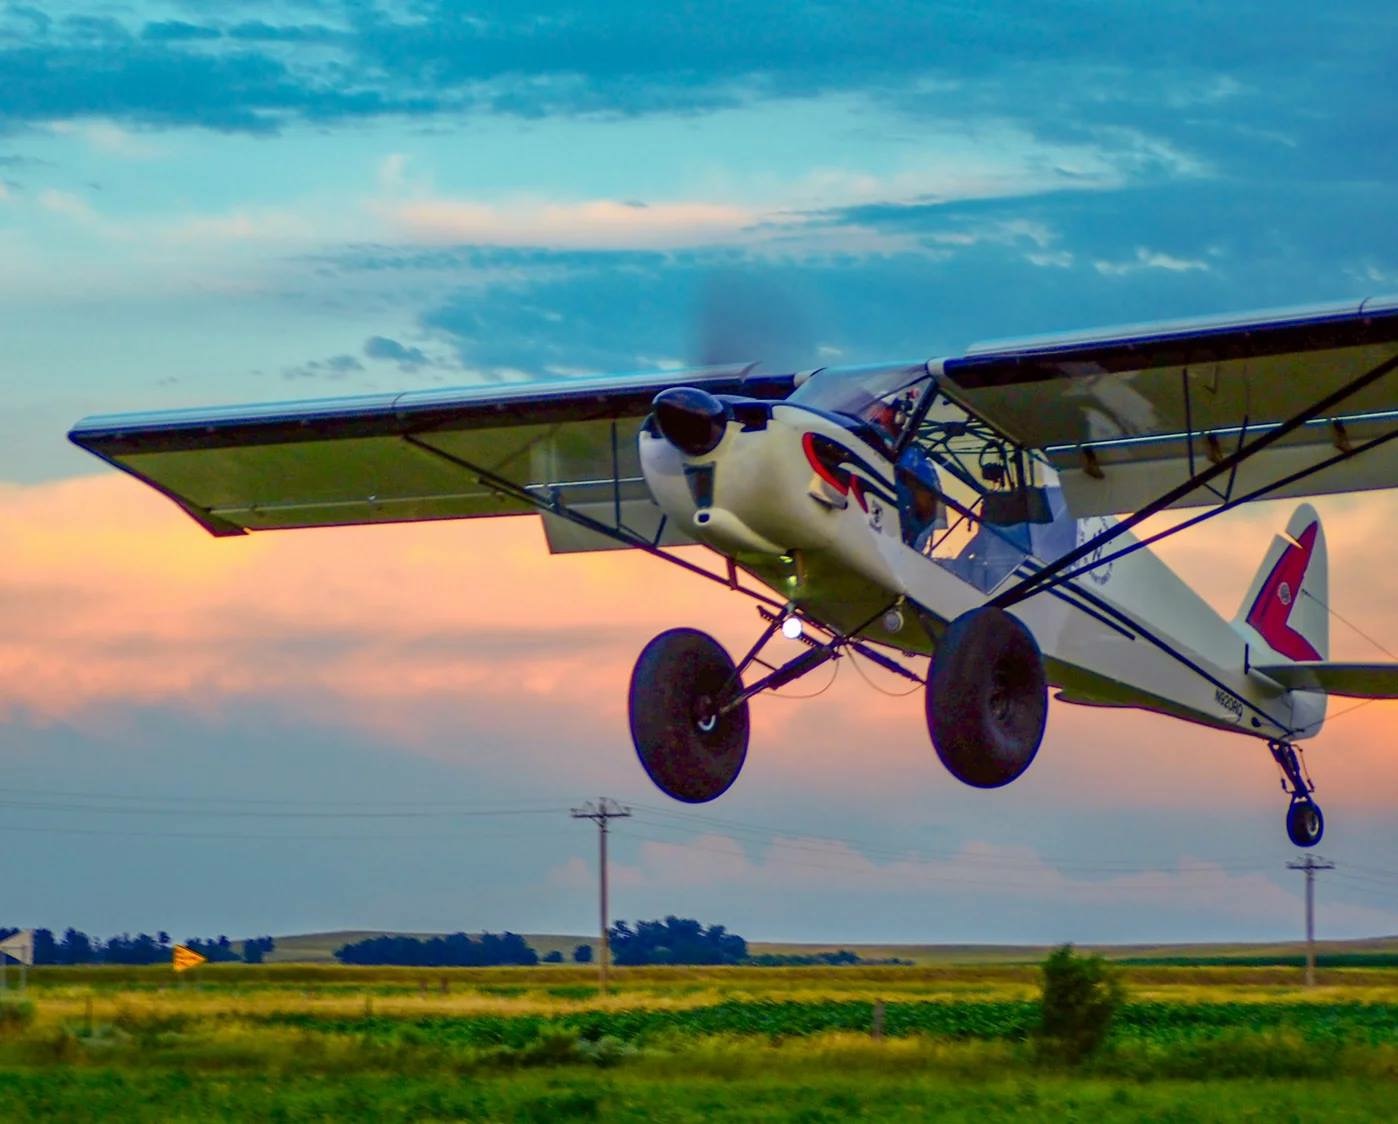
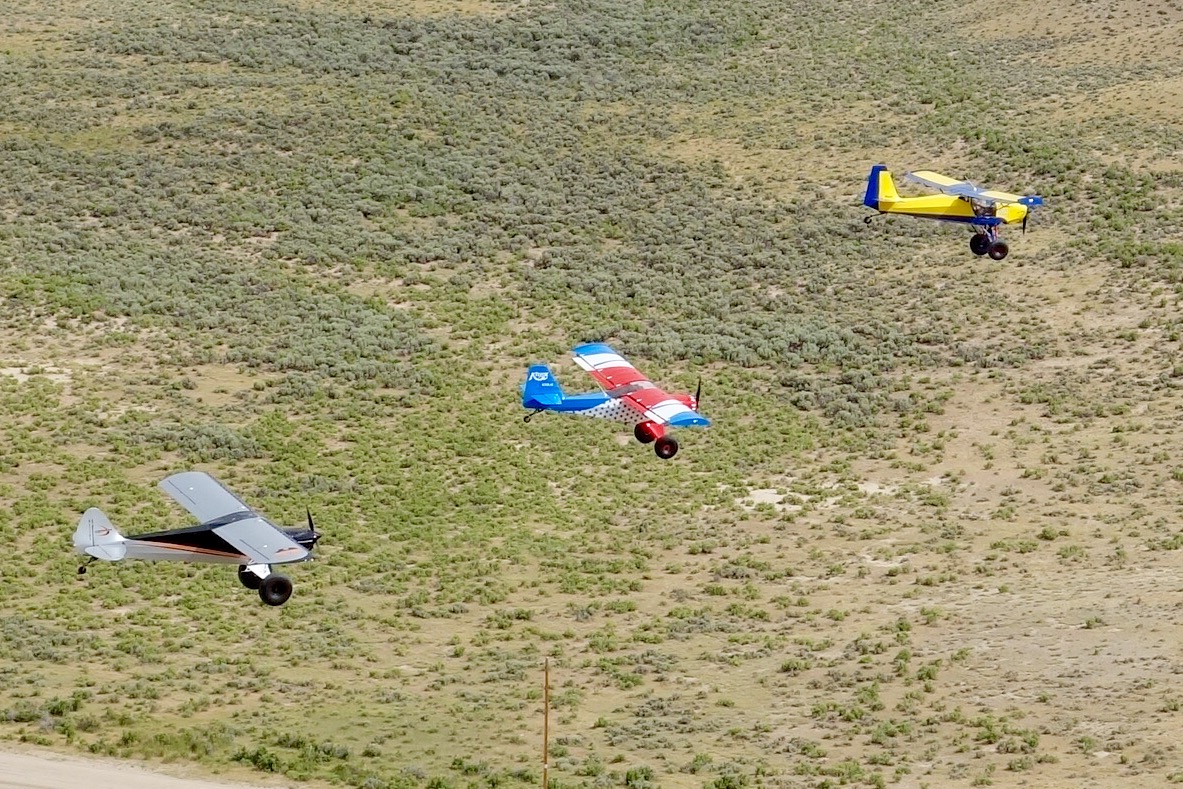
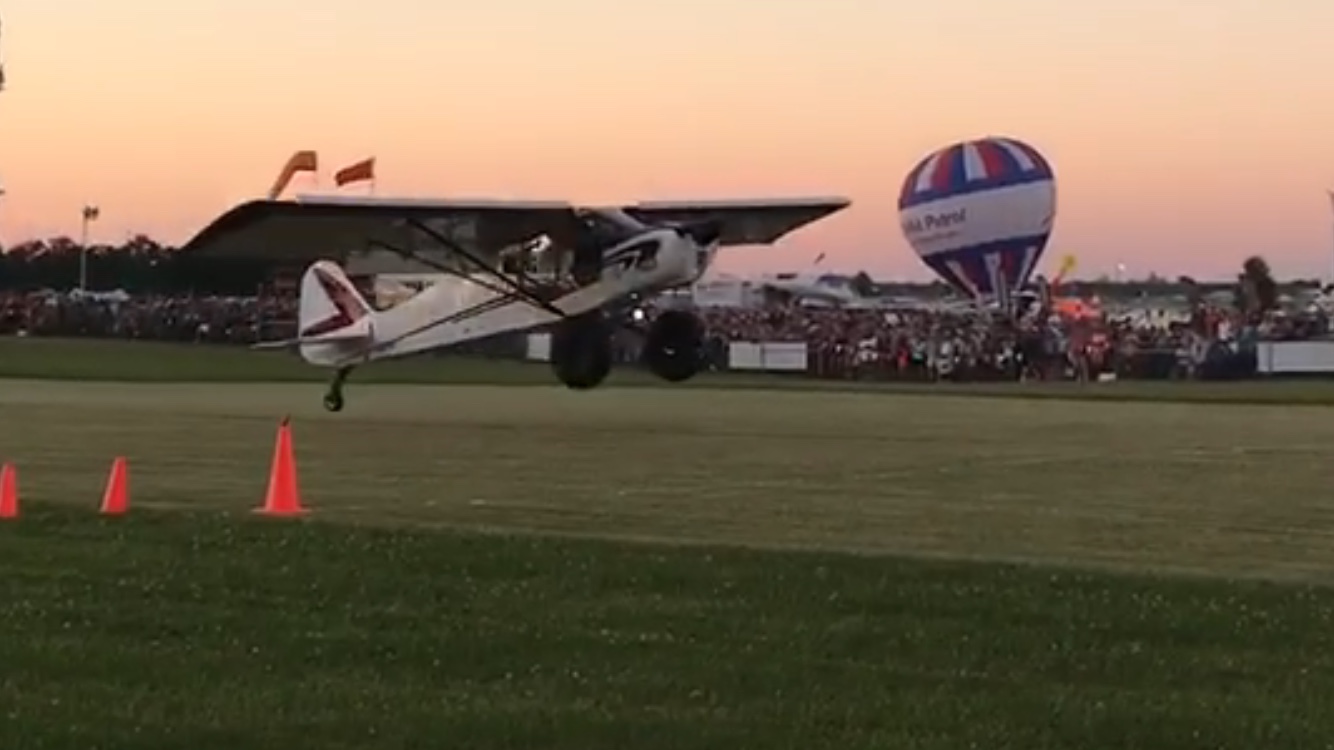
She is just awesome. More later. Here’s some pics
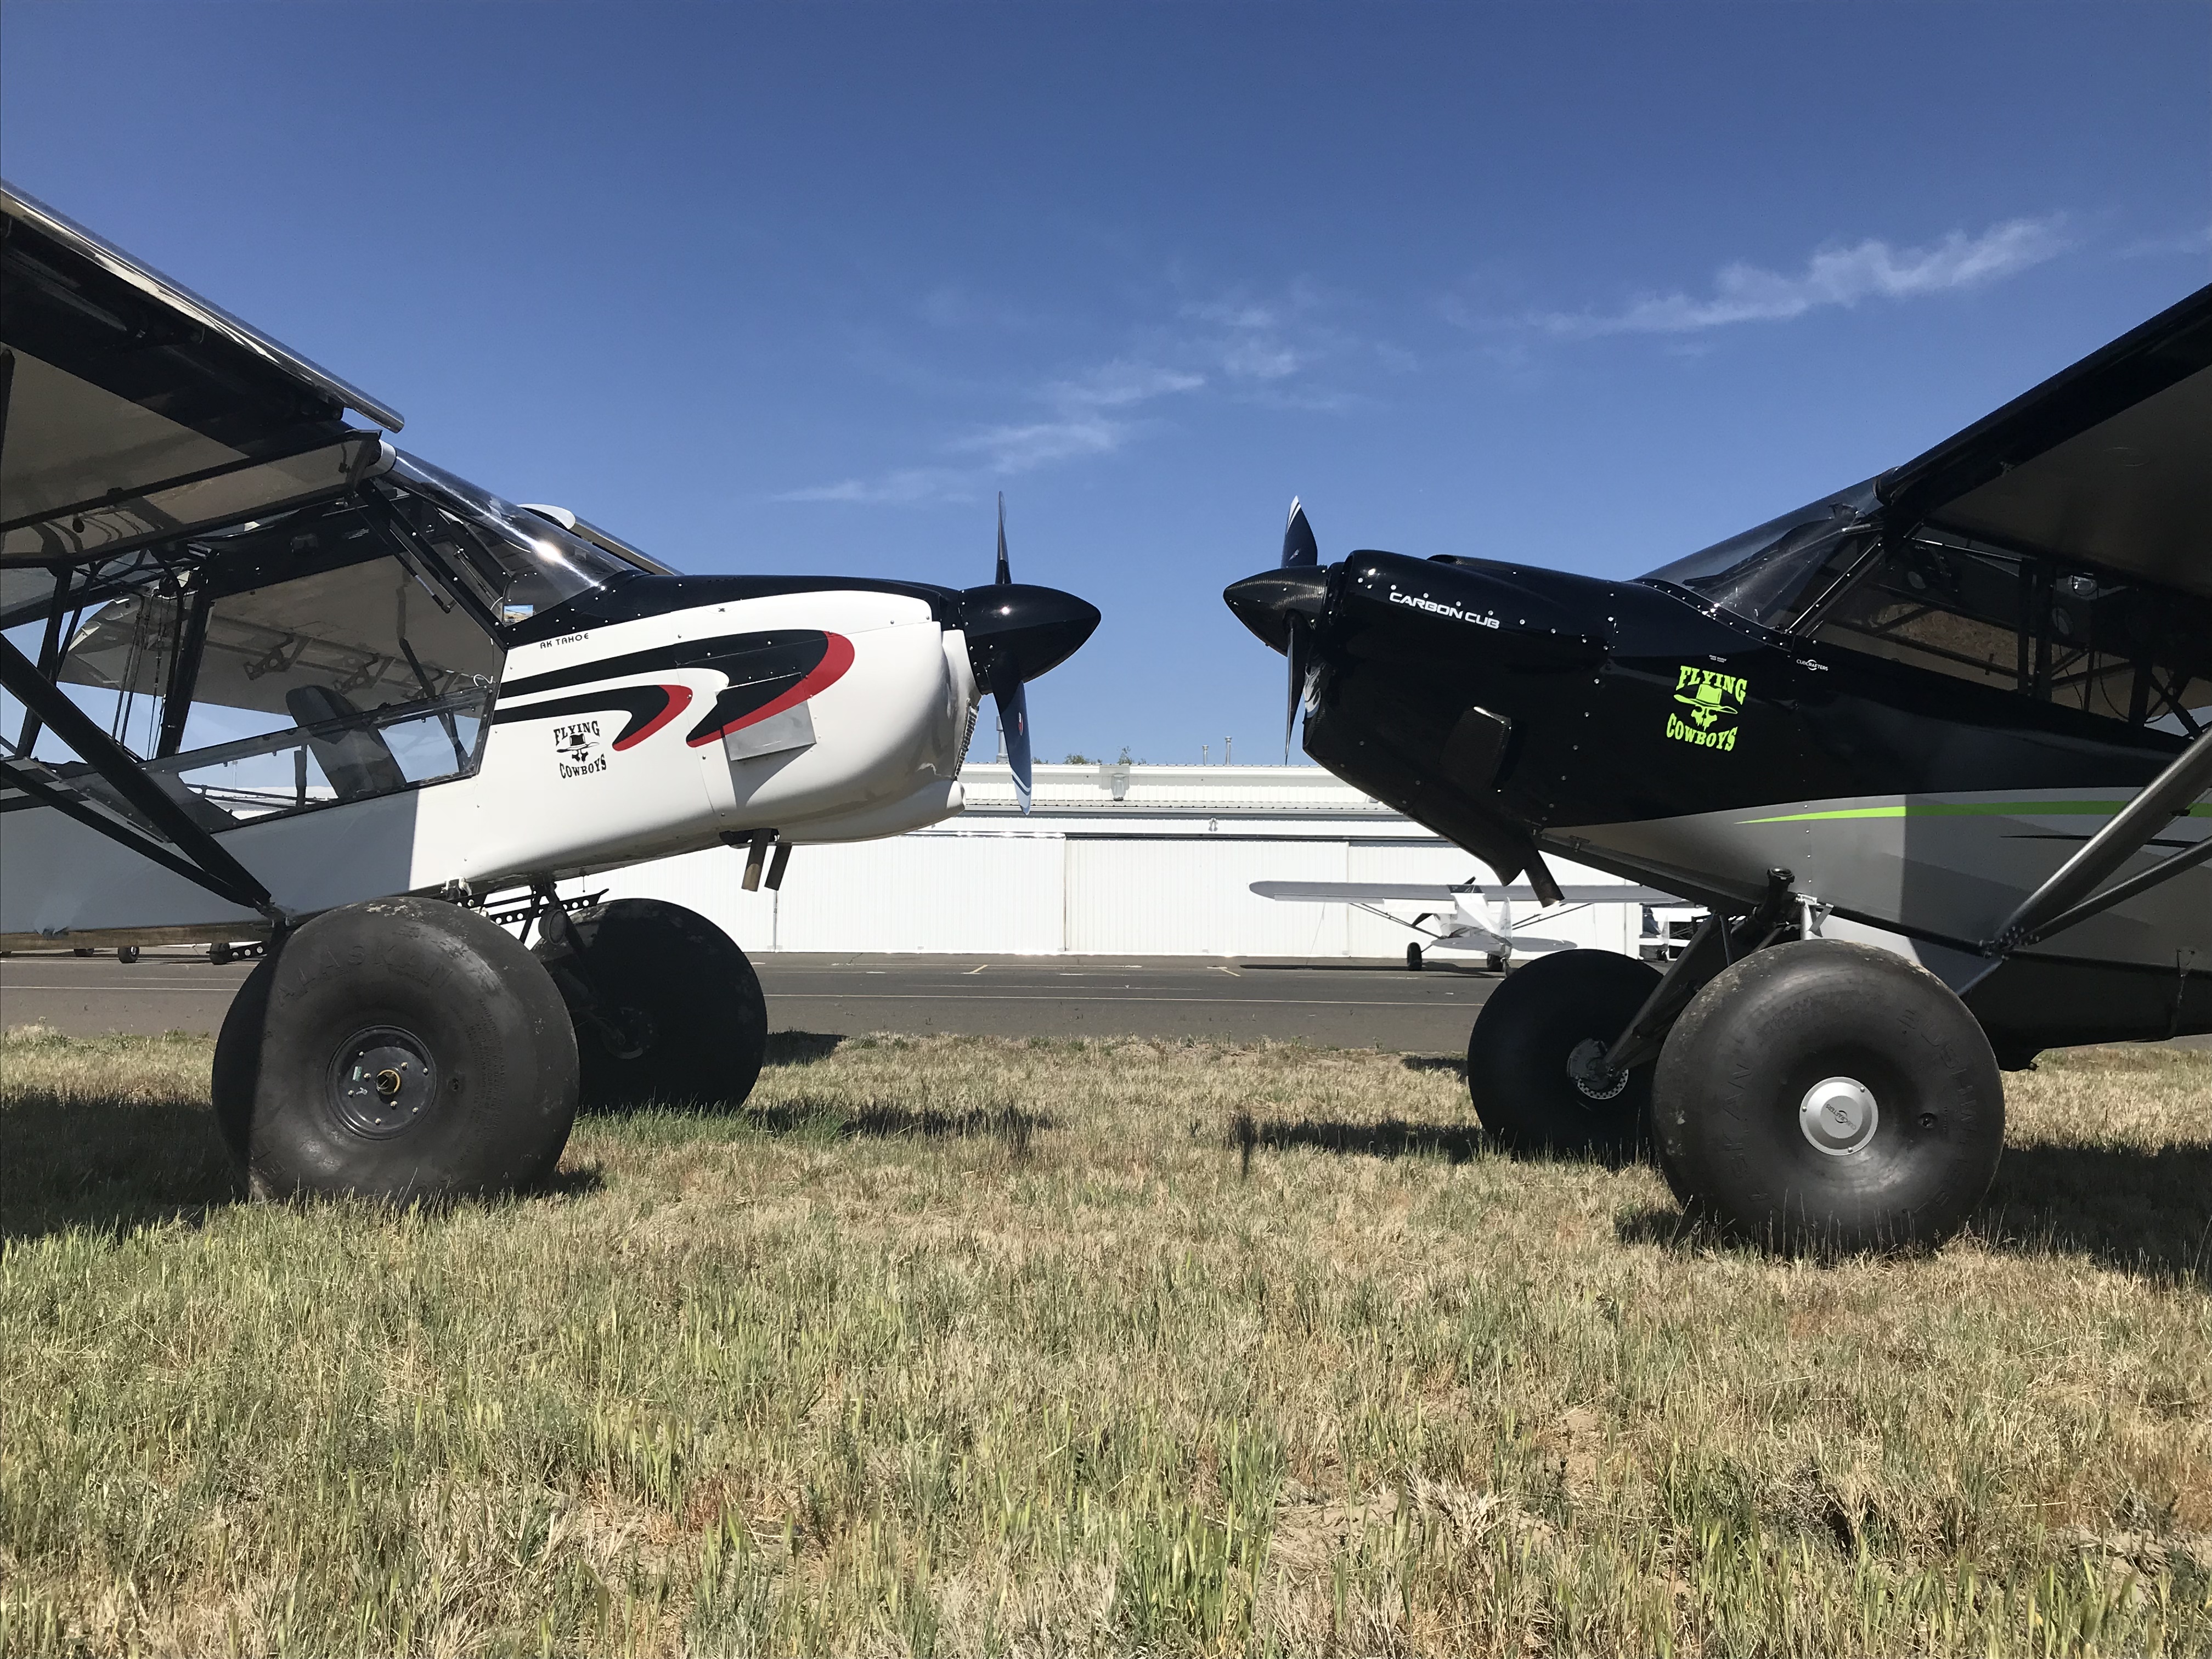
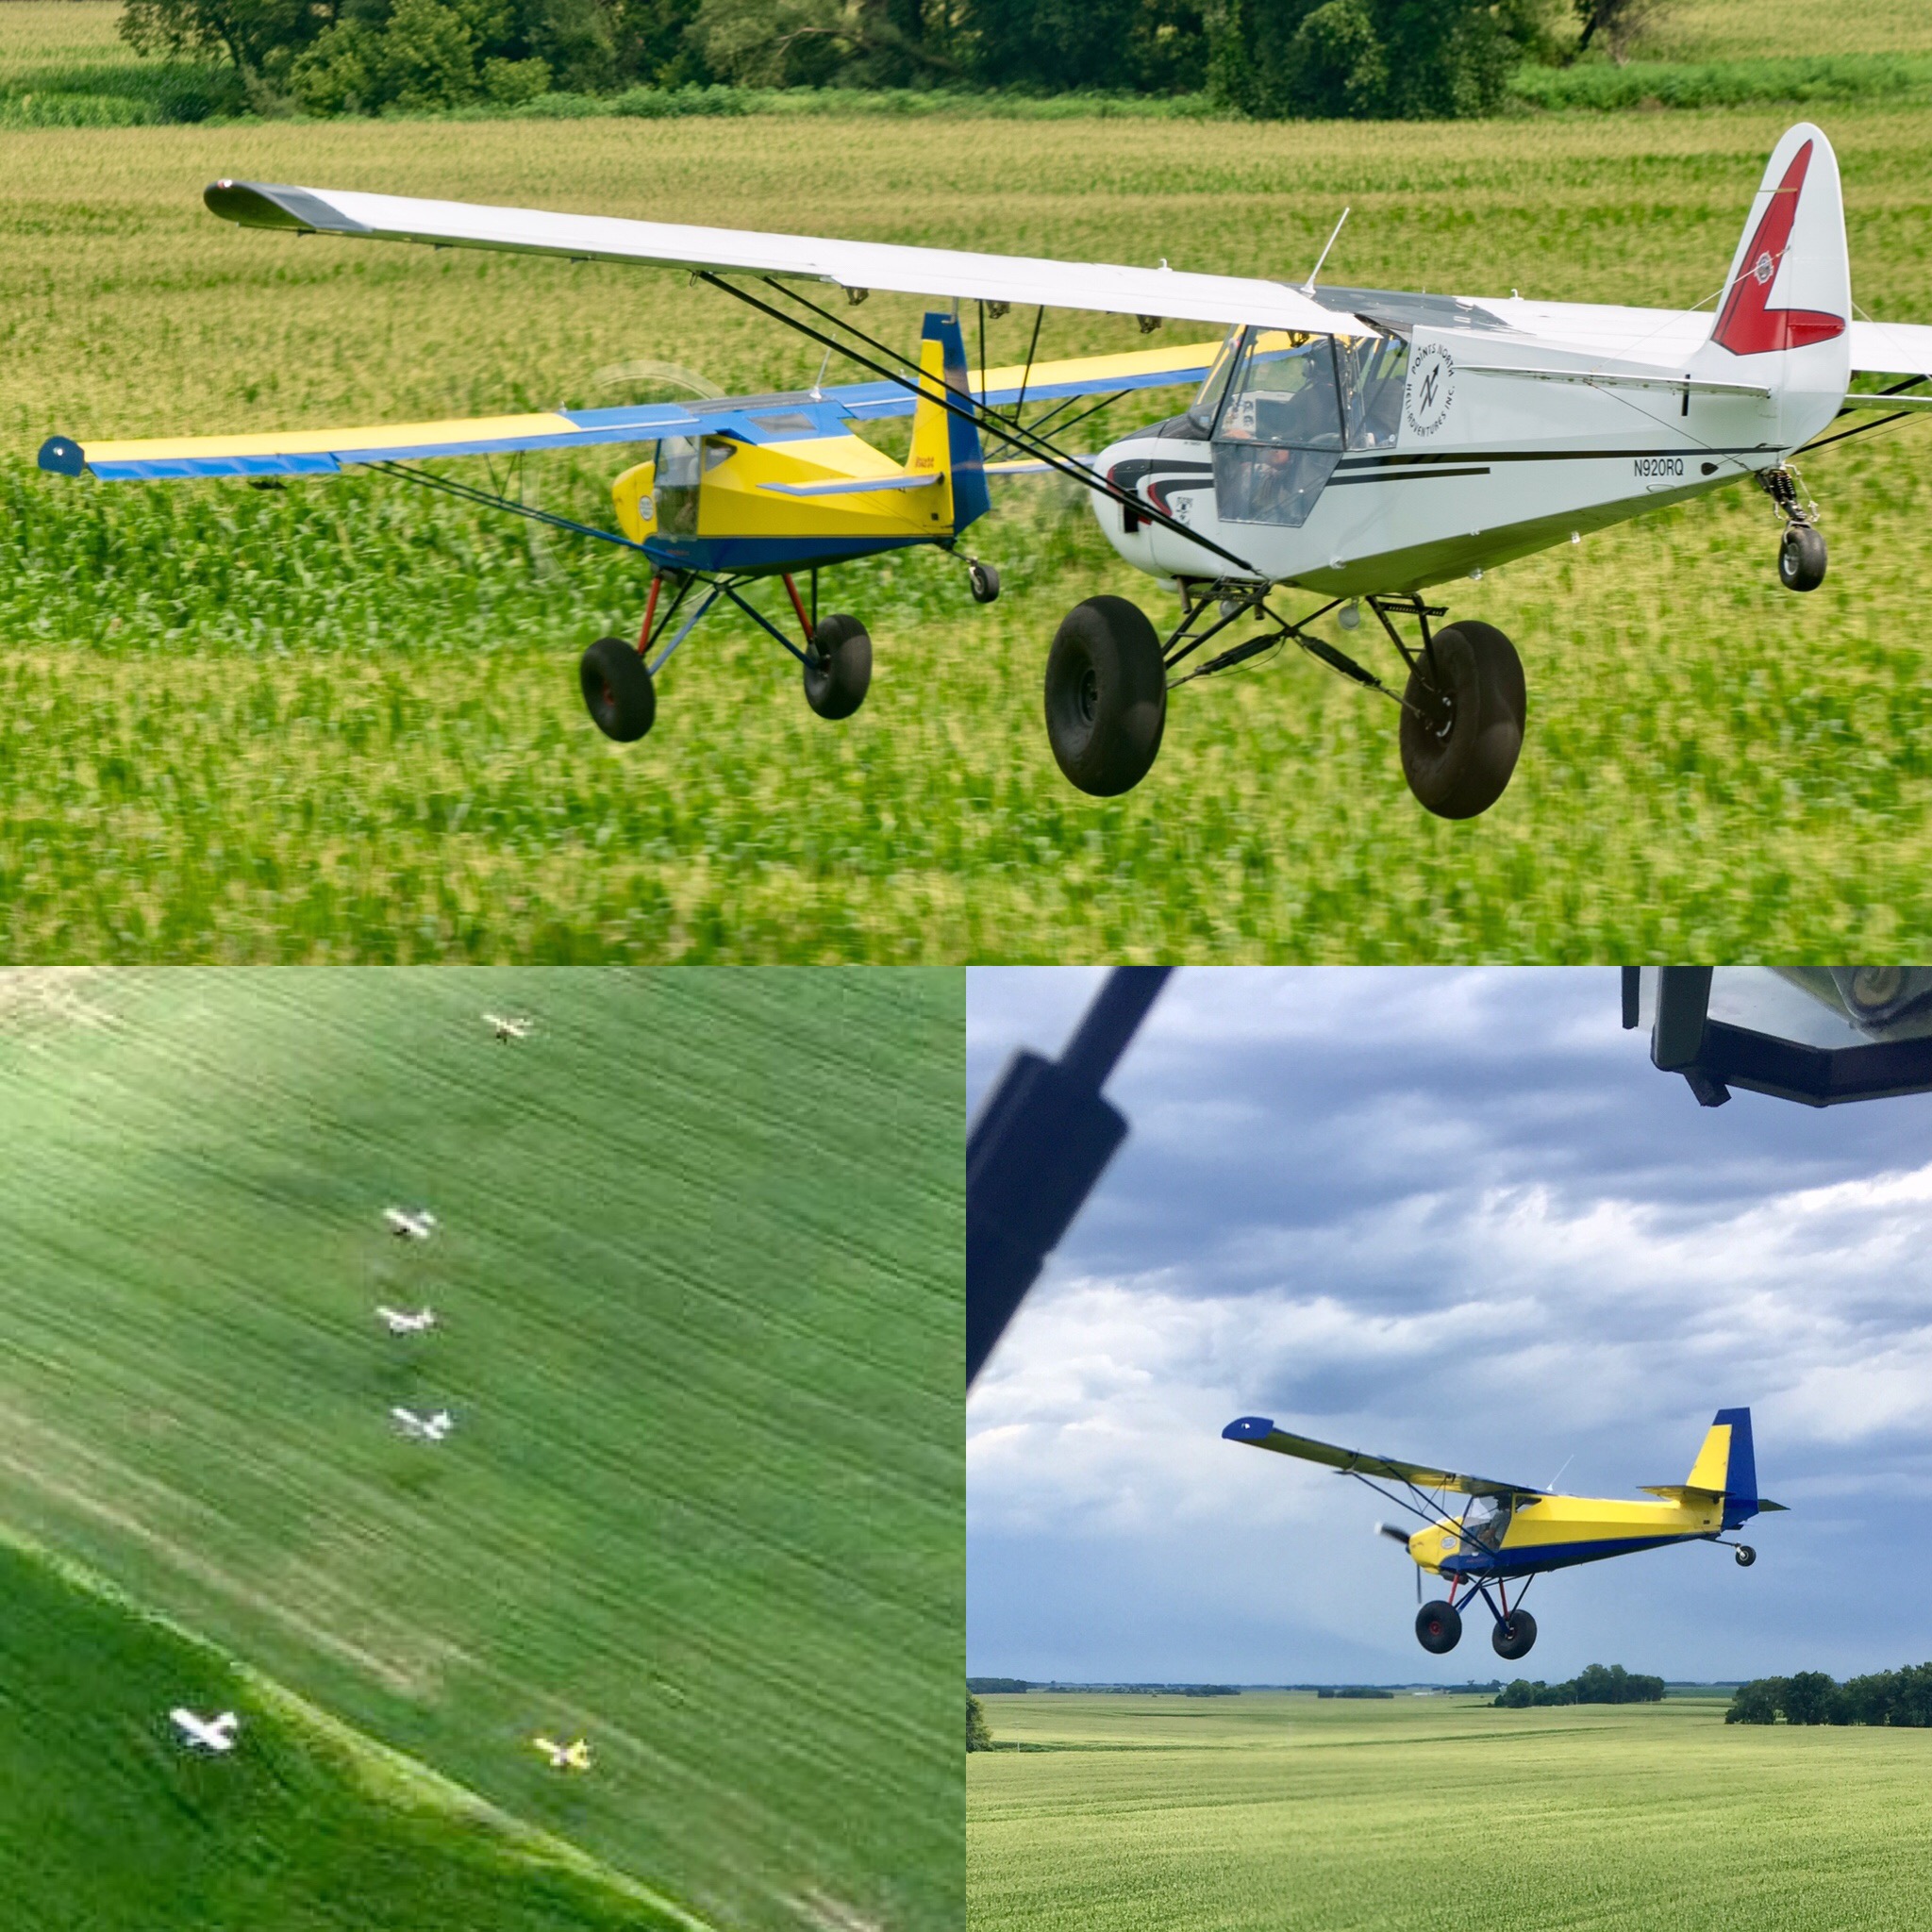
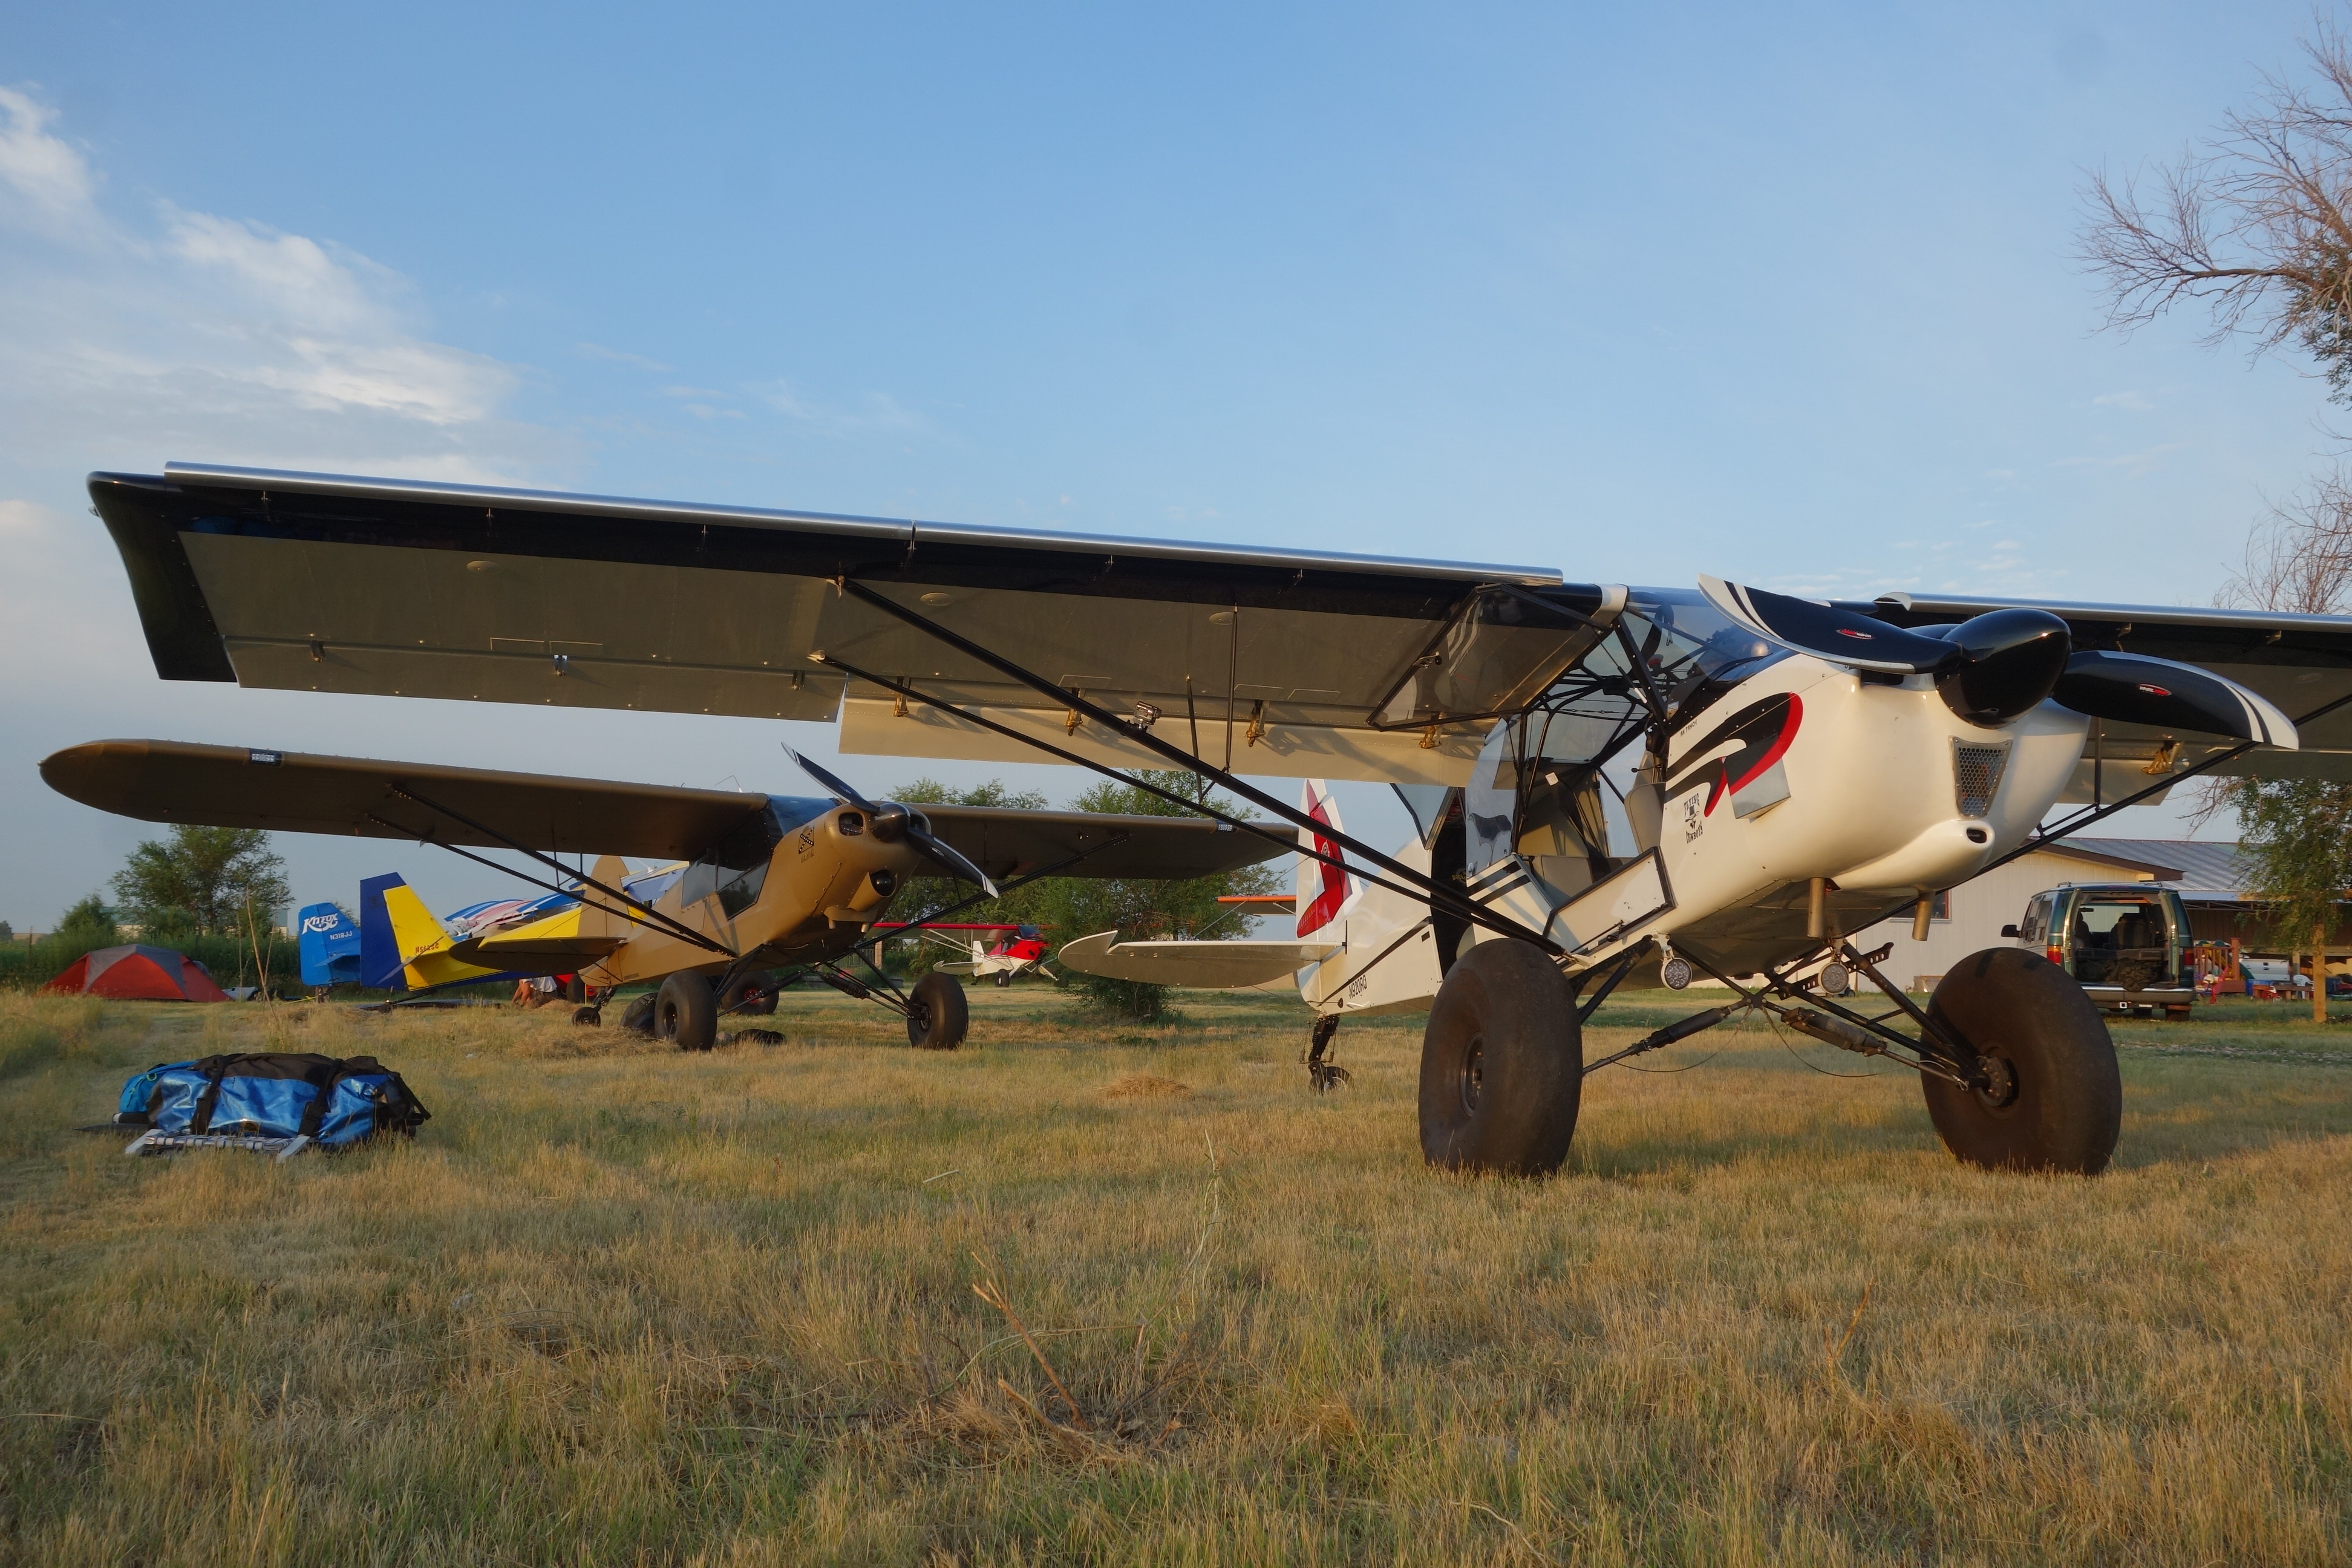
 Comparing the CC (on 31s) and my old BCSC Rev2 (on 35s)…the Rev2 weighs 400lbs more…seriously
 ABW 35’s
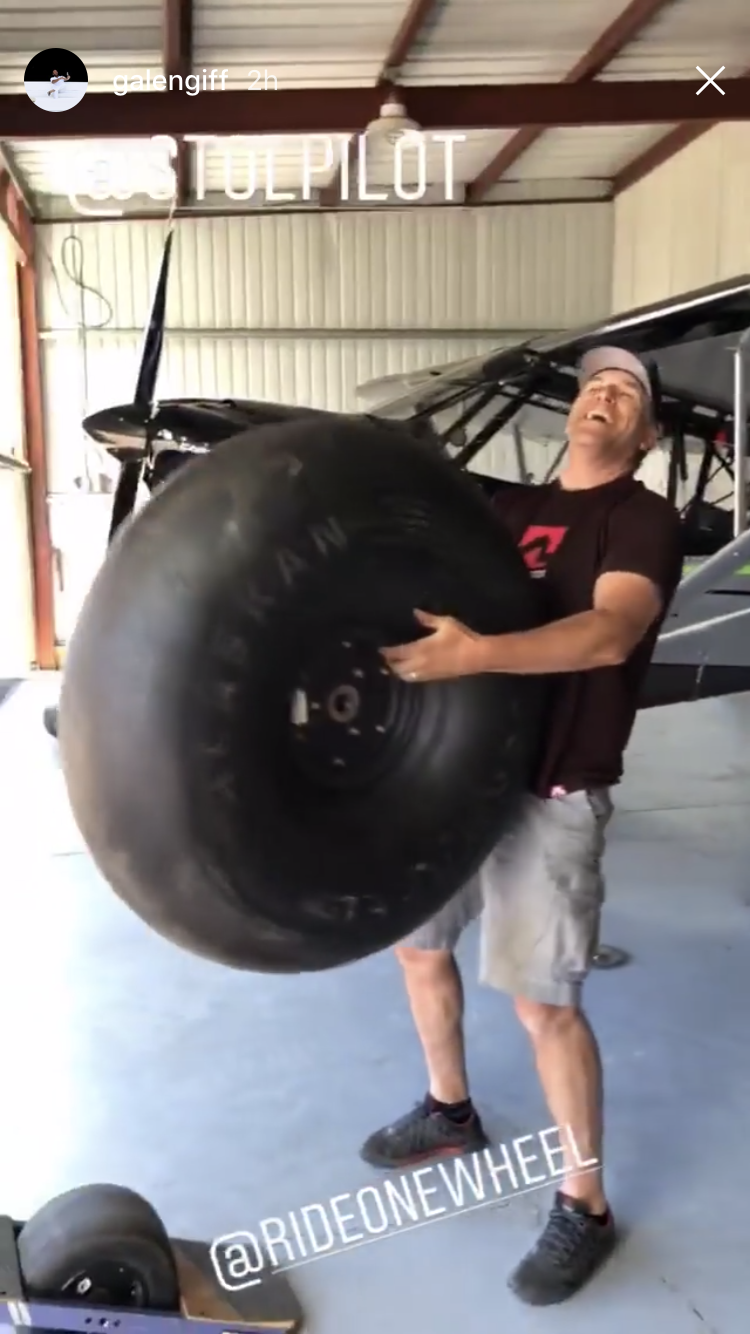
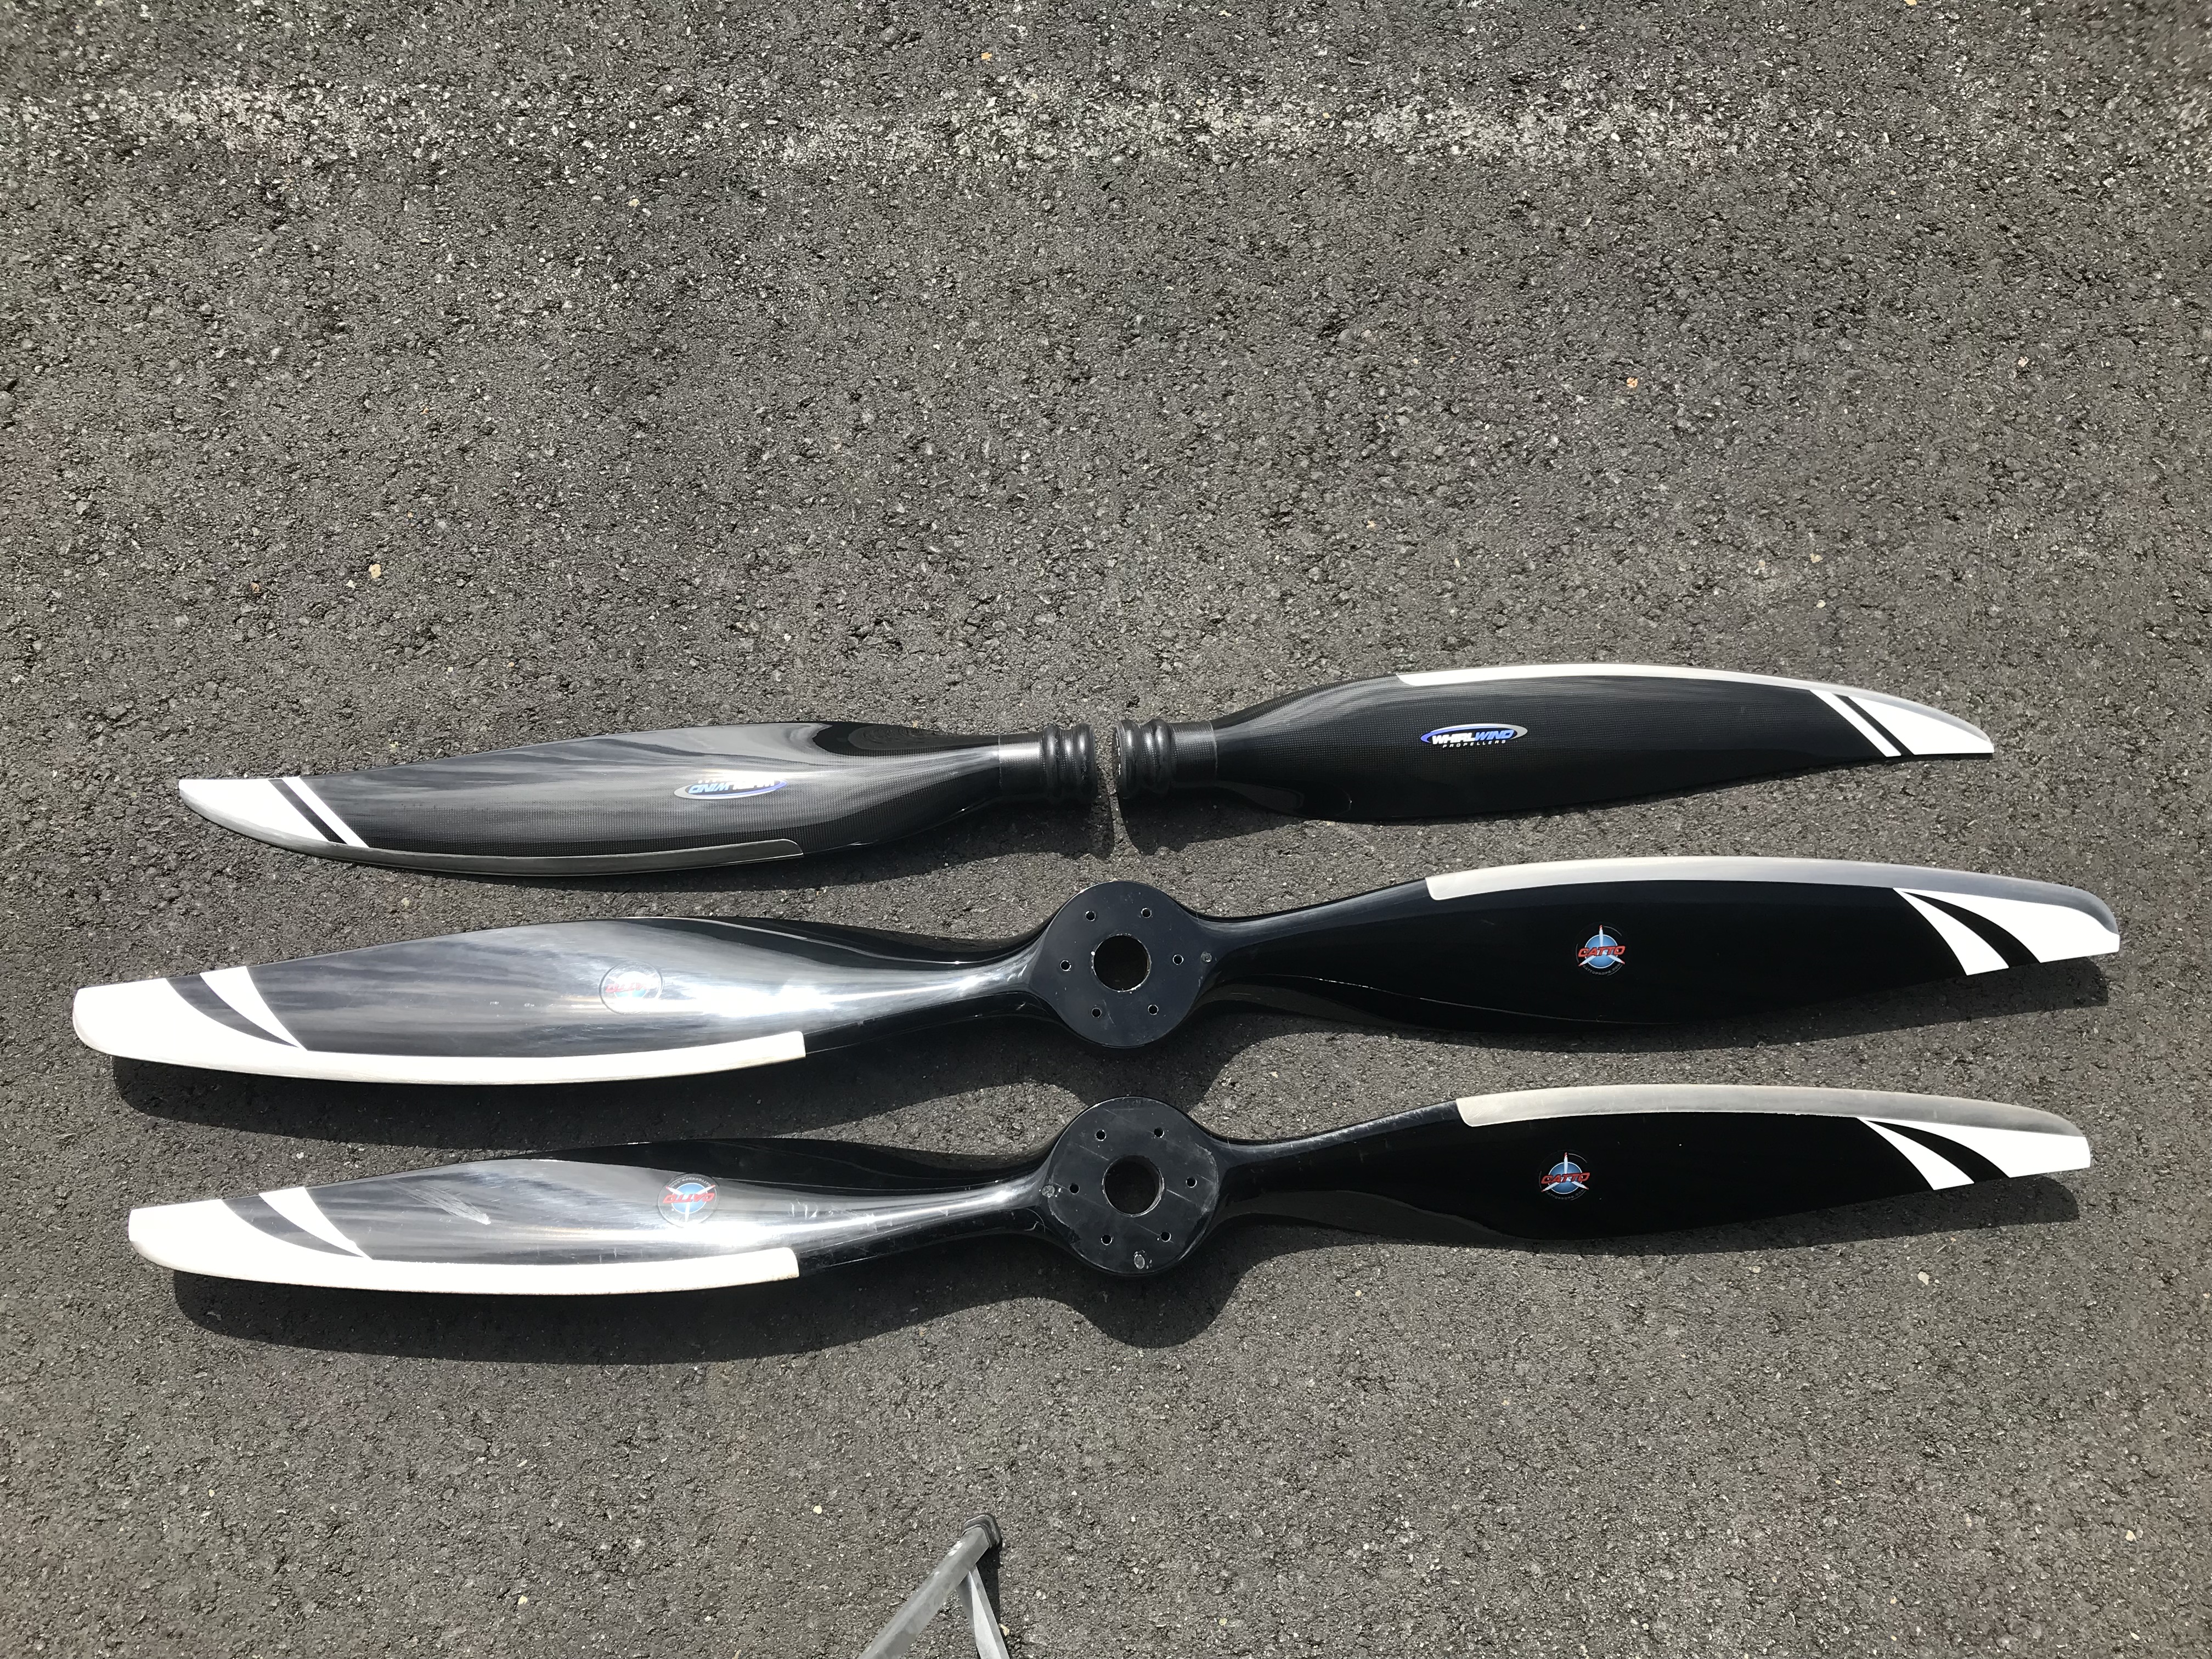
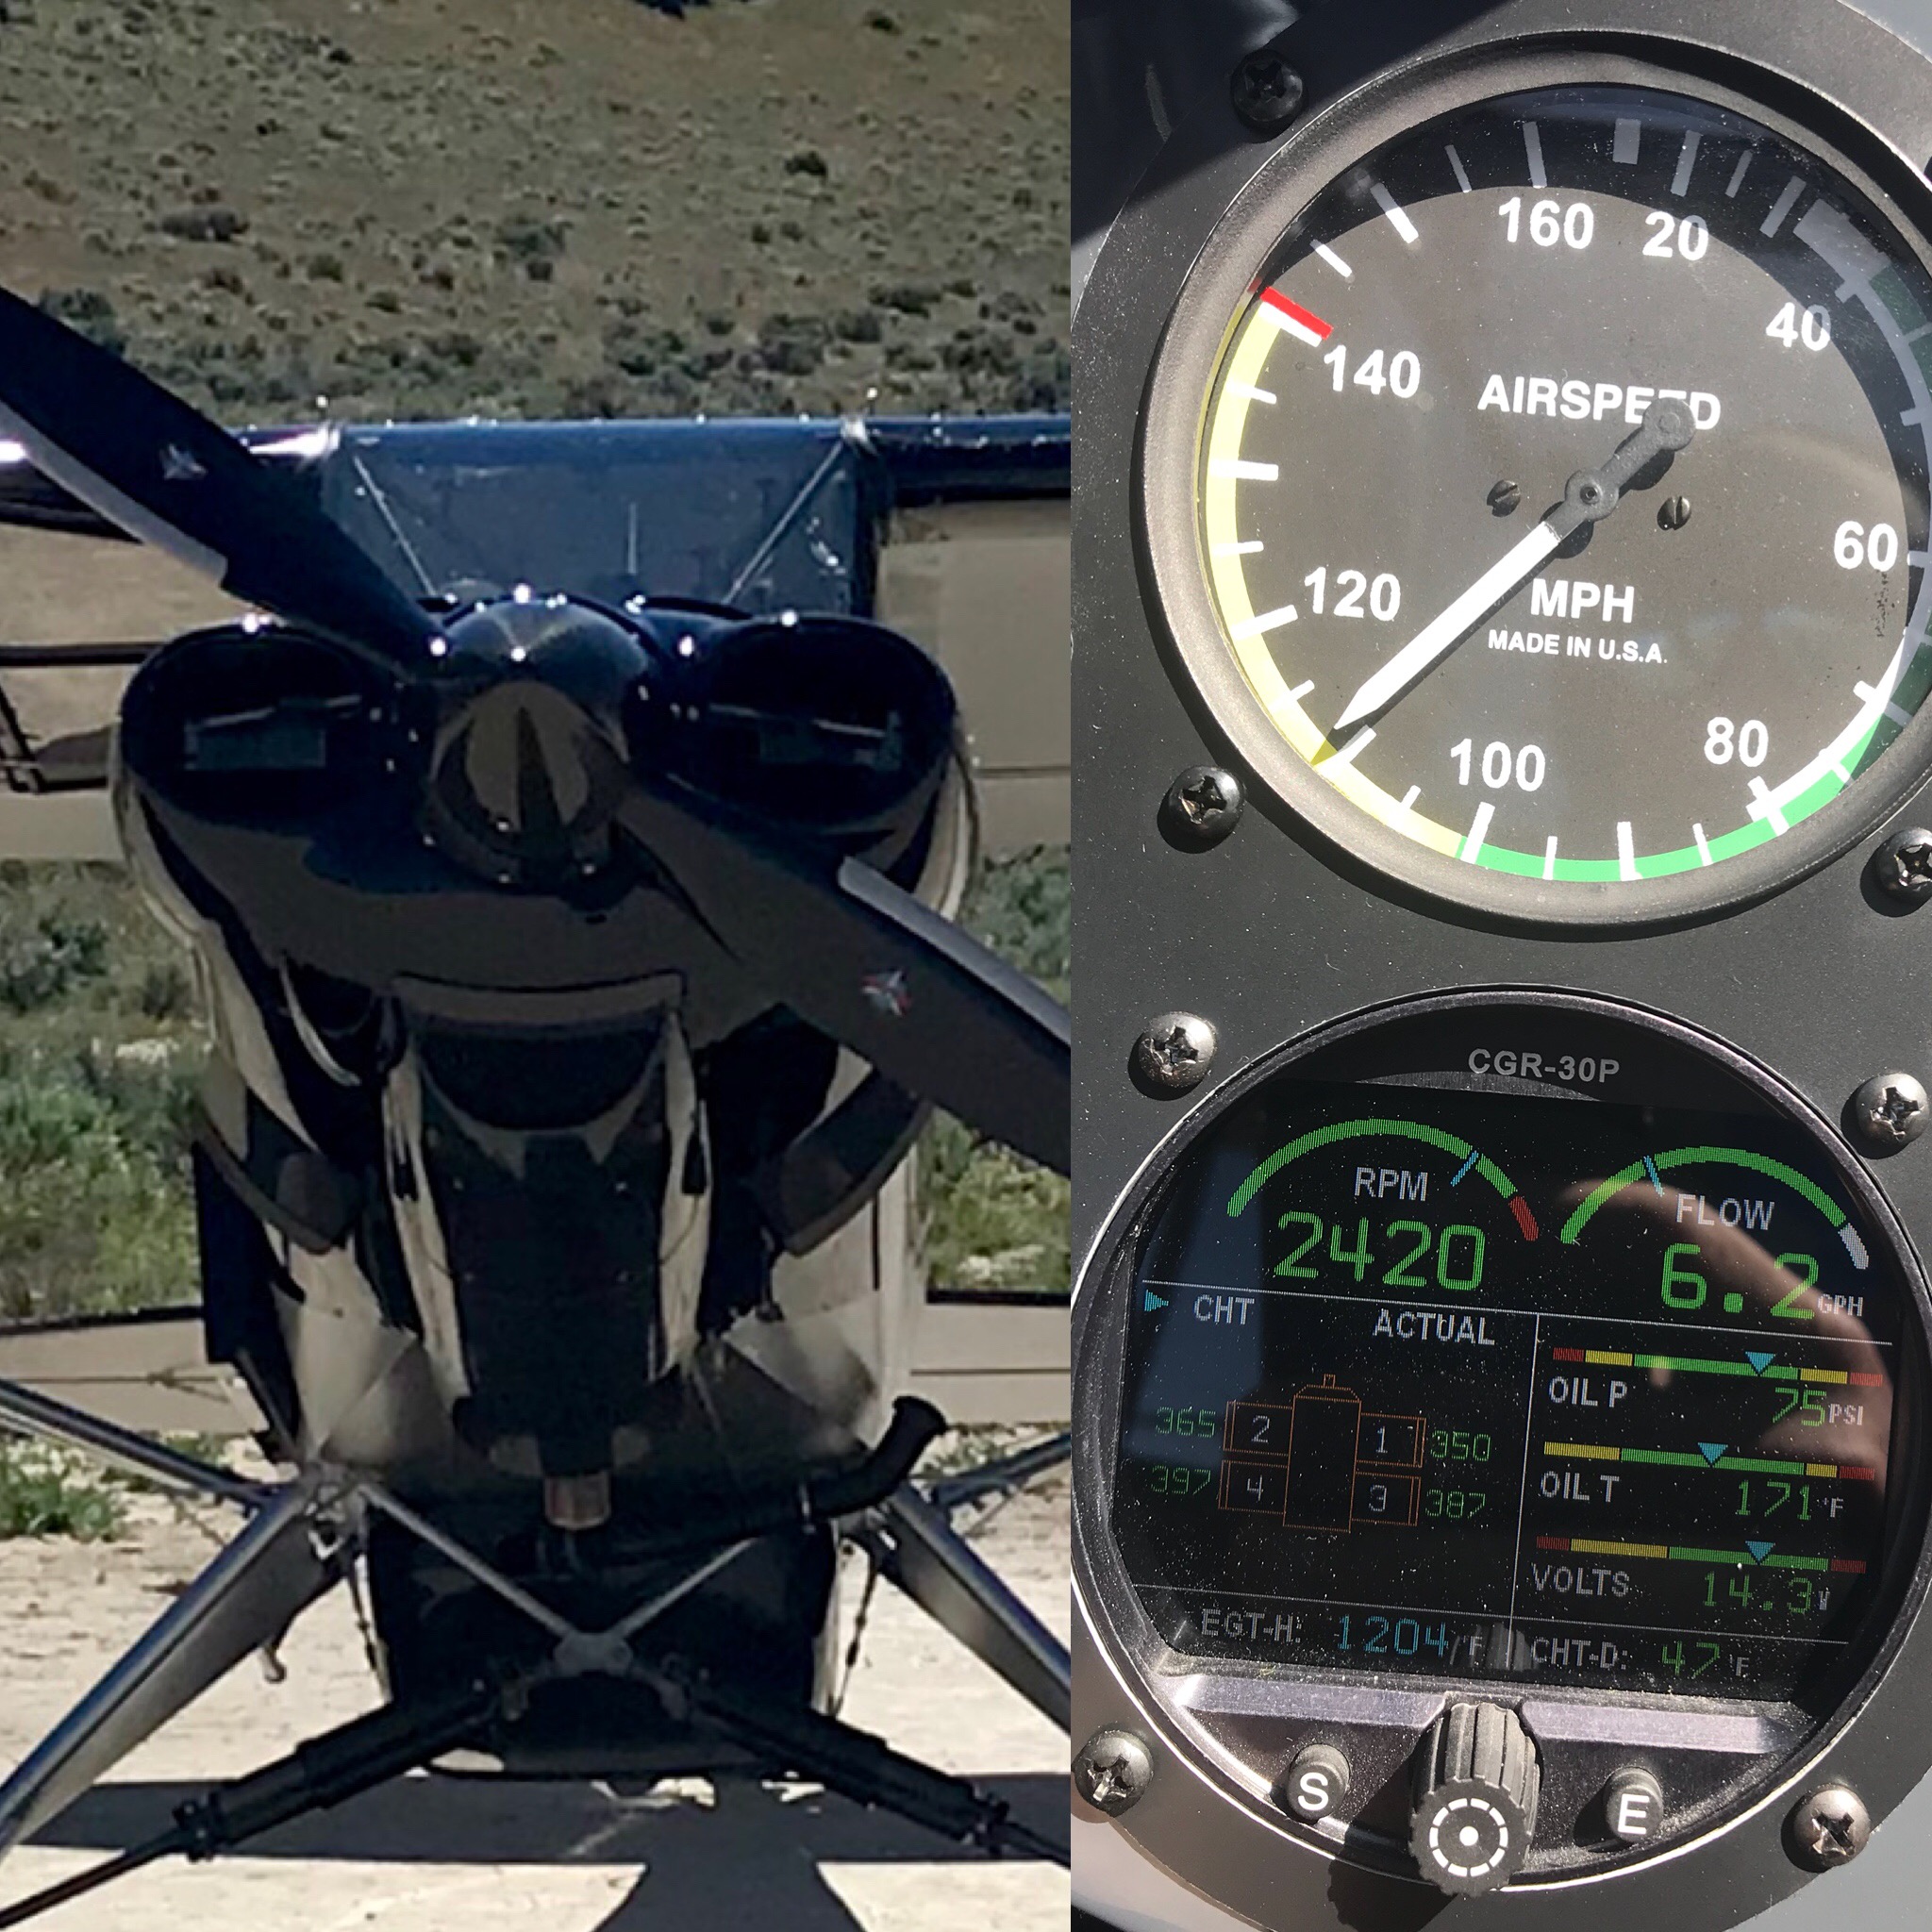
 A Whirl Wind ground adjustable and 2 Cattos. 1-86-36 (stump puller but slow) and 1-80-50 (fast and great cooling)
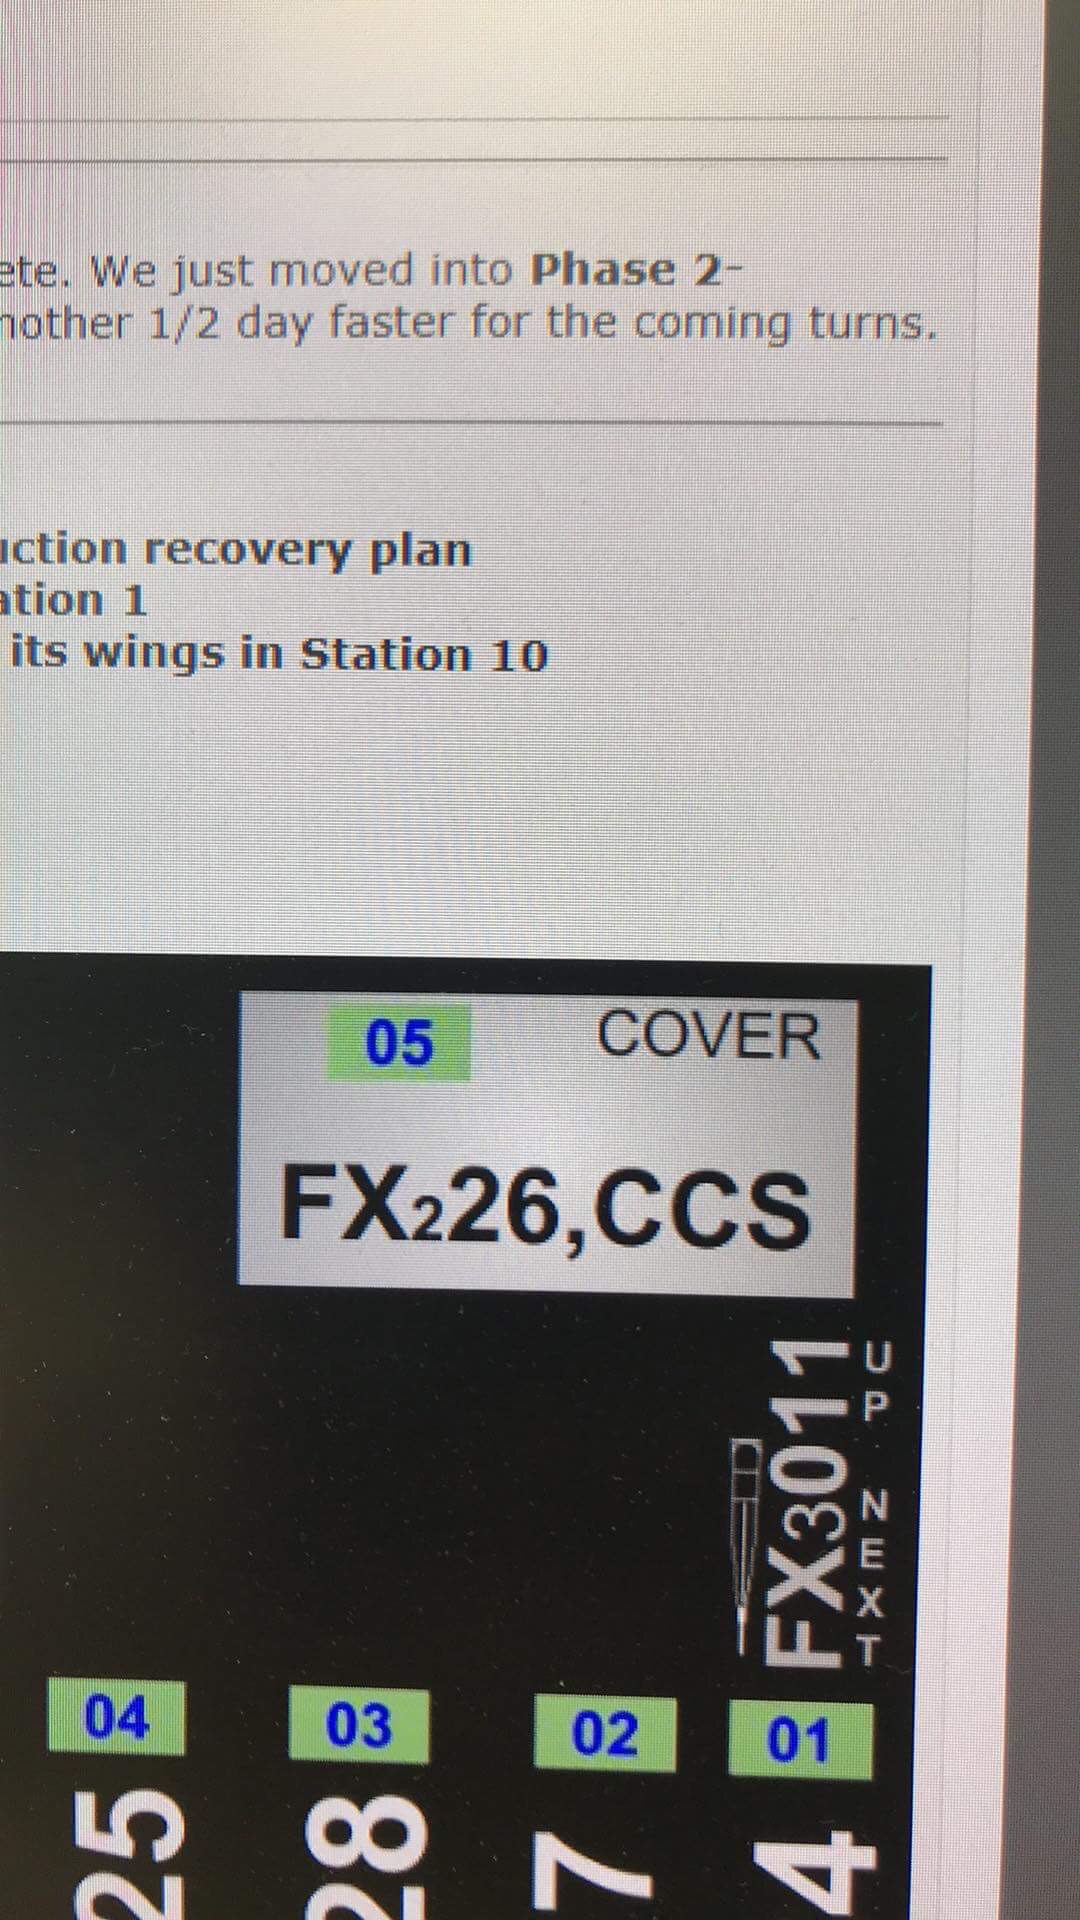
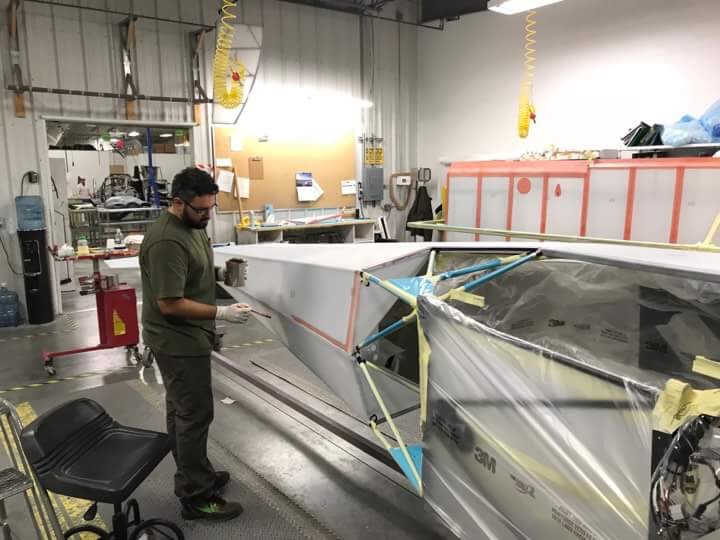
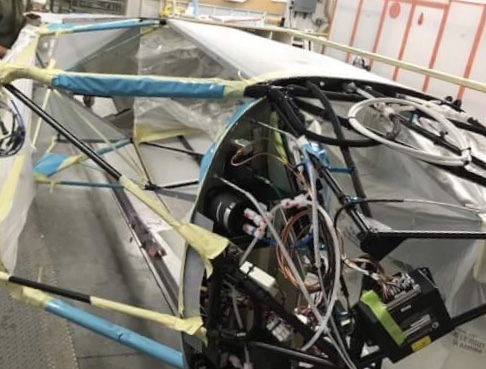
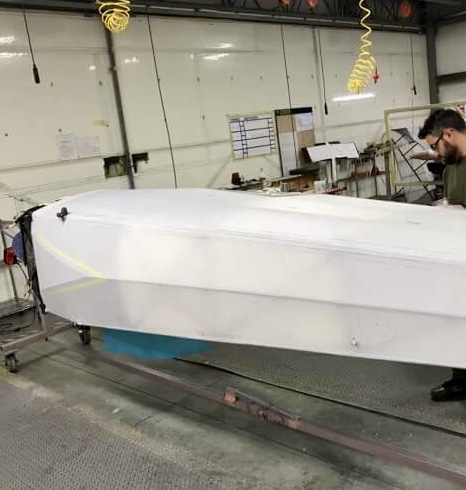
In for cover! Next up, Paint!
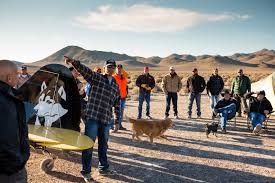
I am in serious need of an update here. Between, travel, life, fly-ins and teaching time is just flying by. So much going on yet so little time to report here. Please make certain to follow along with the many adventures happening in the various links below. There are a lot of great people in these groups with hundreds of photos and stories.
Need a BFR, tail wheel endorsement, some mountain flying experience or looking to take flight lessons? Please contact me here: 53skywagon@gmail.com
Bigtire / Stol pilots / backcountry Fliers FB group link: https://www.facebook.com/groups/136557813204682/?ref=nf_target&fref=nf
Also our FlyingCowboys site is really starting to take off. Check it out.Link: http://www.flyingcowboys.com
Interested in our High Sierra Fly-in? We have two separate links for you. One is the FB group and the other takes you to the Fly-in web page, home to StolDrag!FB Link: https://www.facebook.com/groups/968770996478605/
HSF Link: http://stoldrag.com
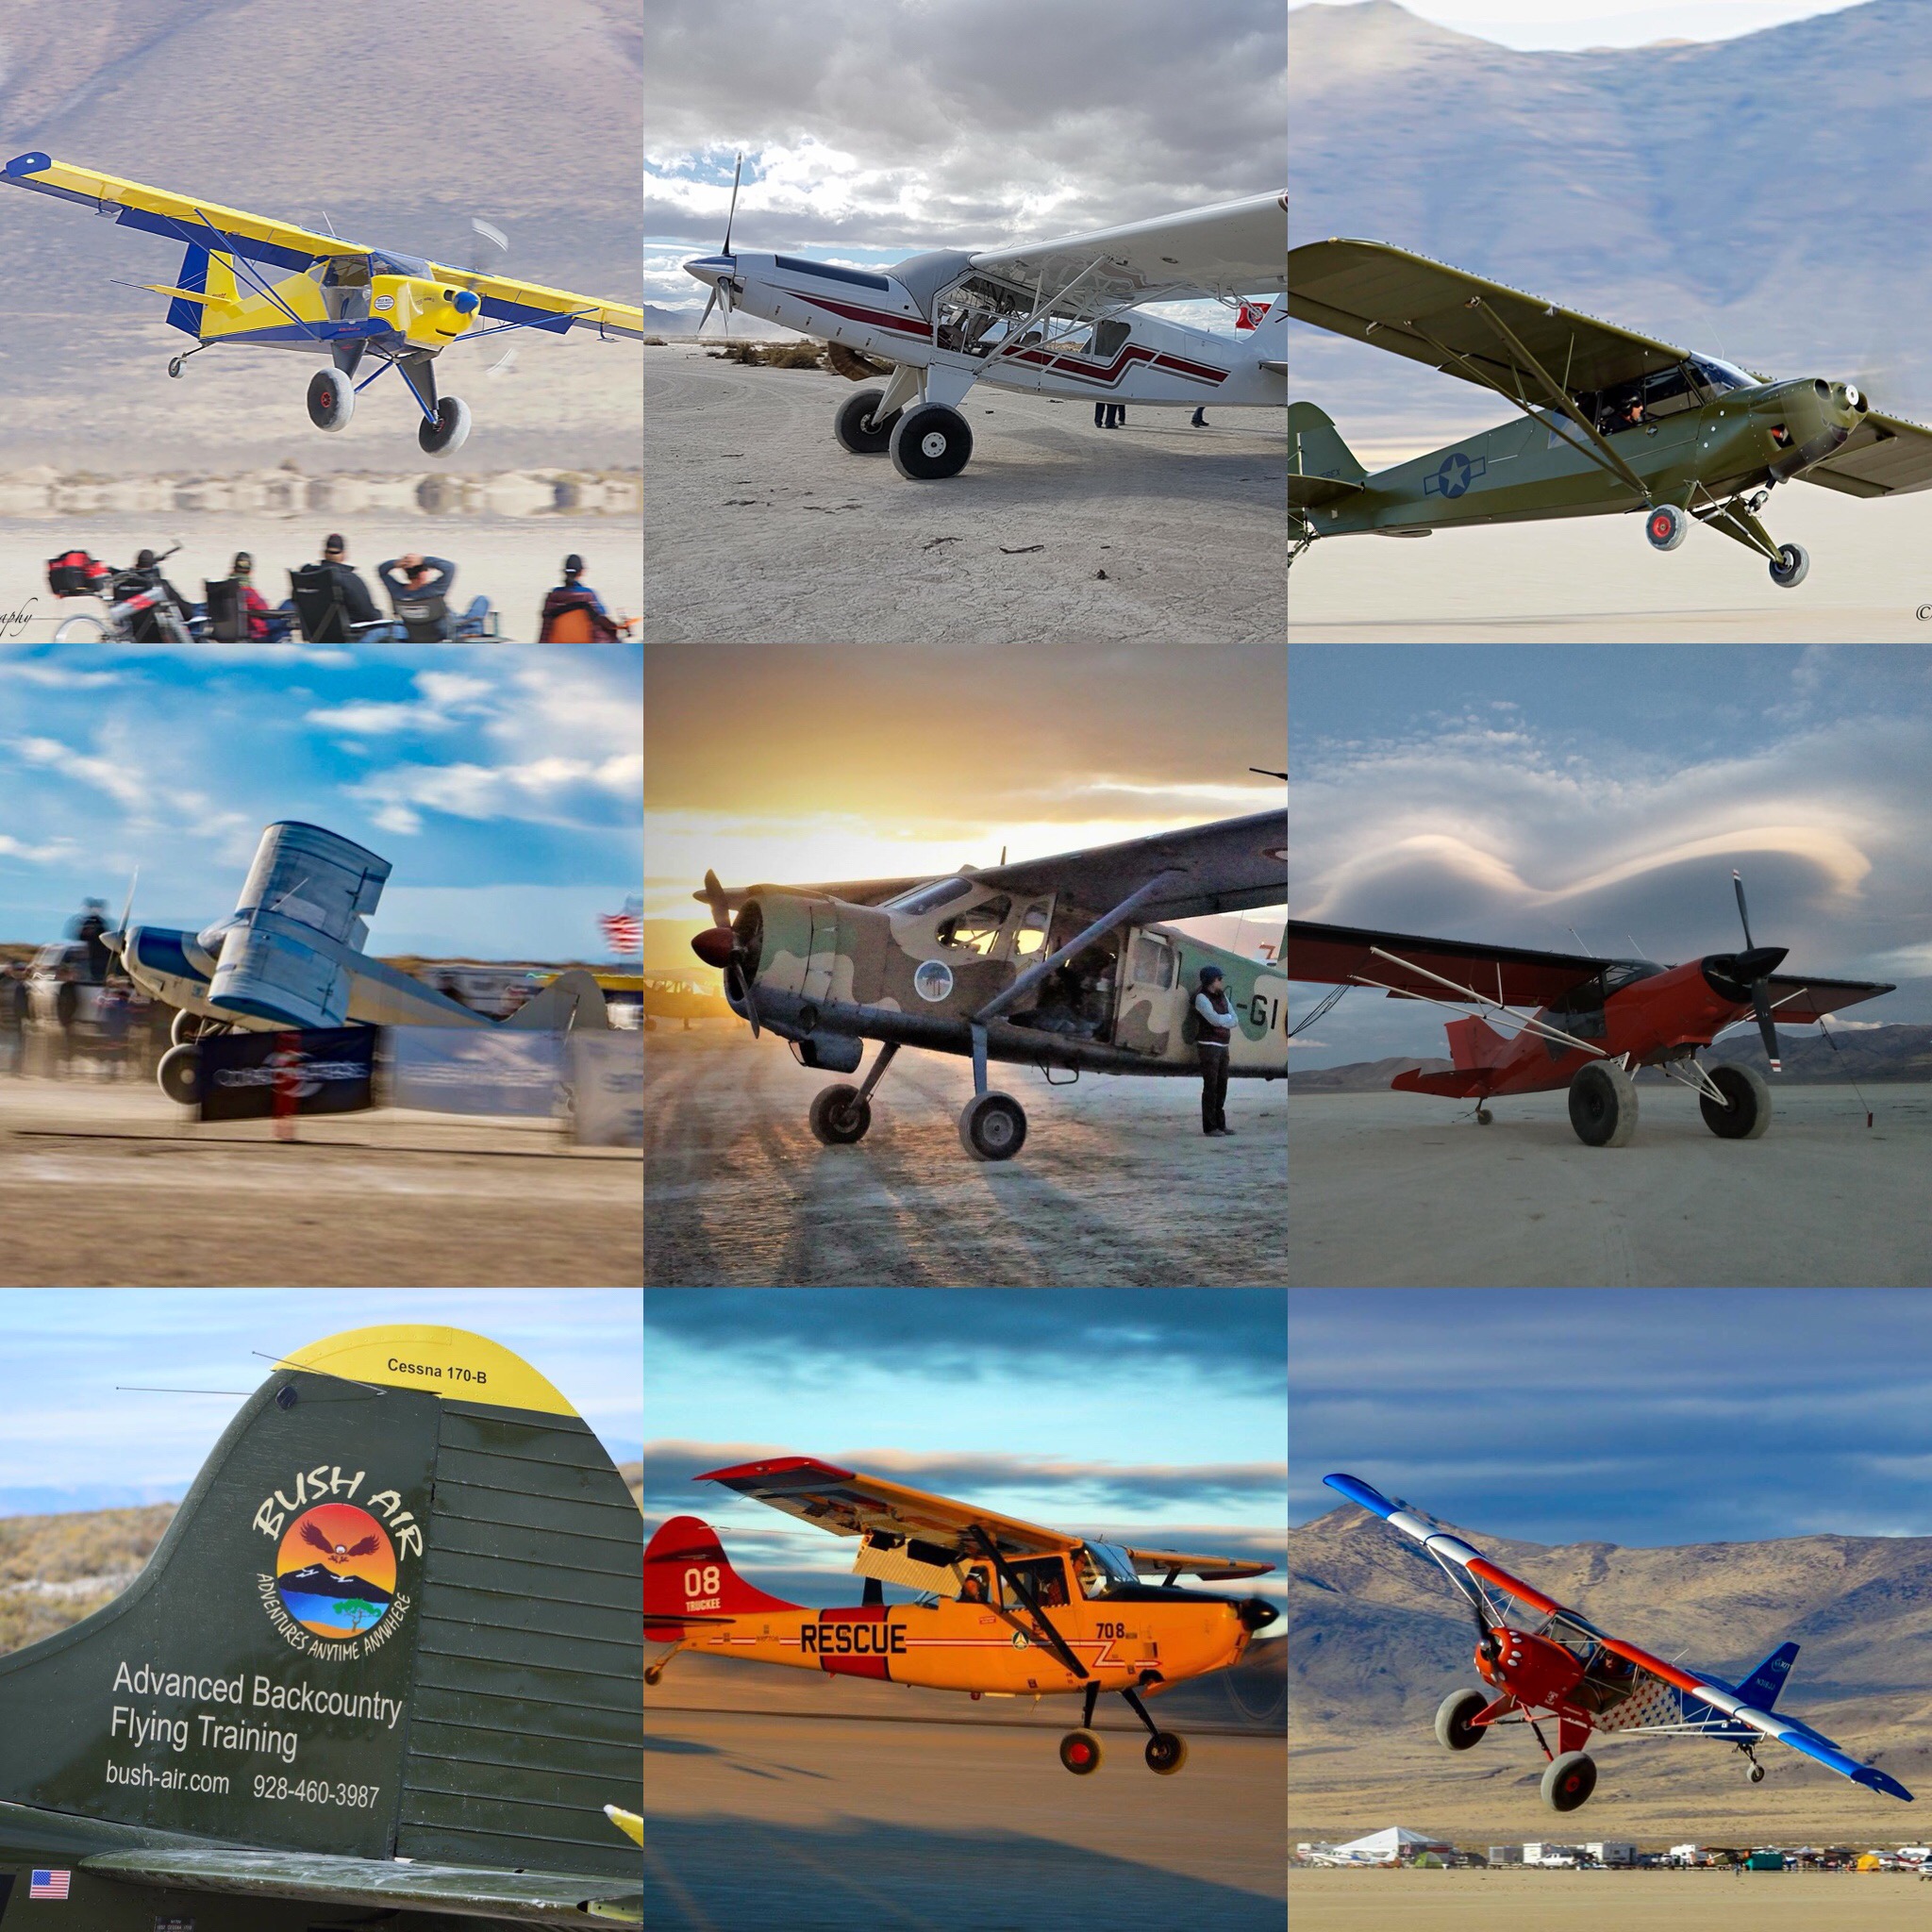
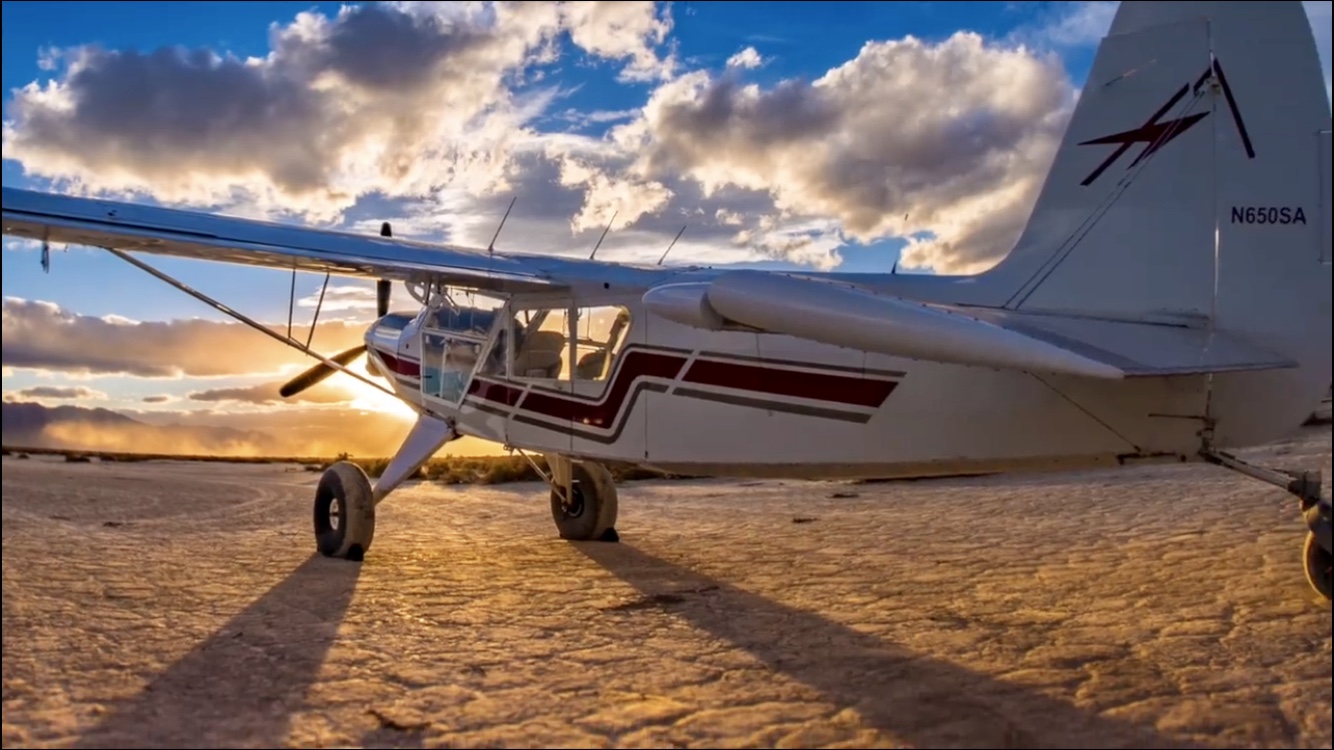
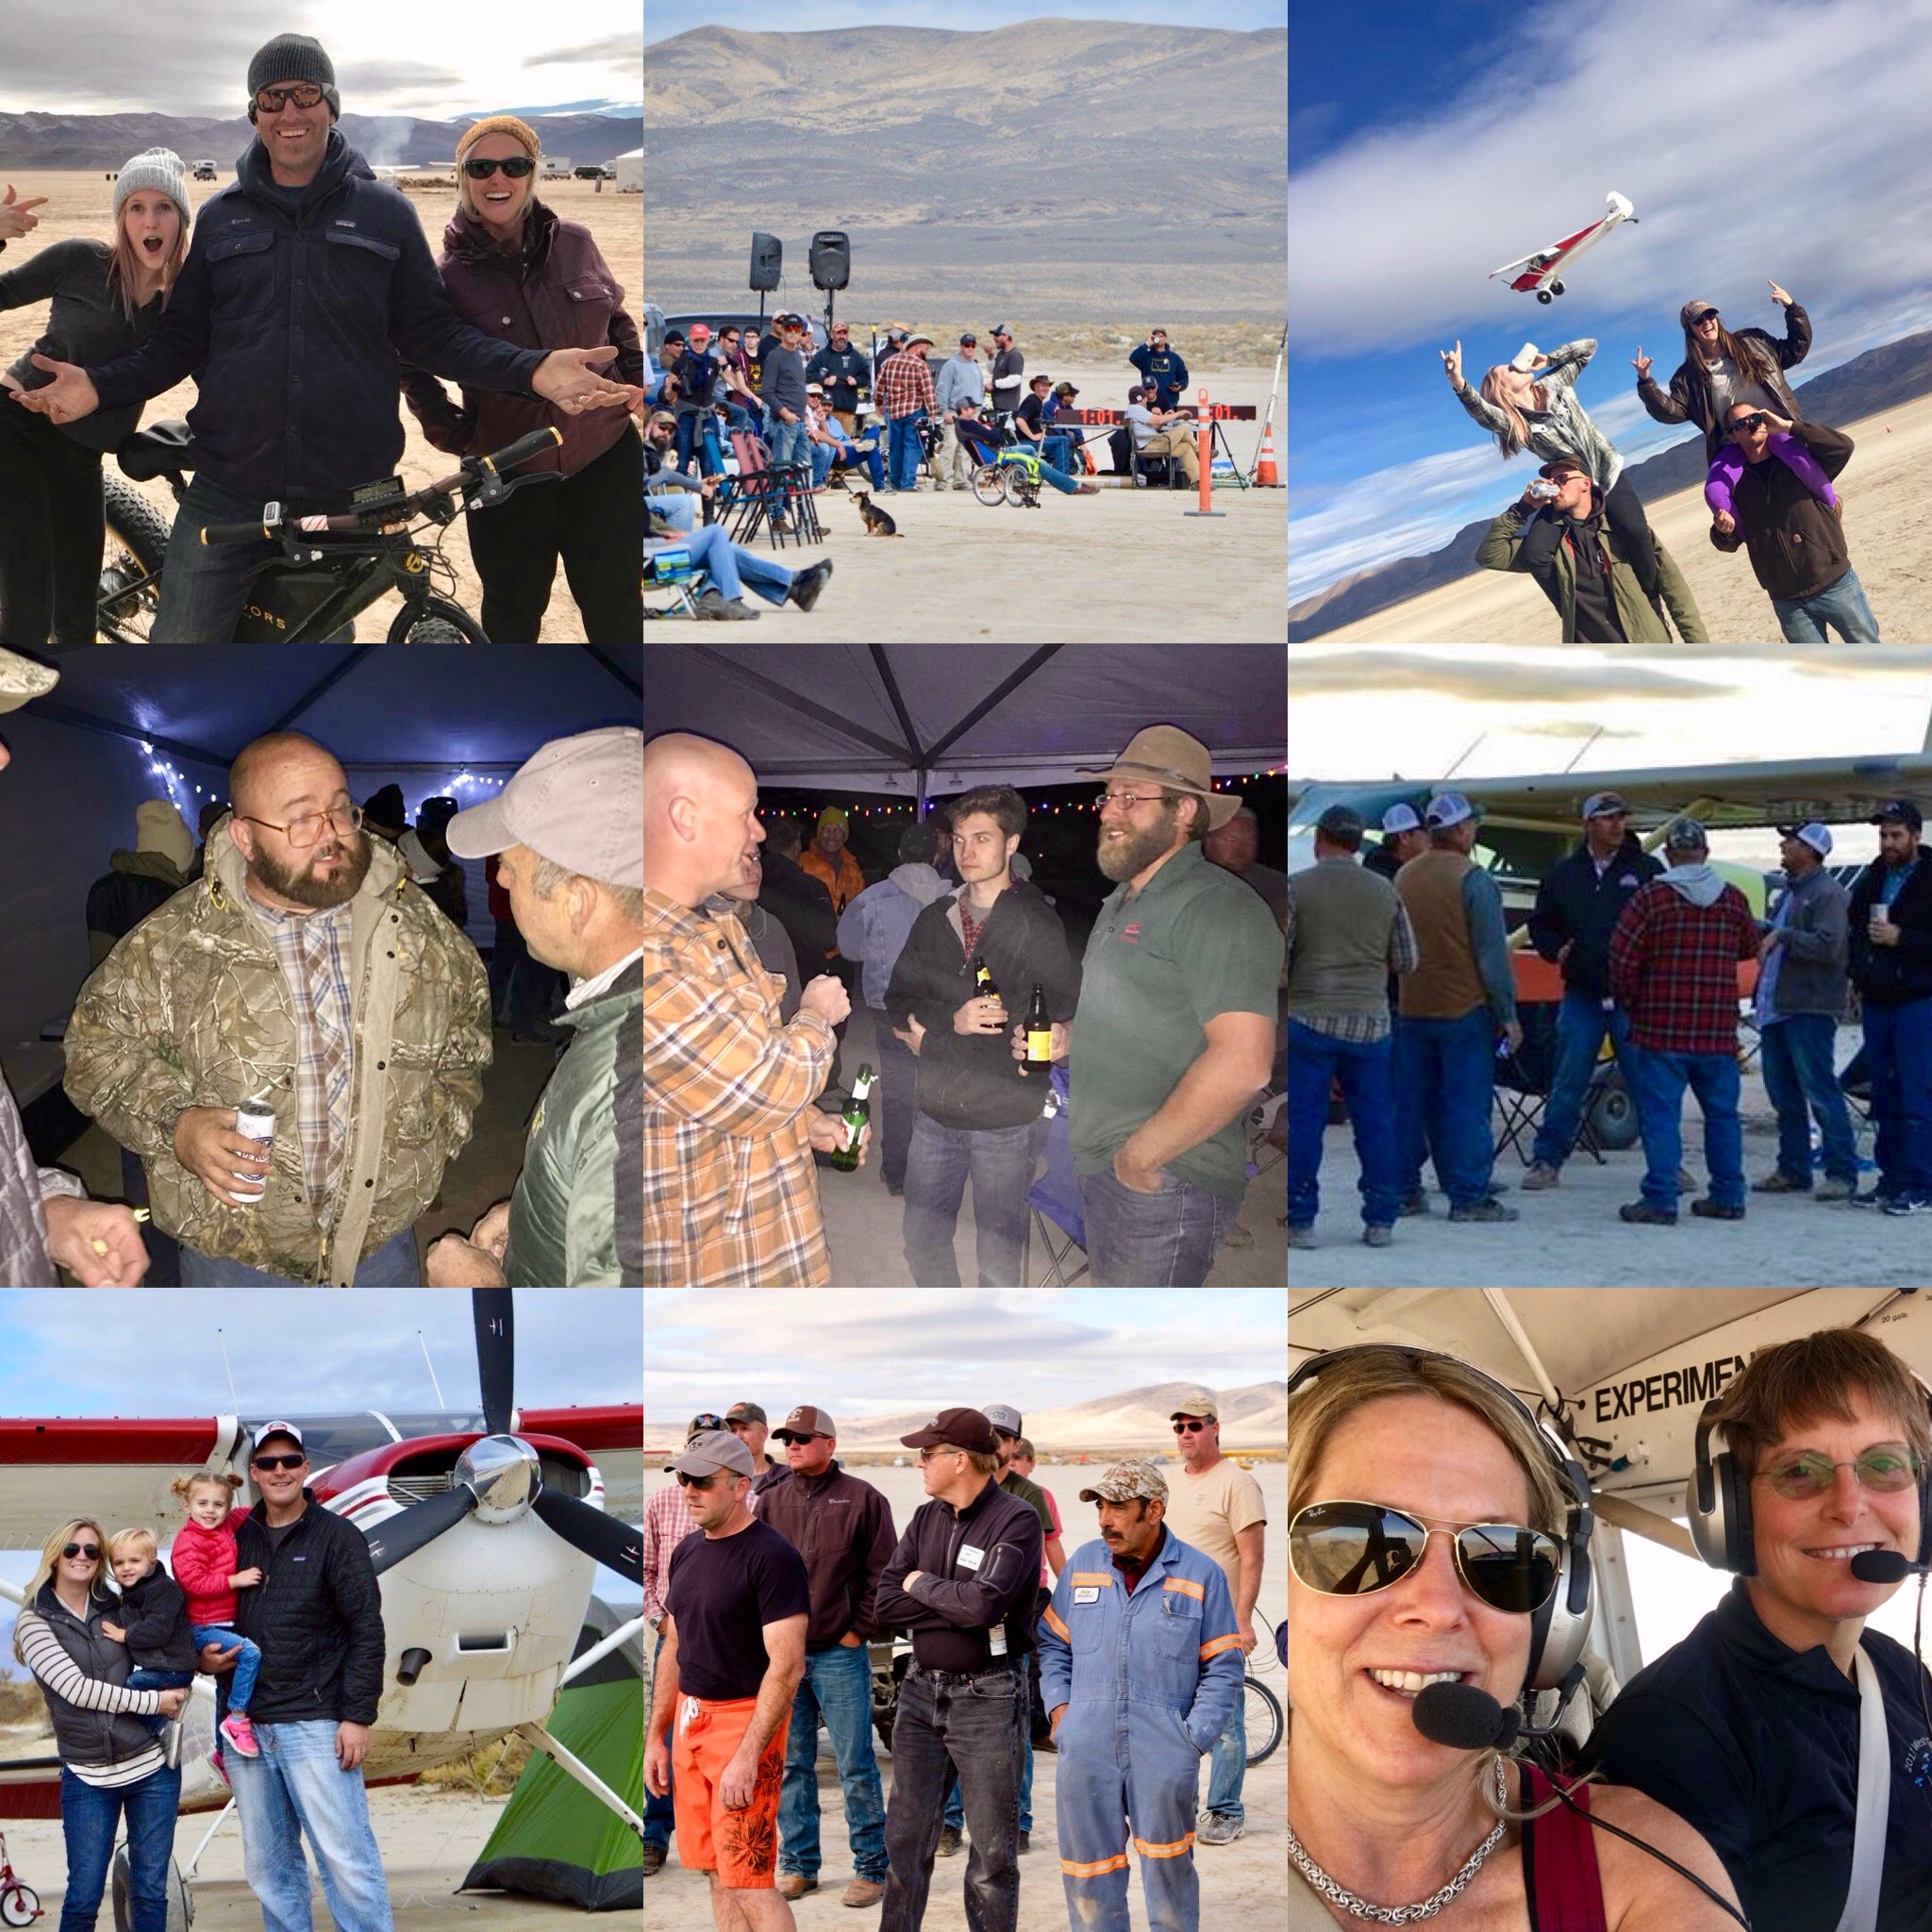
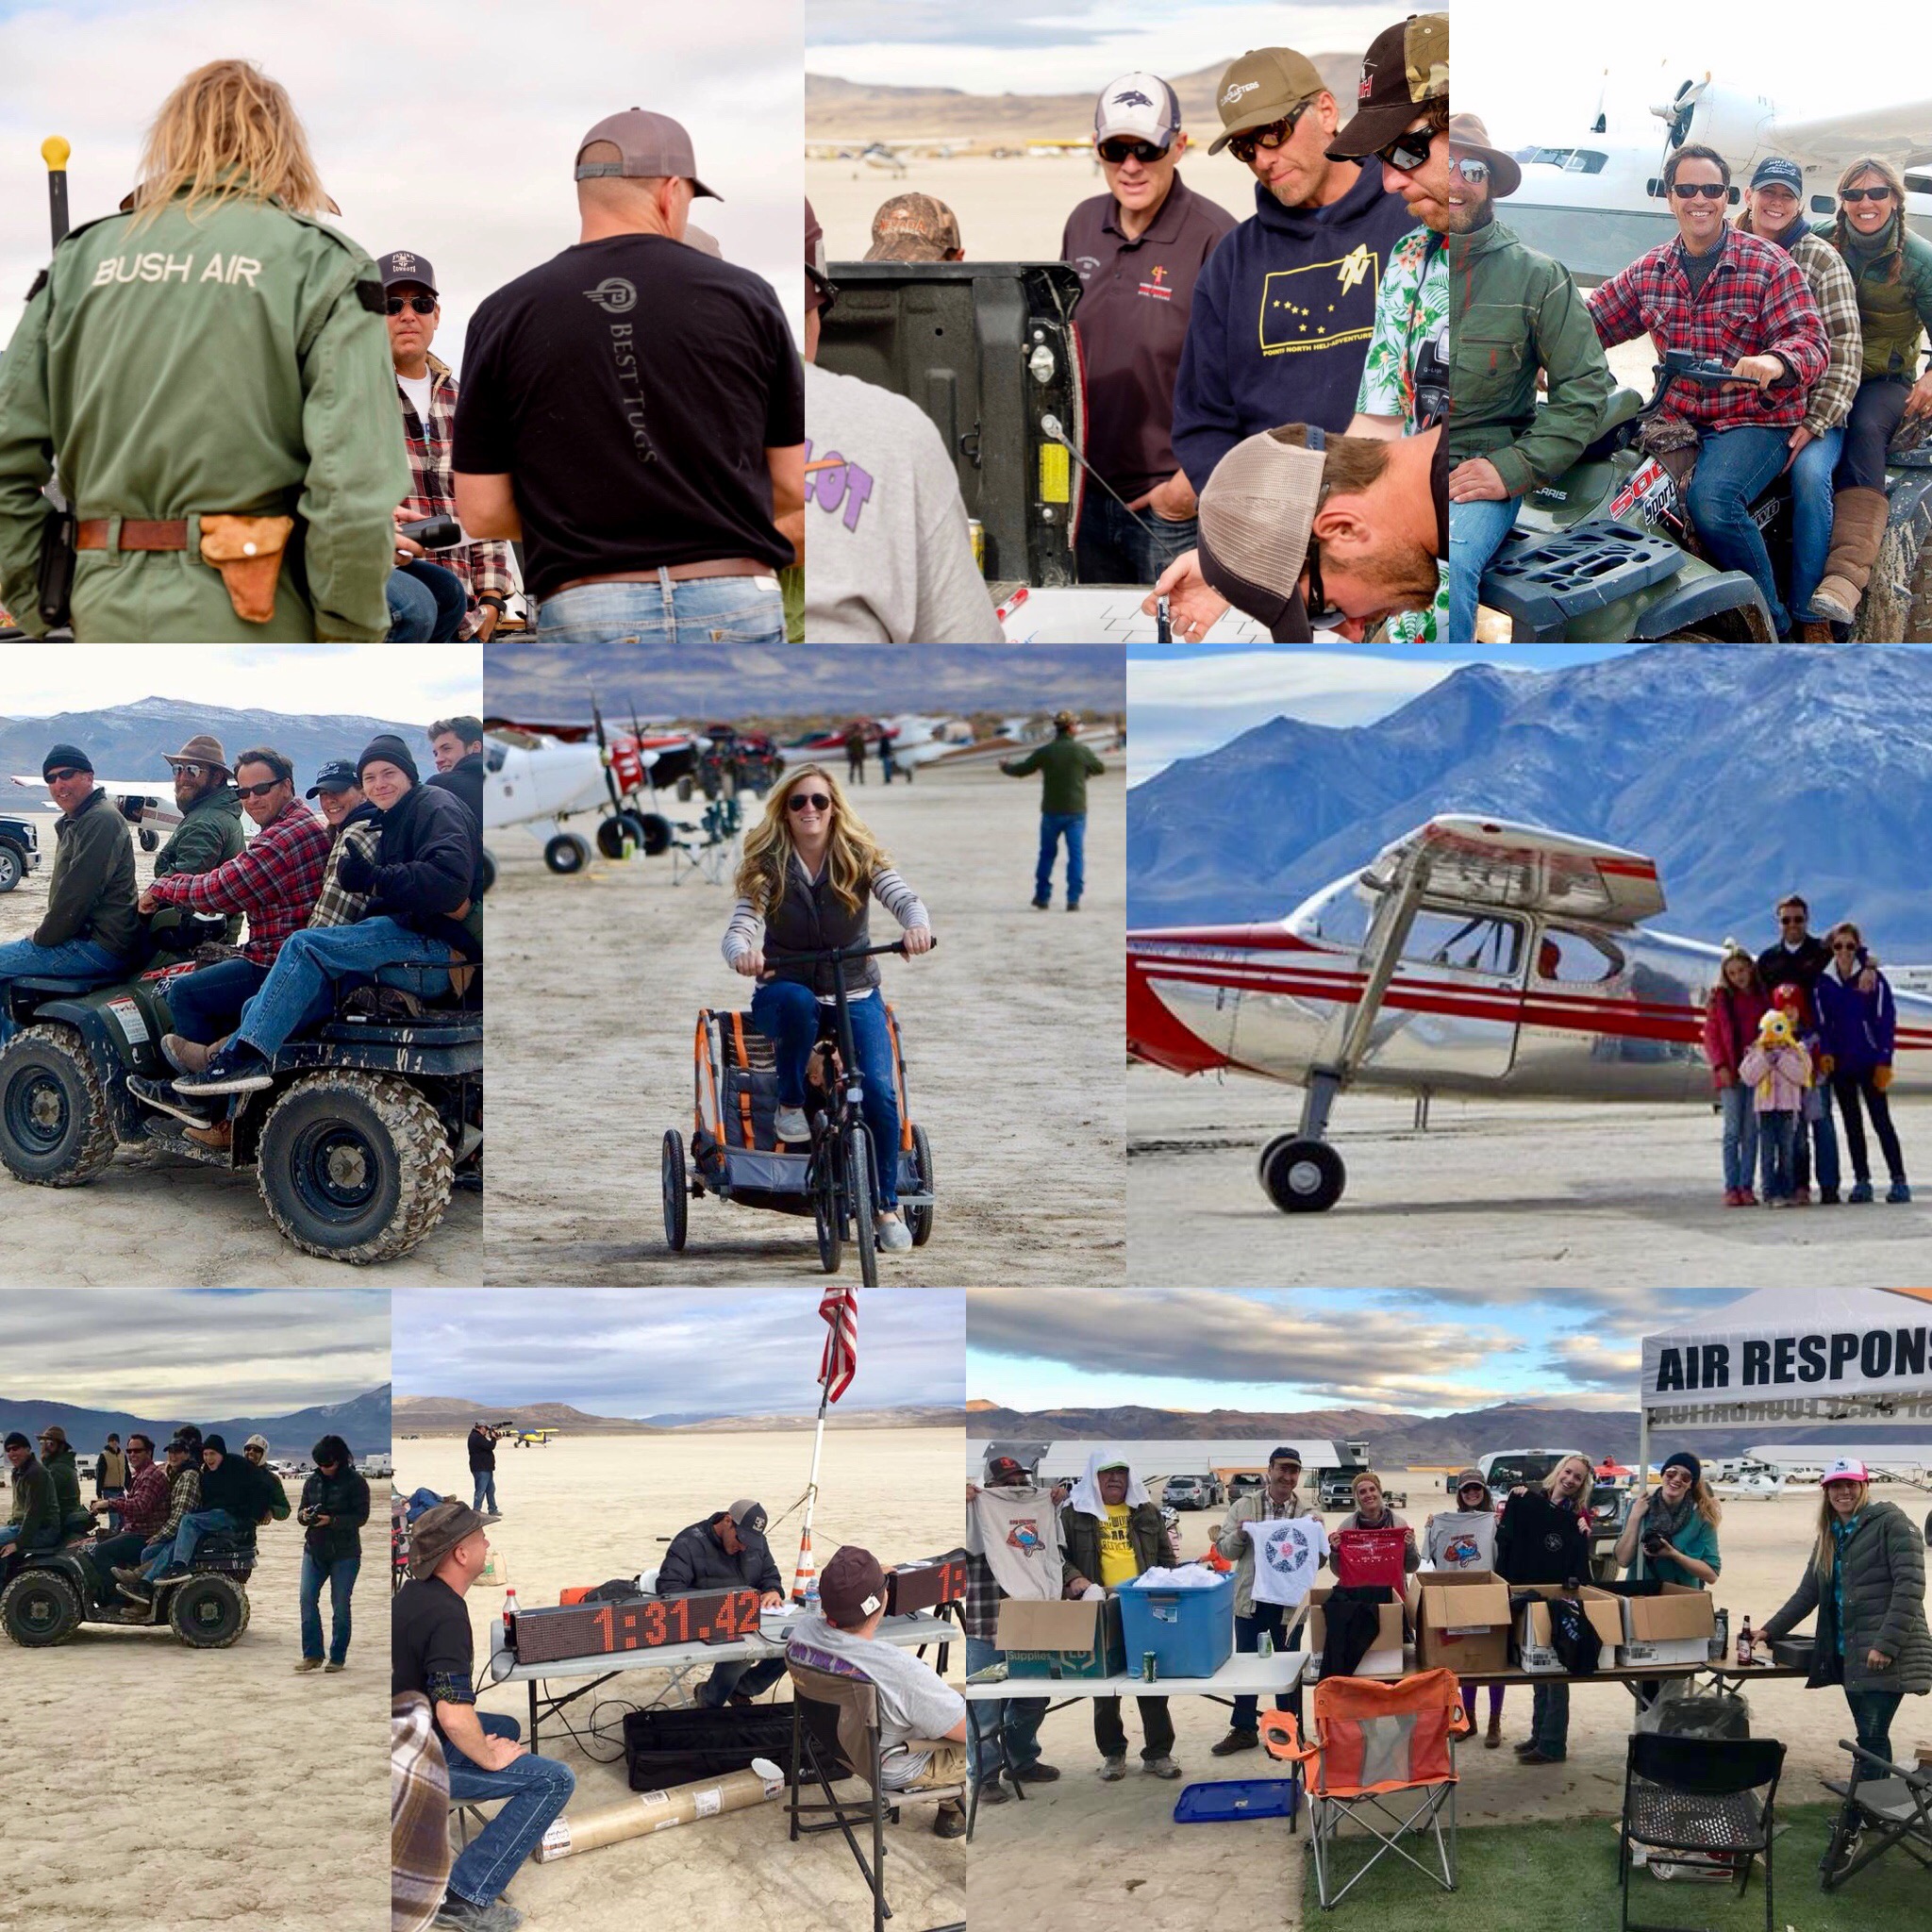
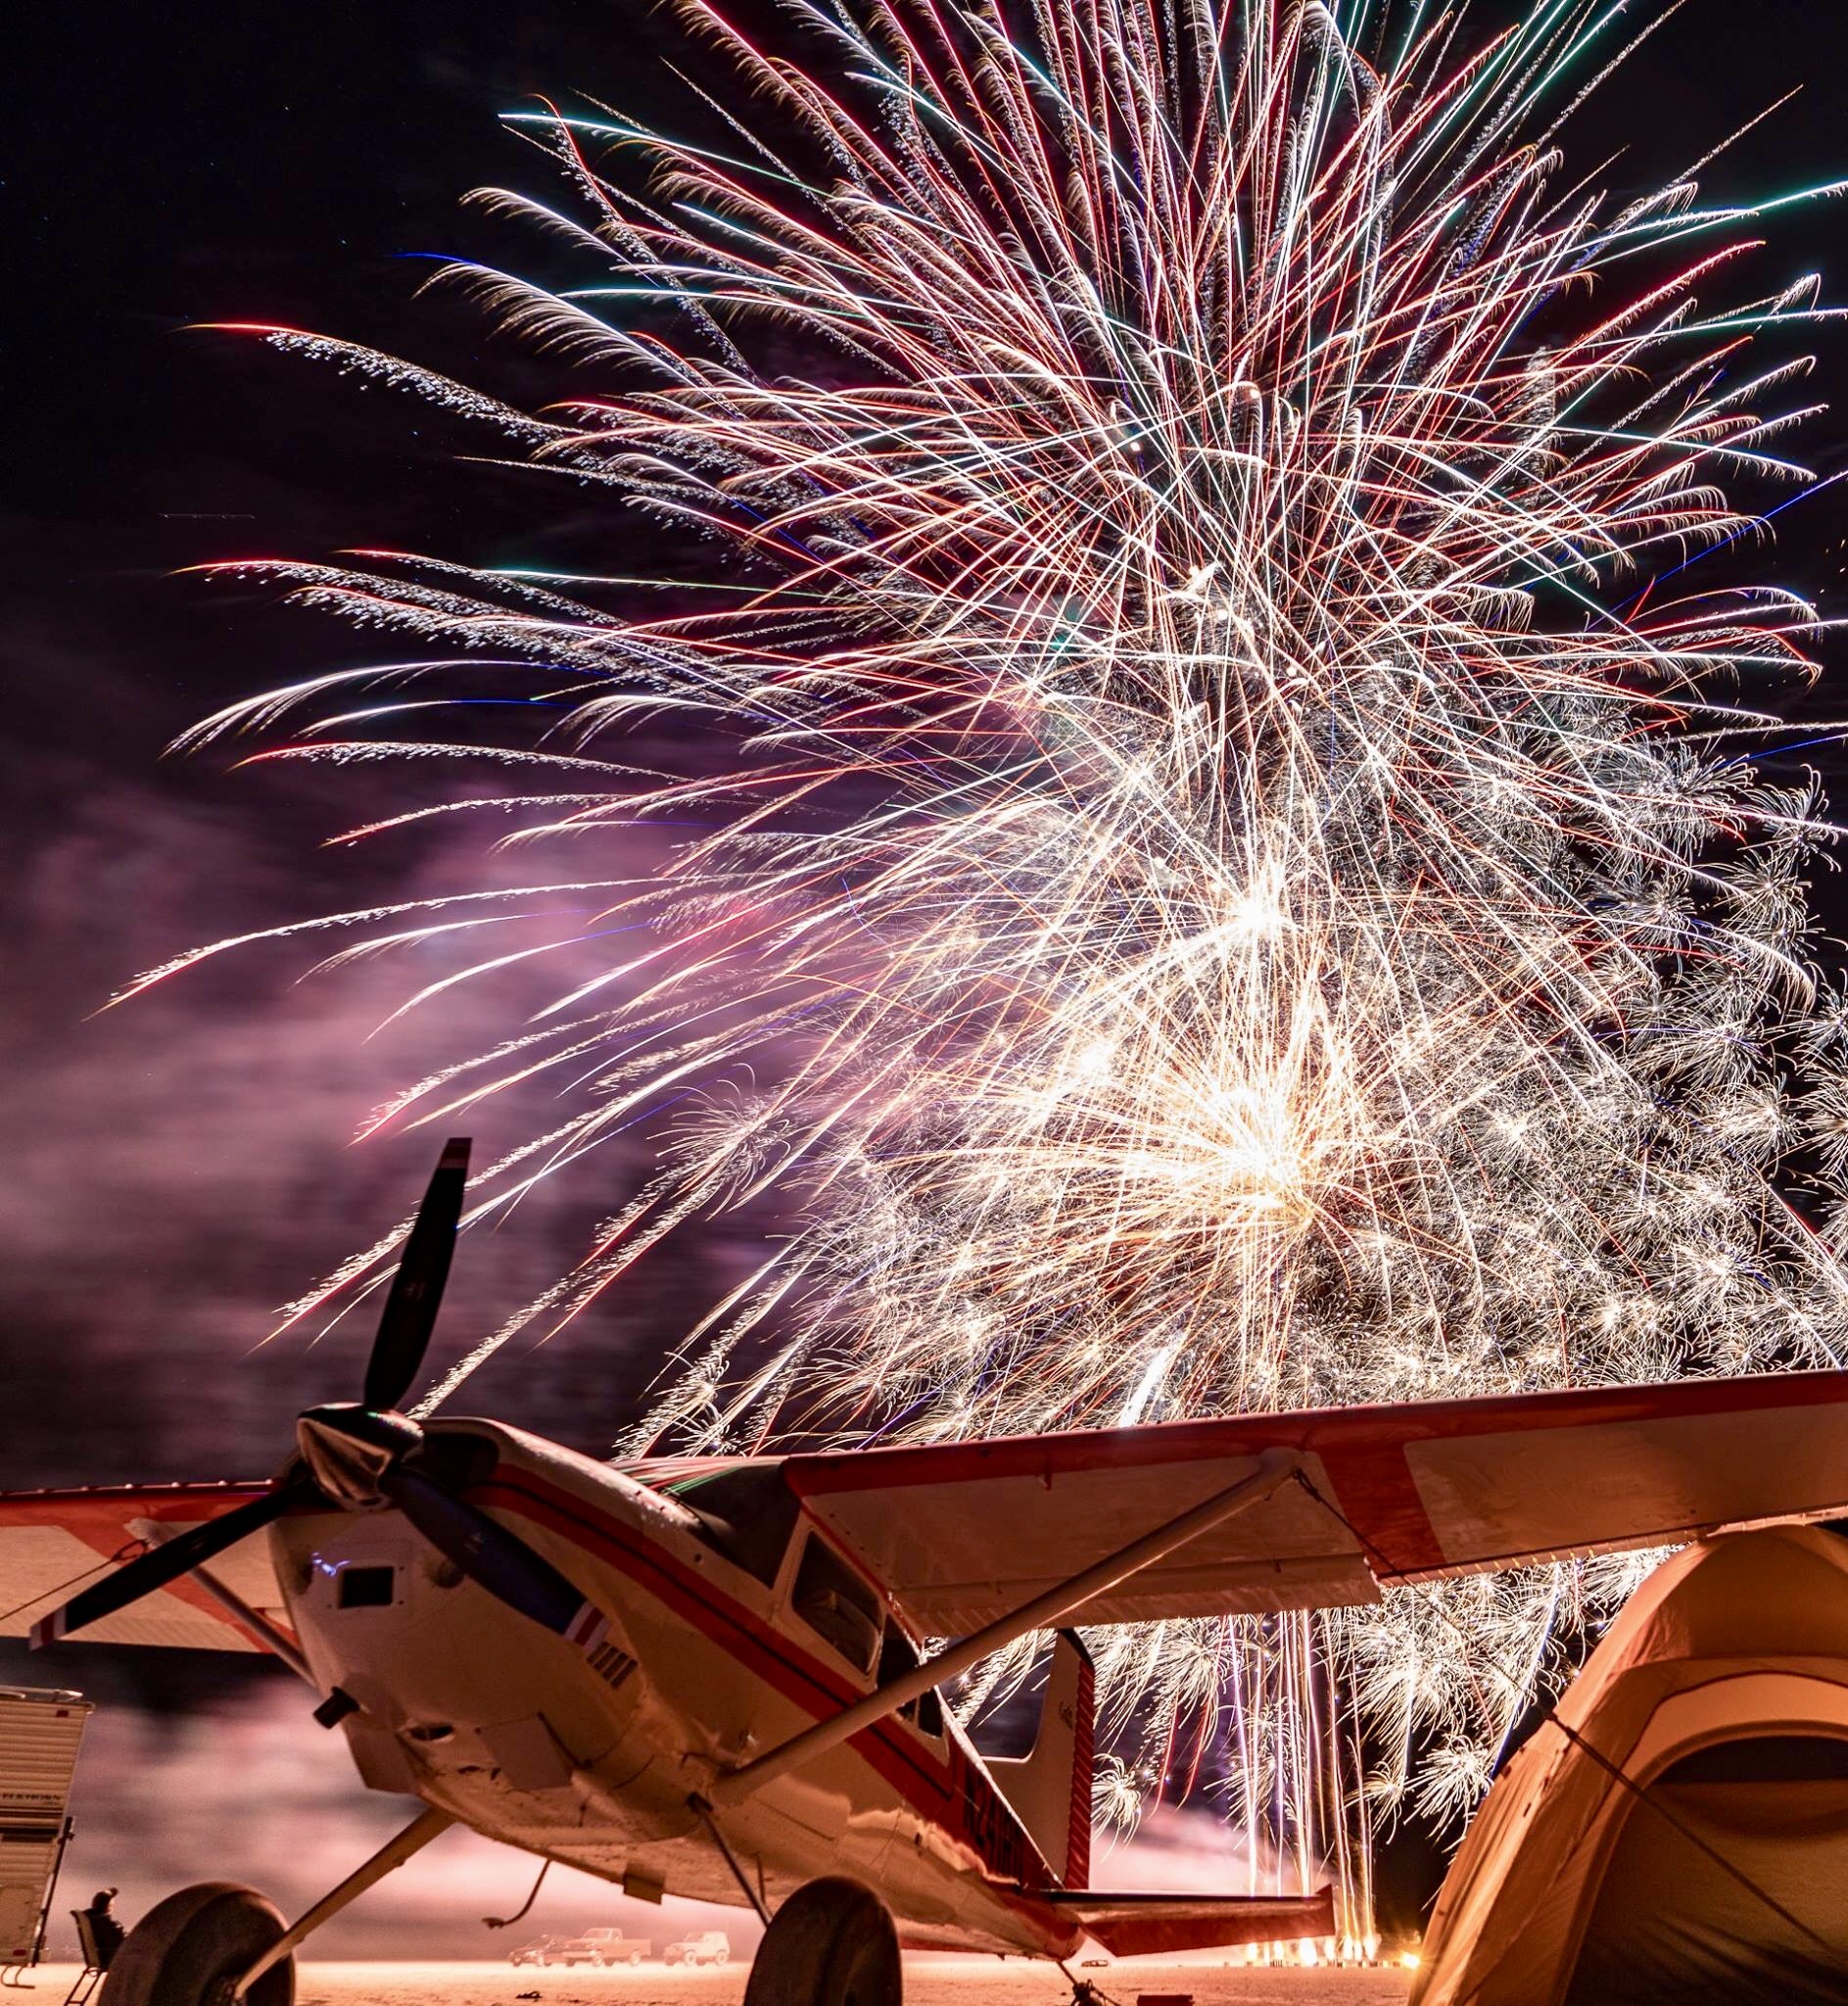
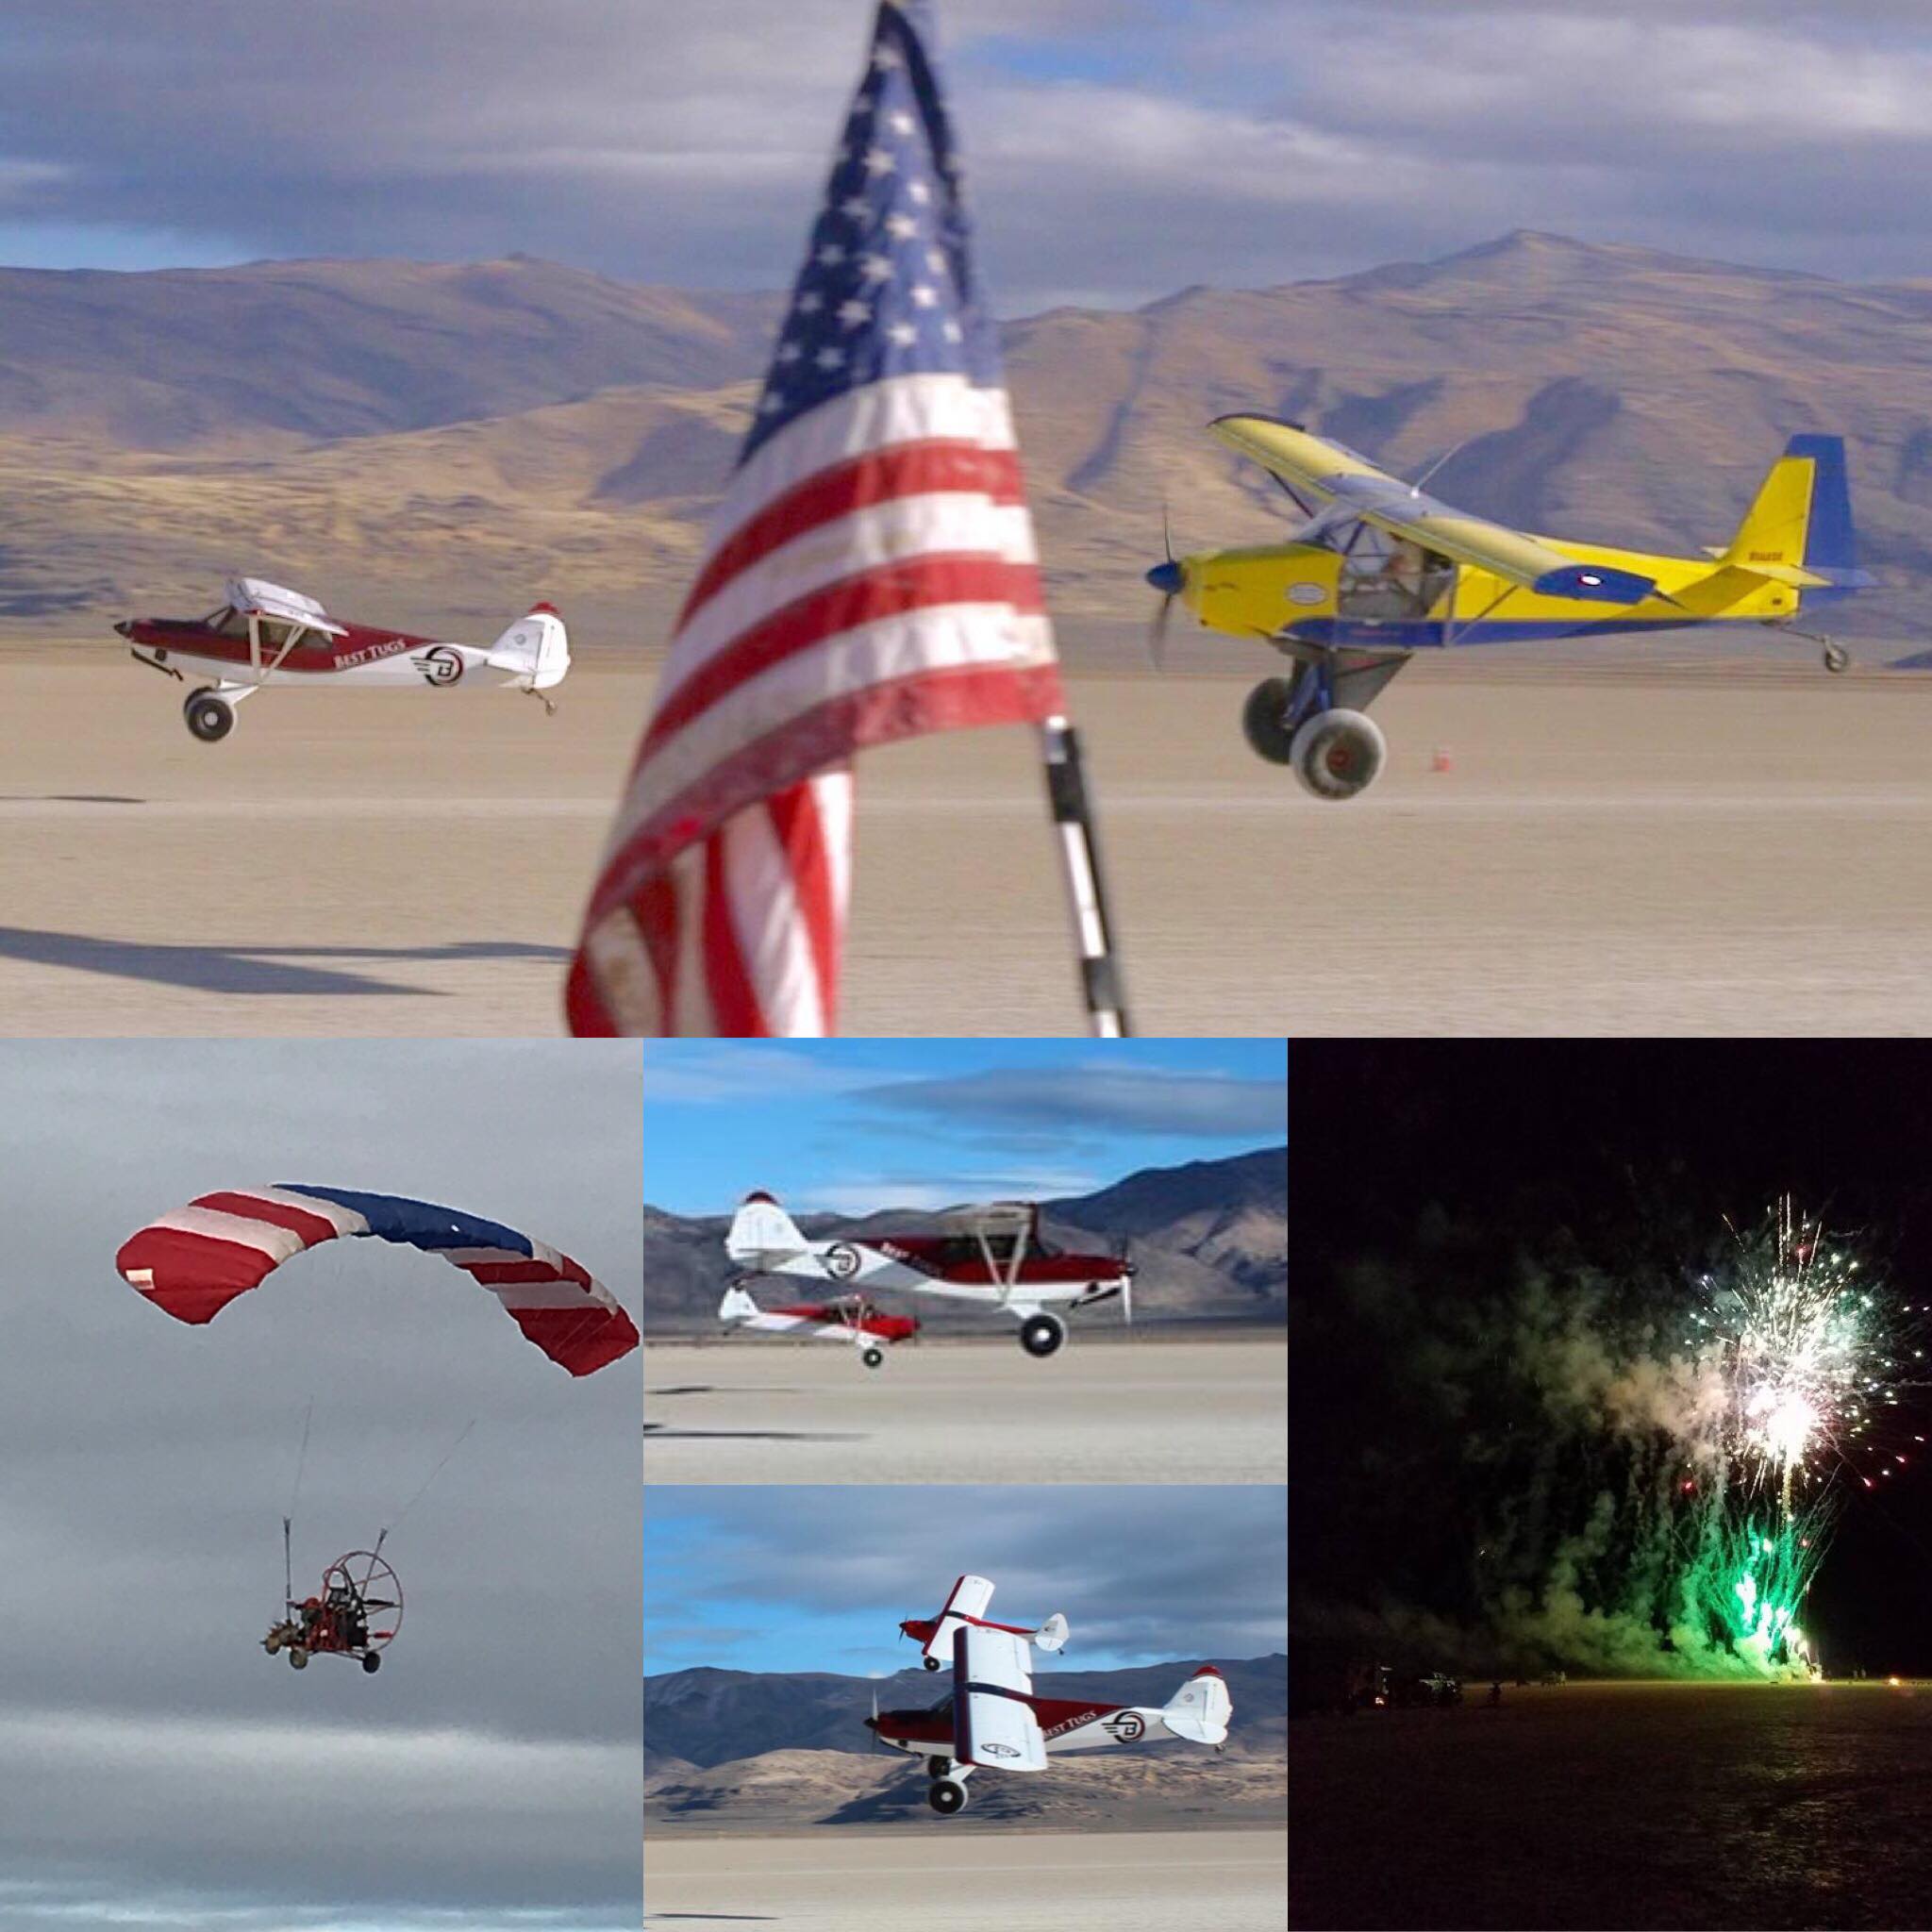
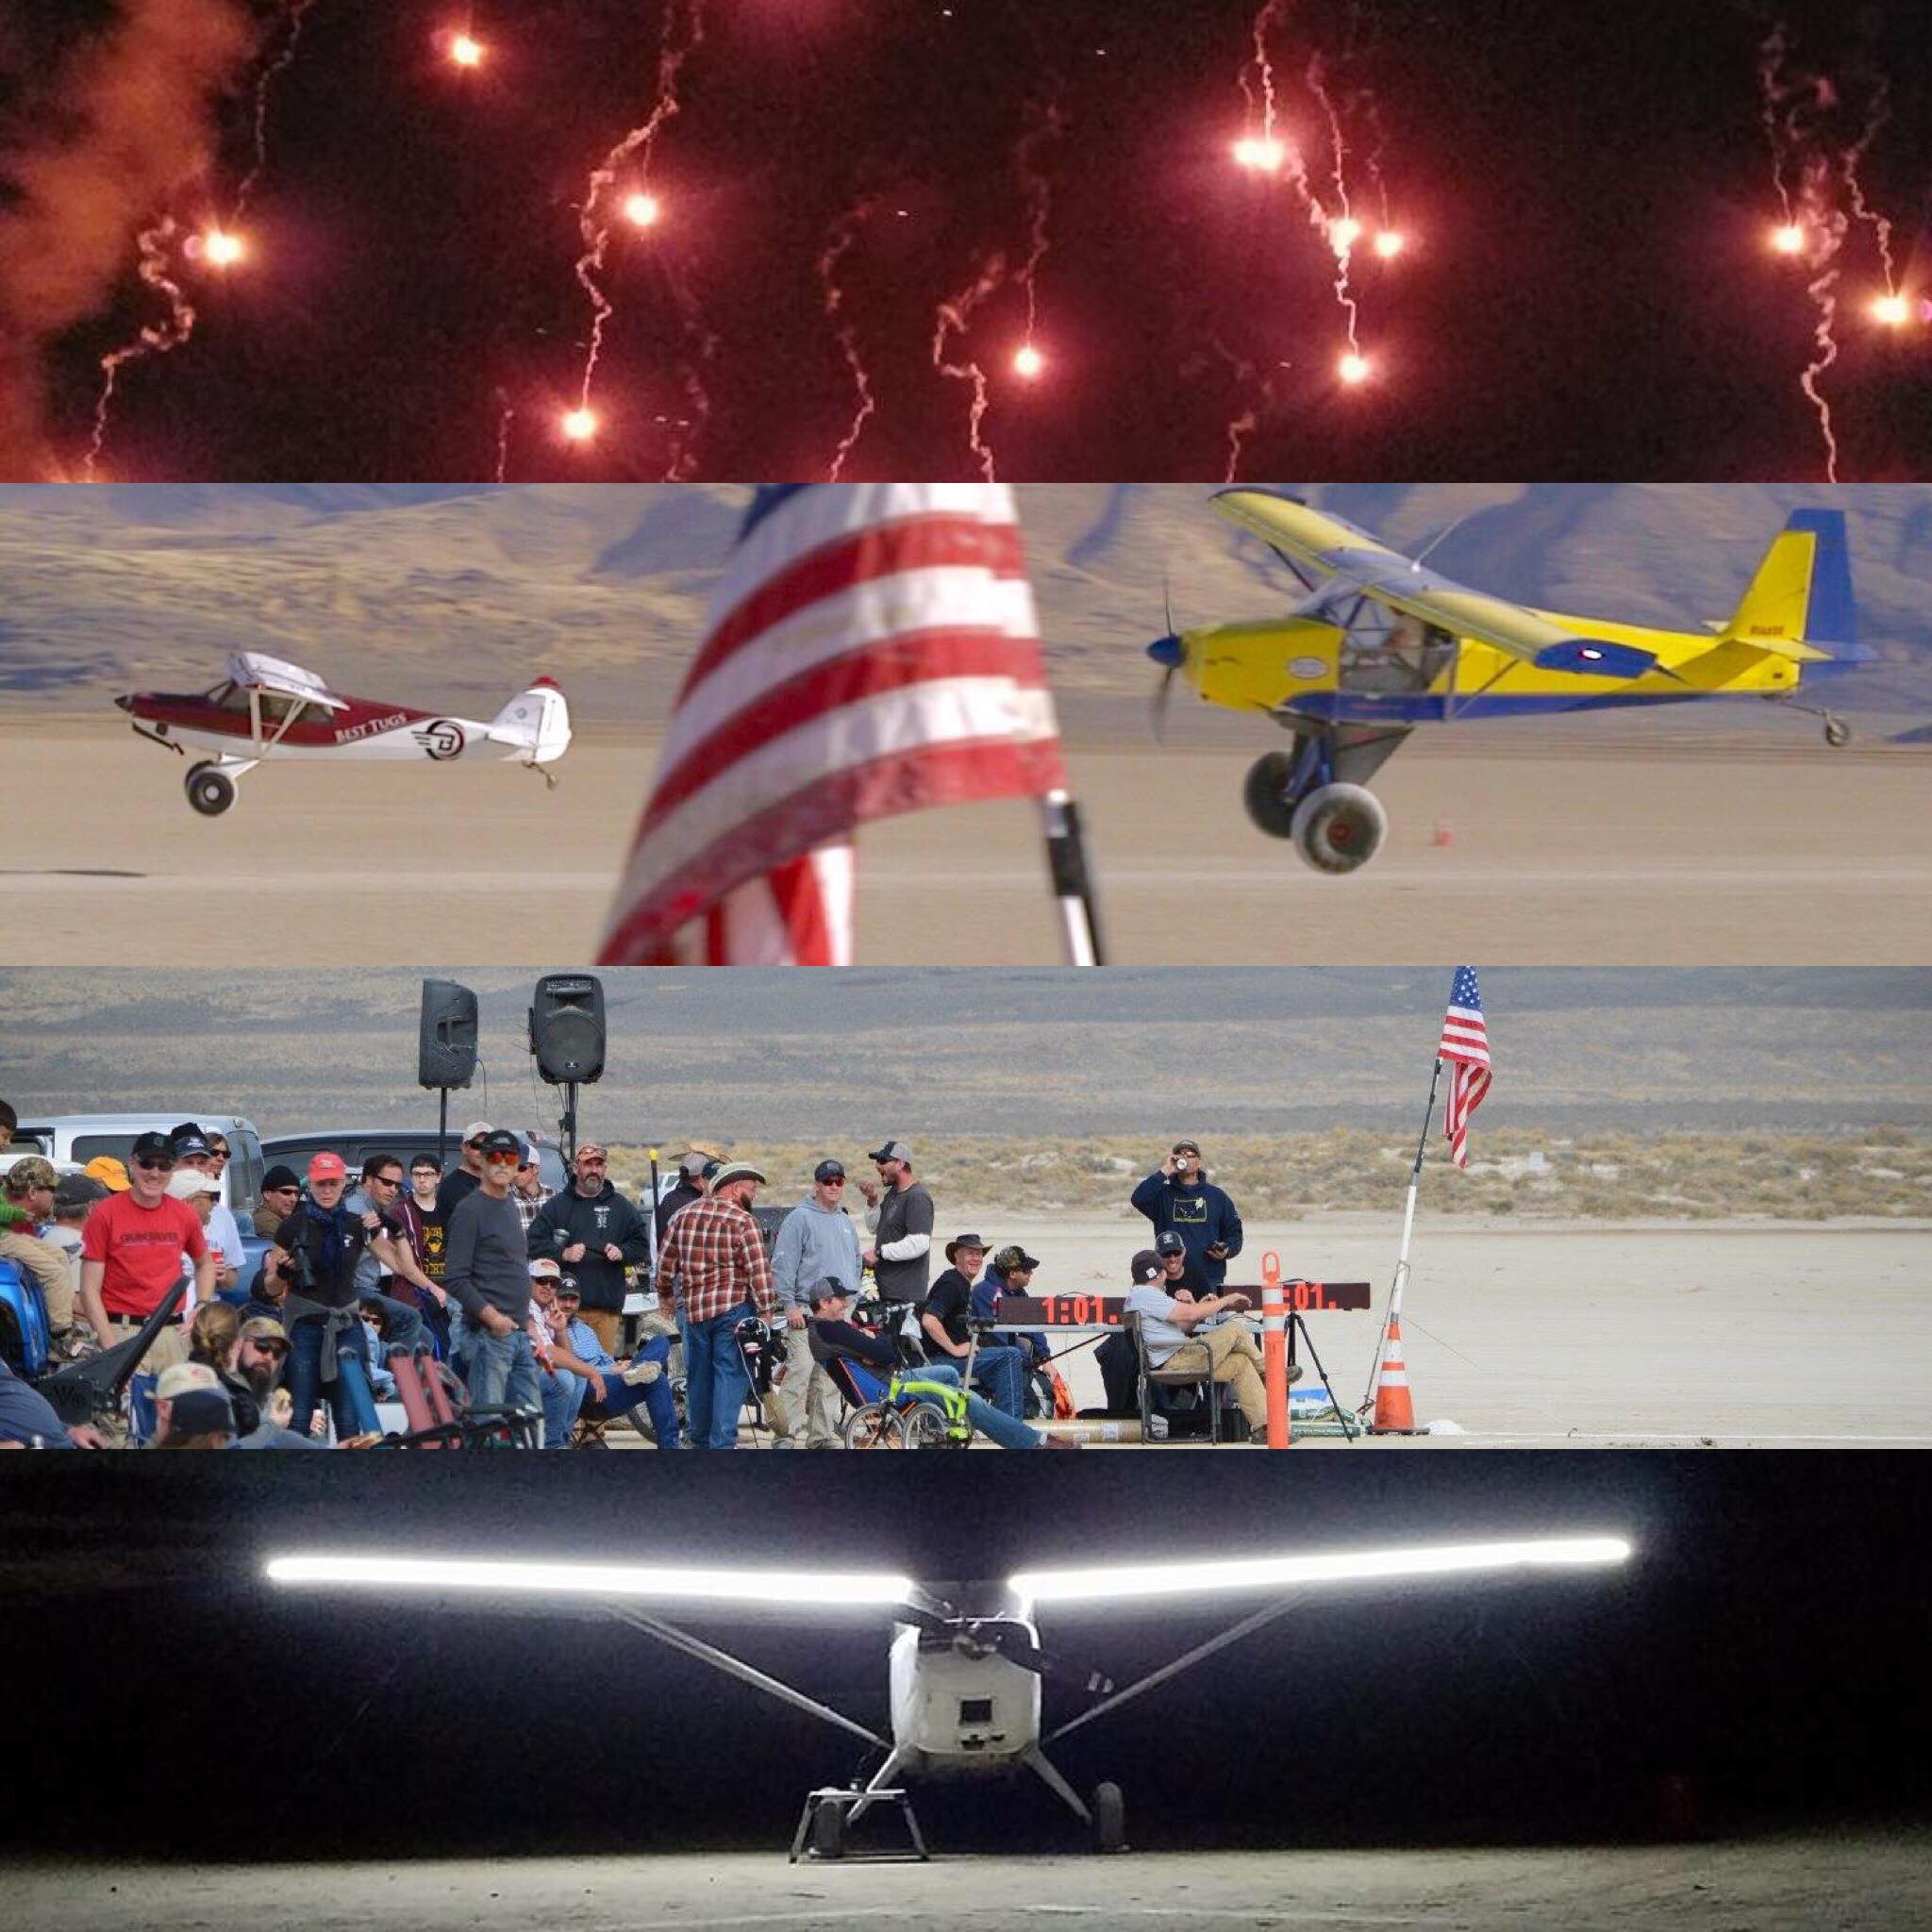
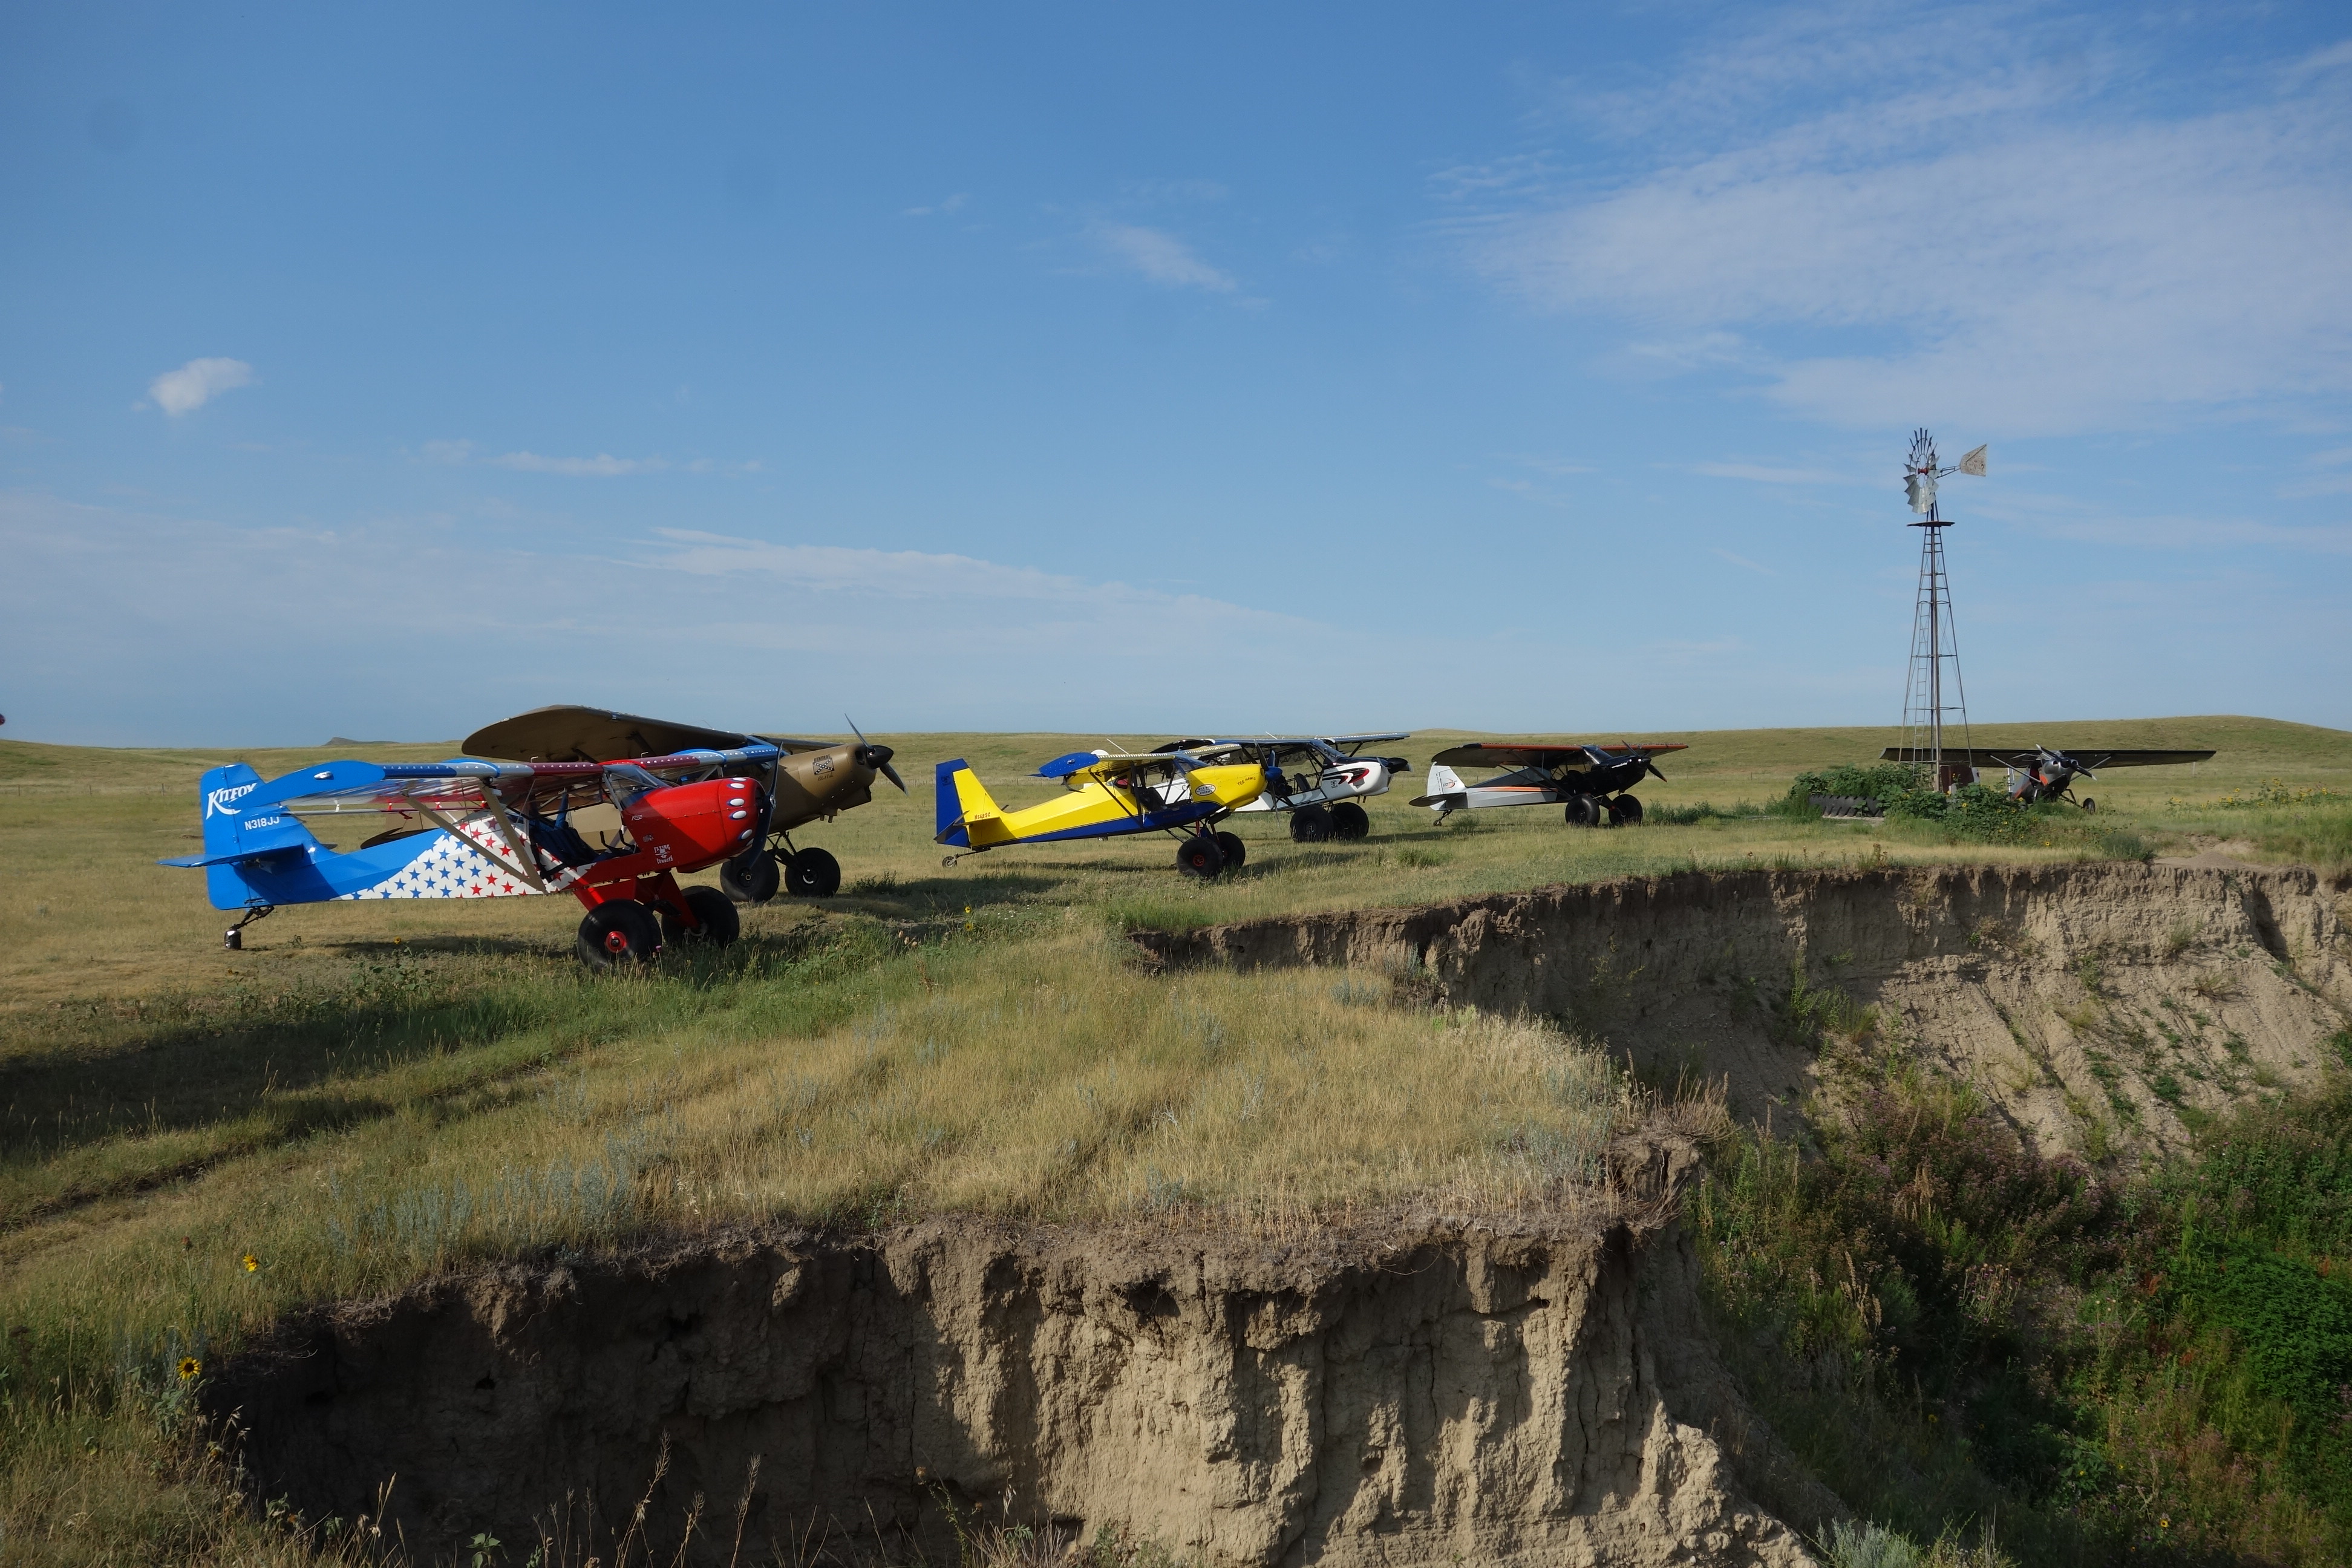
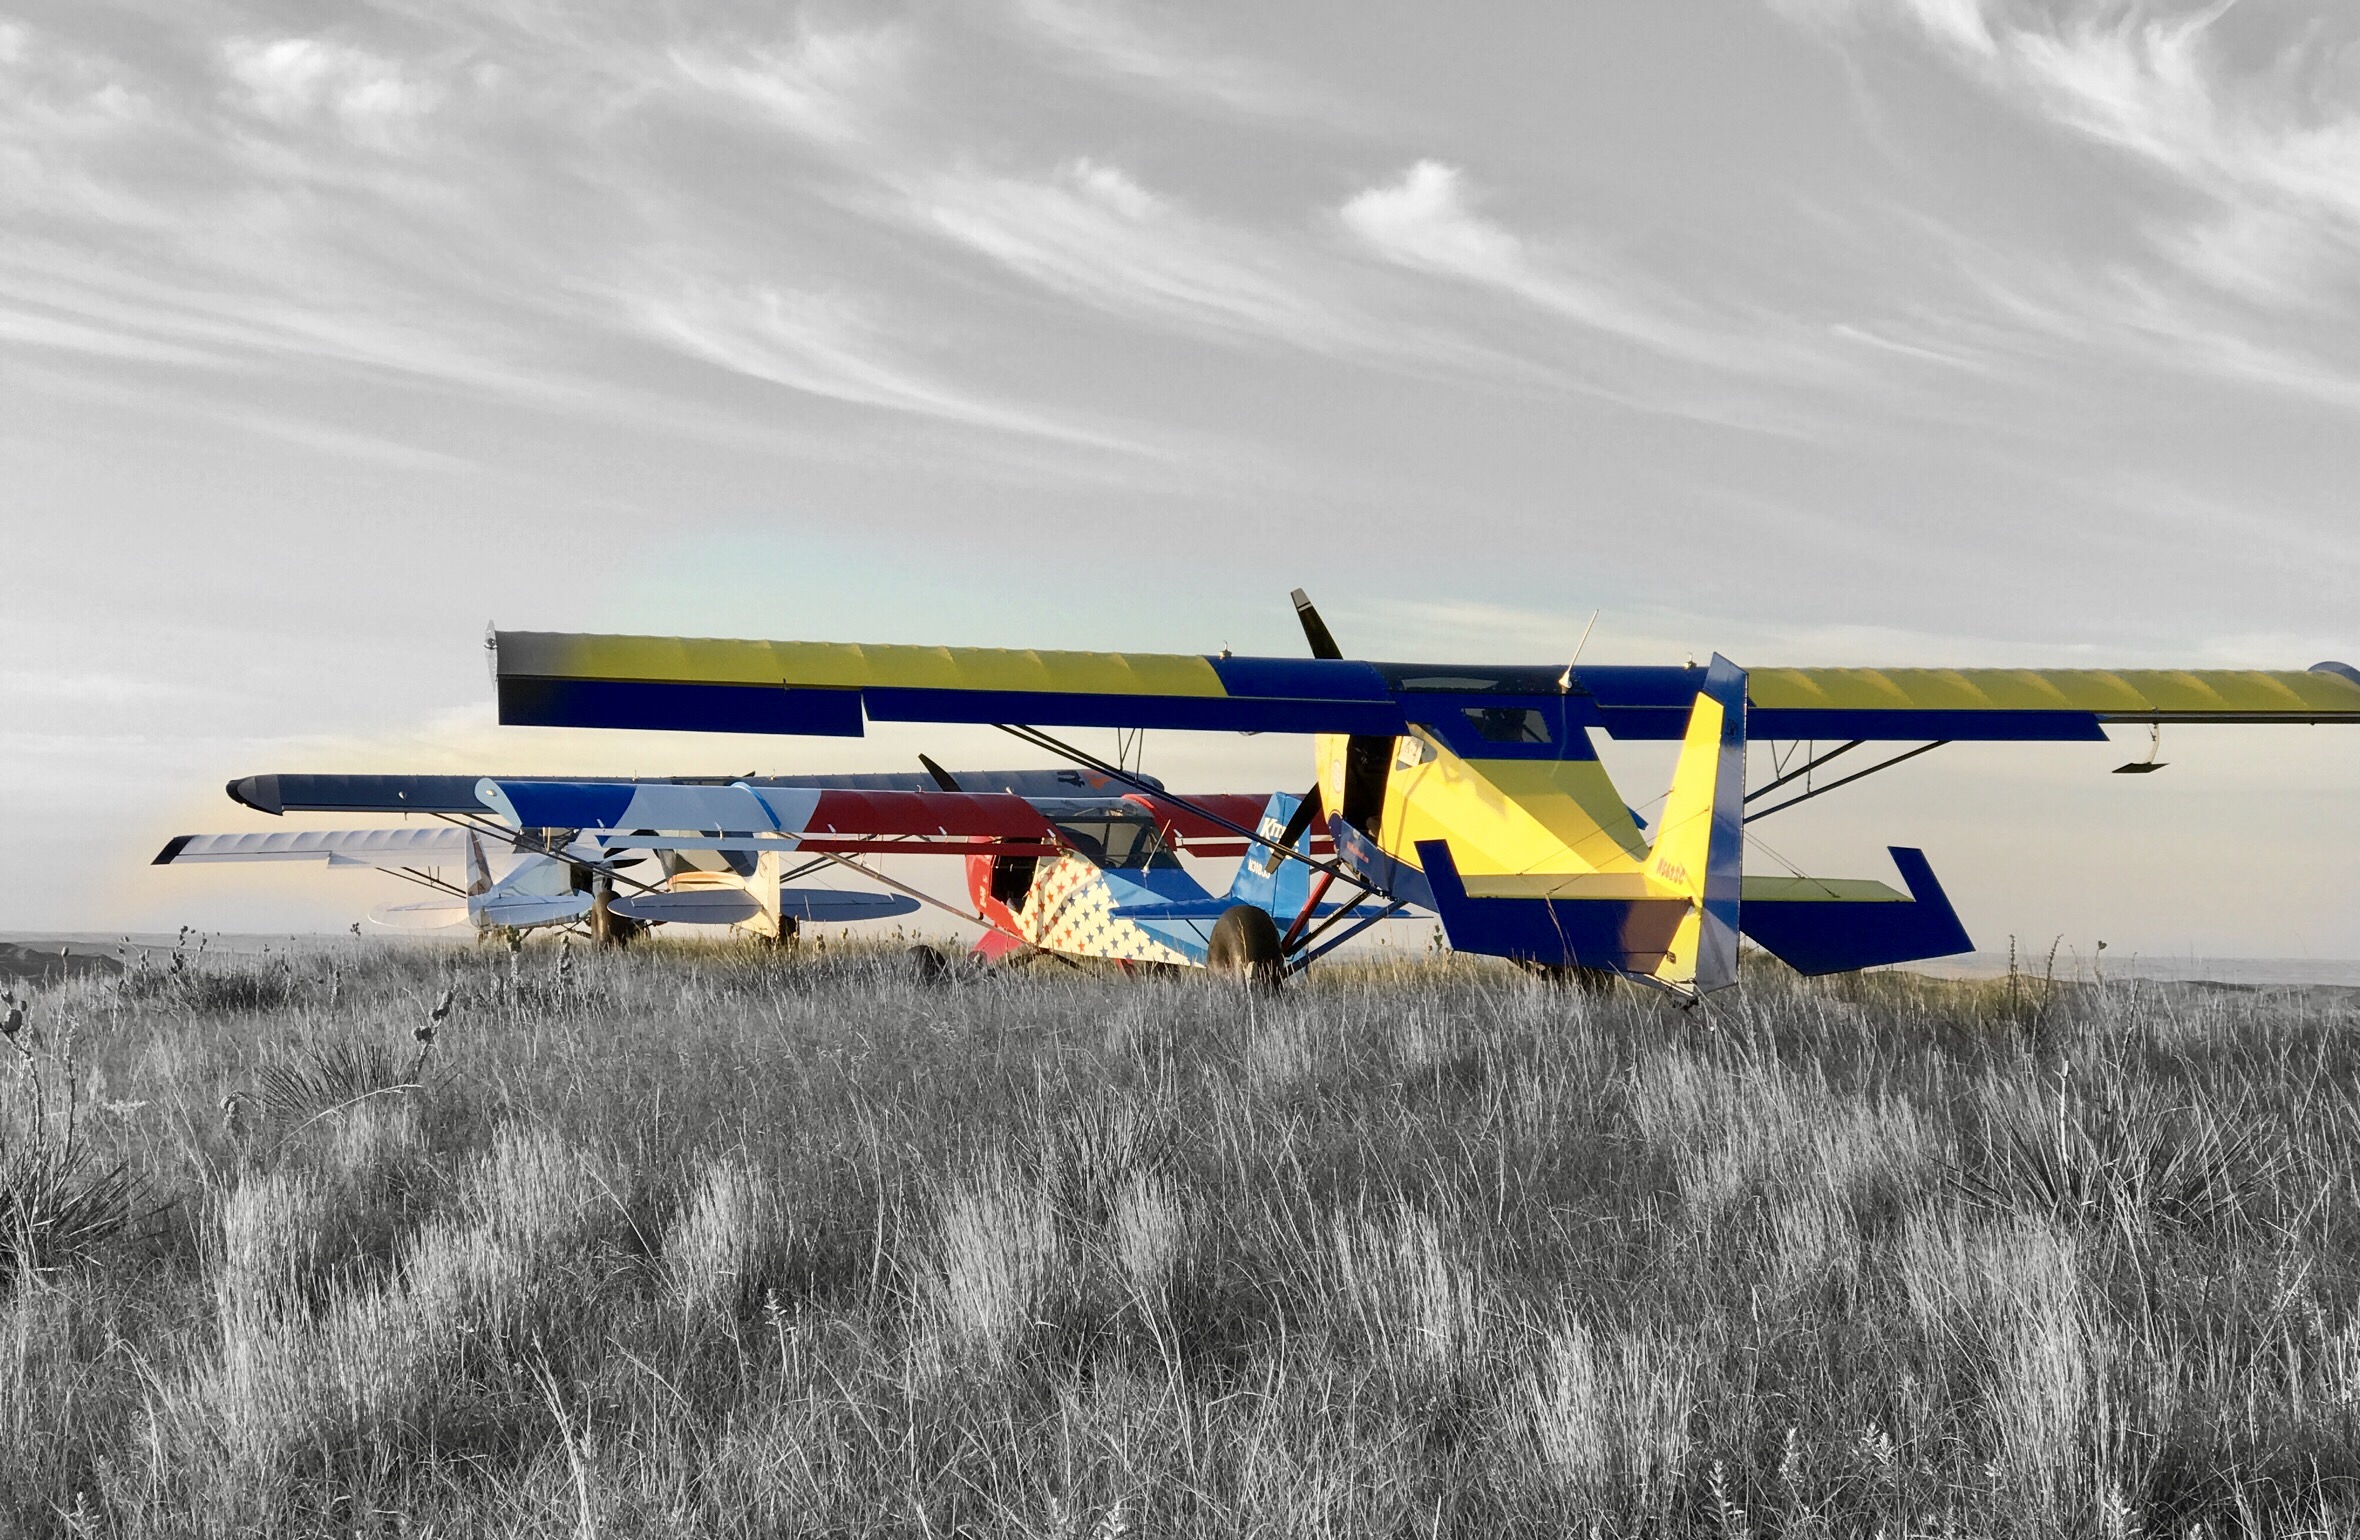
Here are some great photos to keep things current around here. Keep checking back here. Thanks for your time!
 Keith Davis earning his Private Pilot Certificate! Congrats buddy!
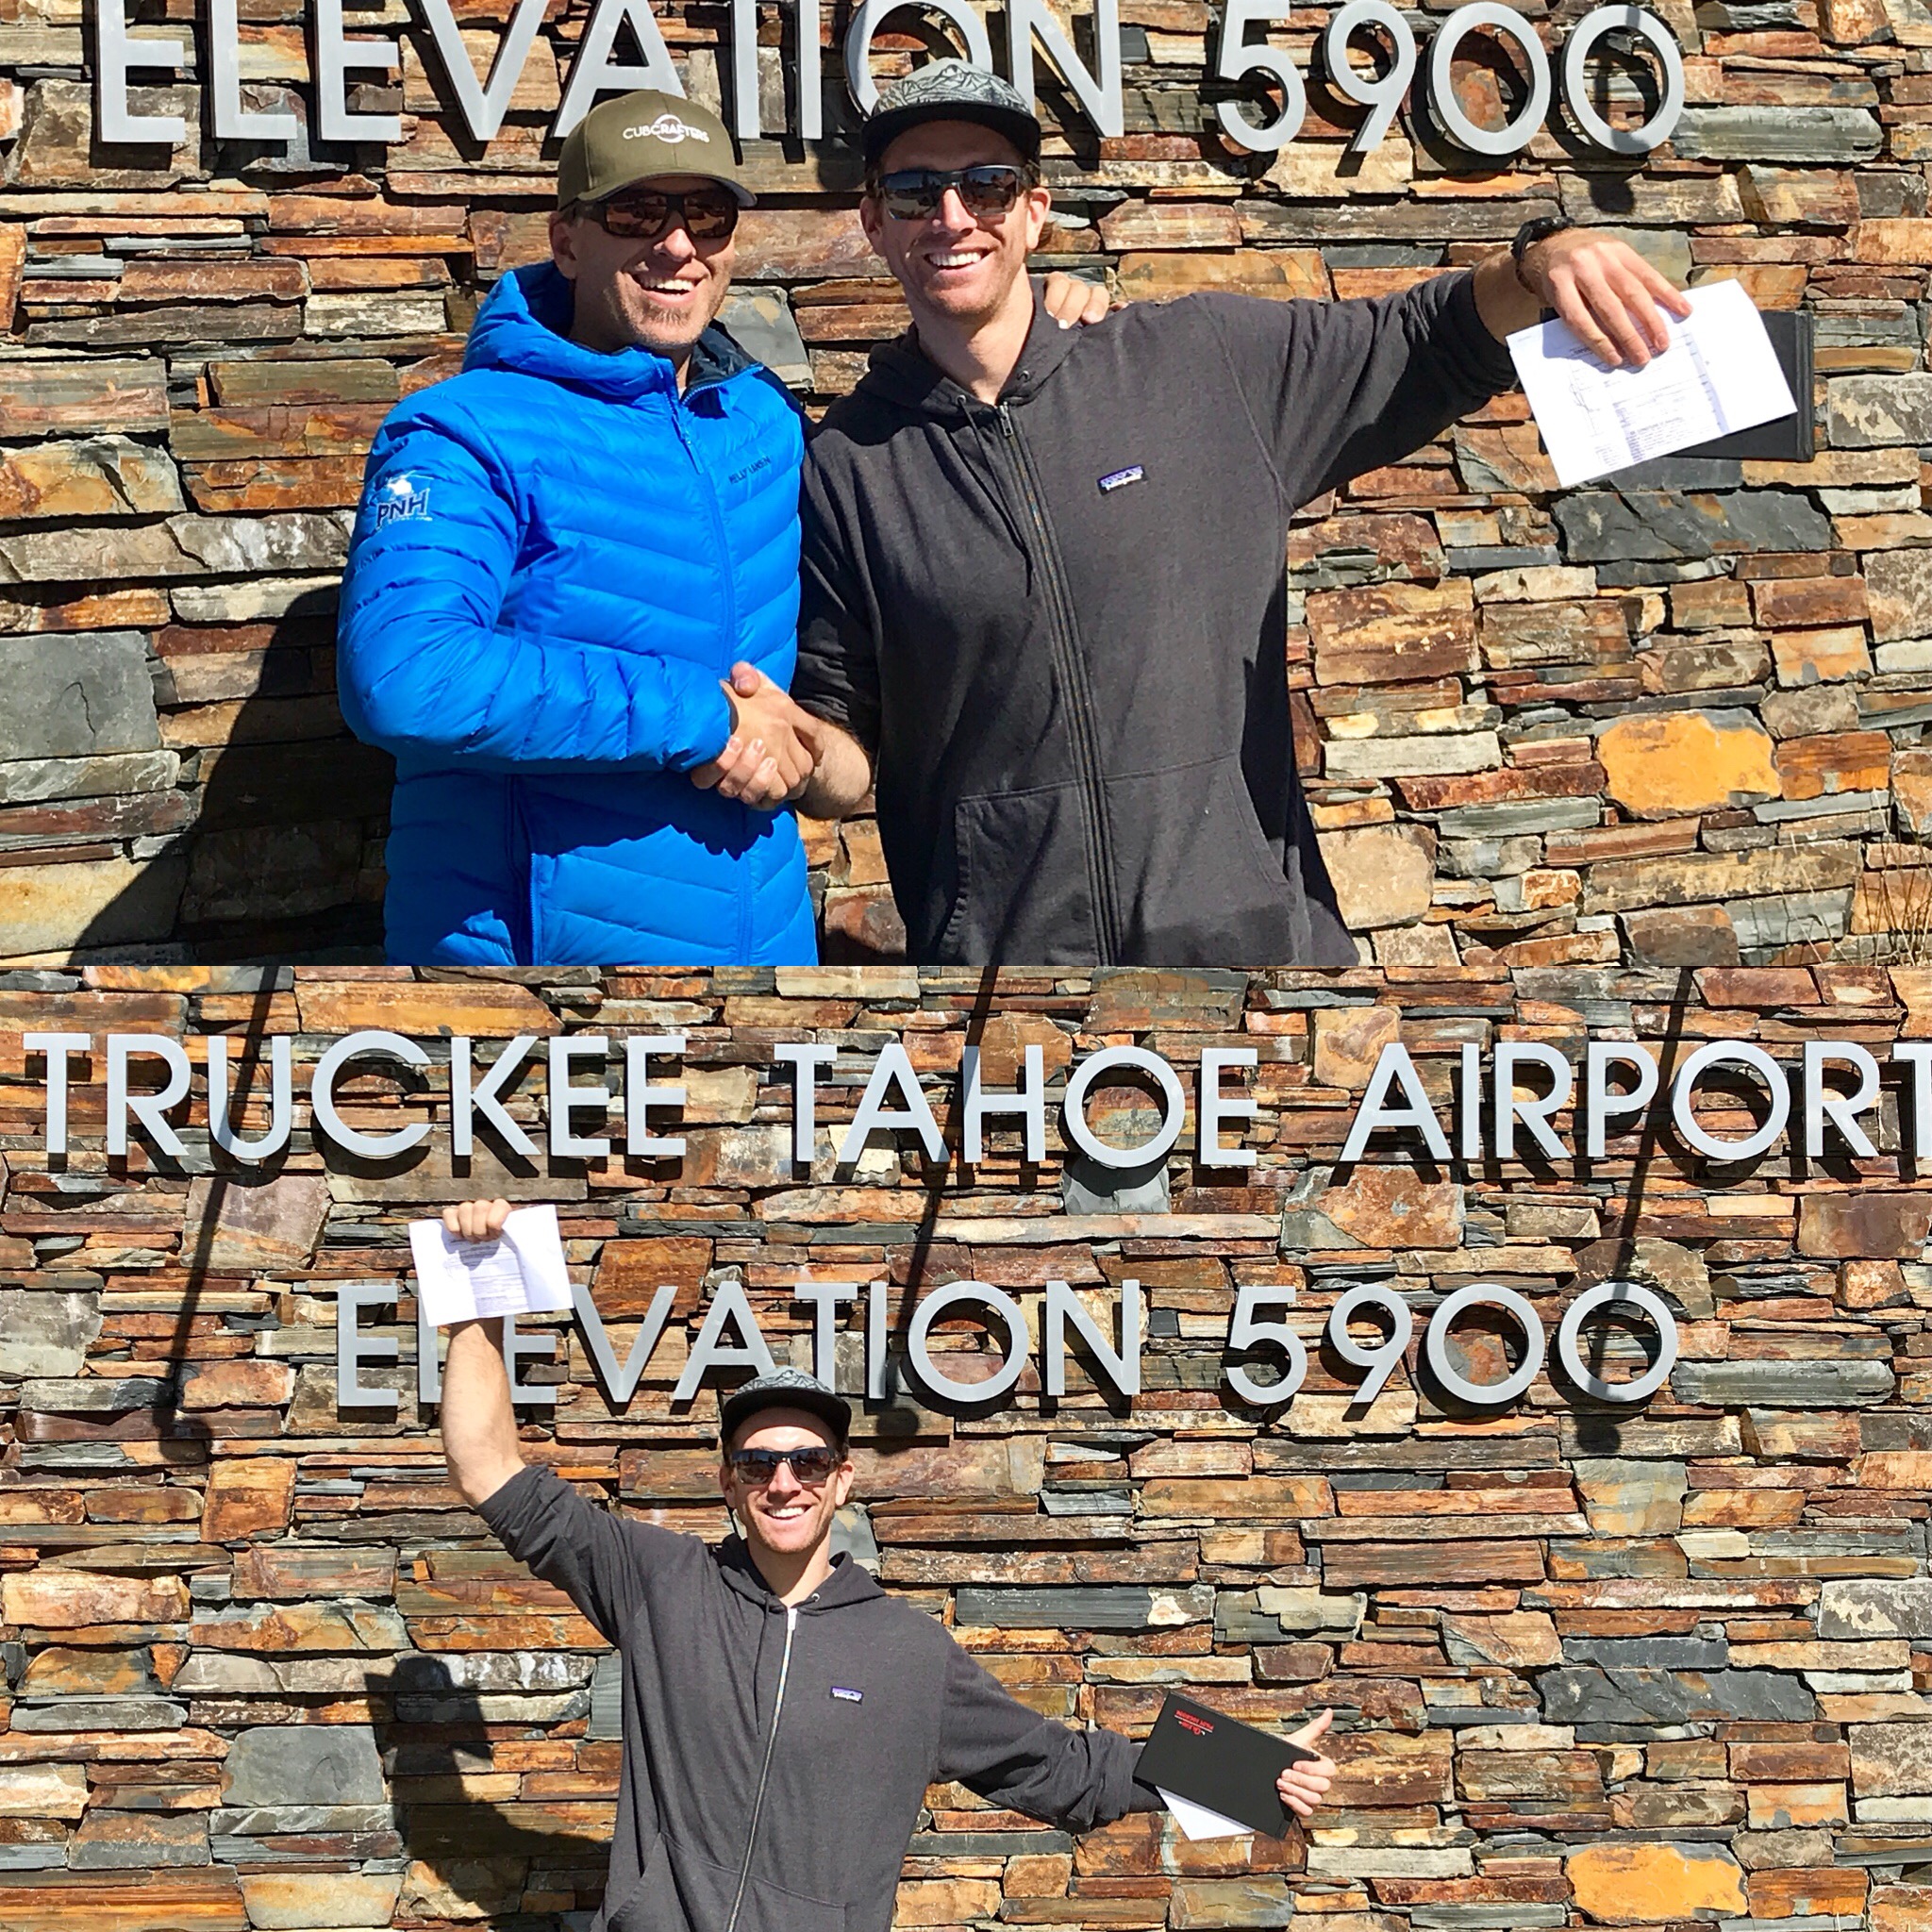
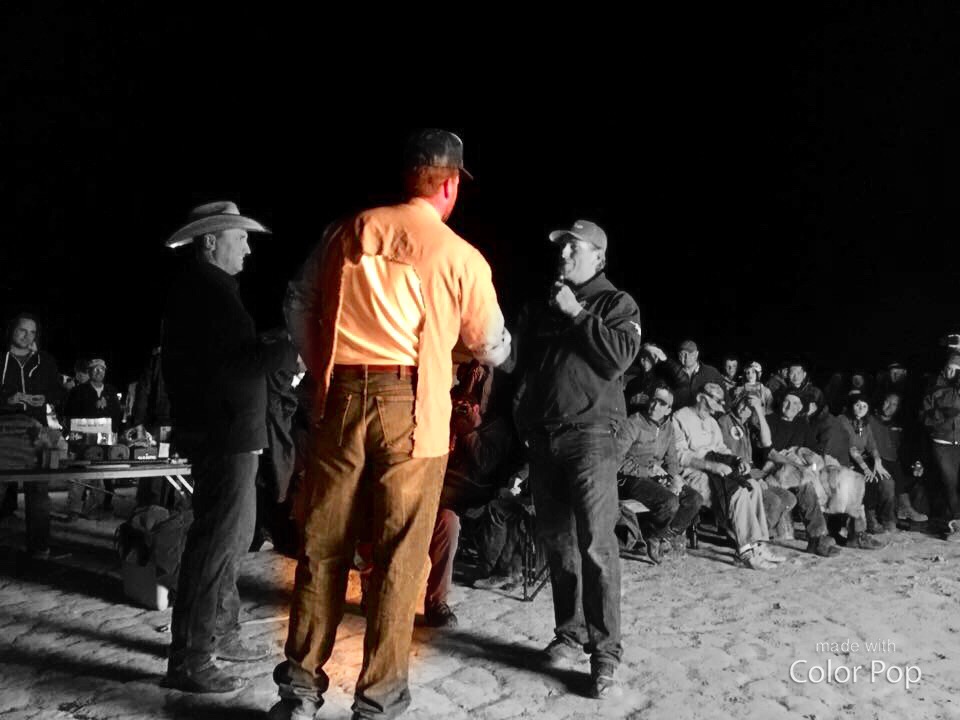
Merrick Turner Soloed at the HSF in his 180! Here Cory Robin and I are congratulating him in front of 400 people while he gets his tail feathers cut off along with his Tailwheel and High performance endorsement!
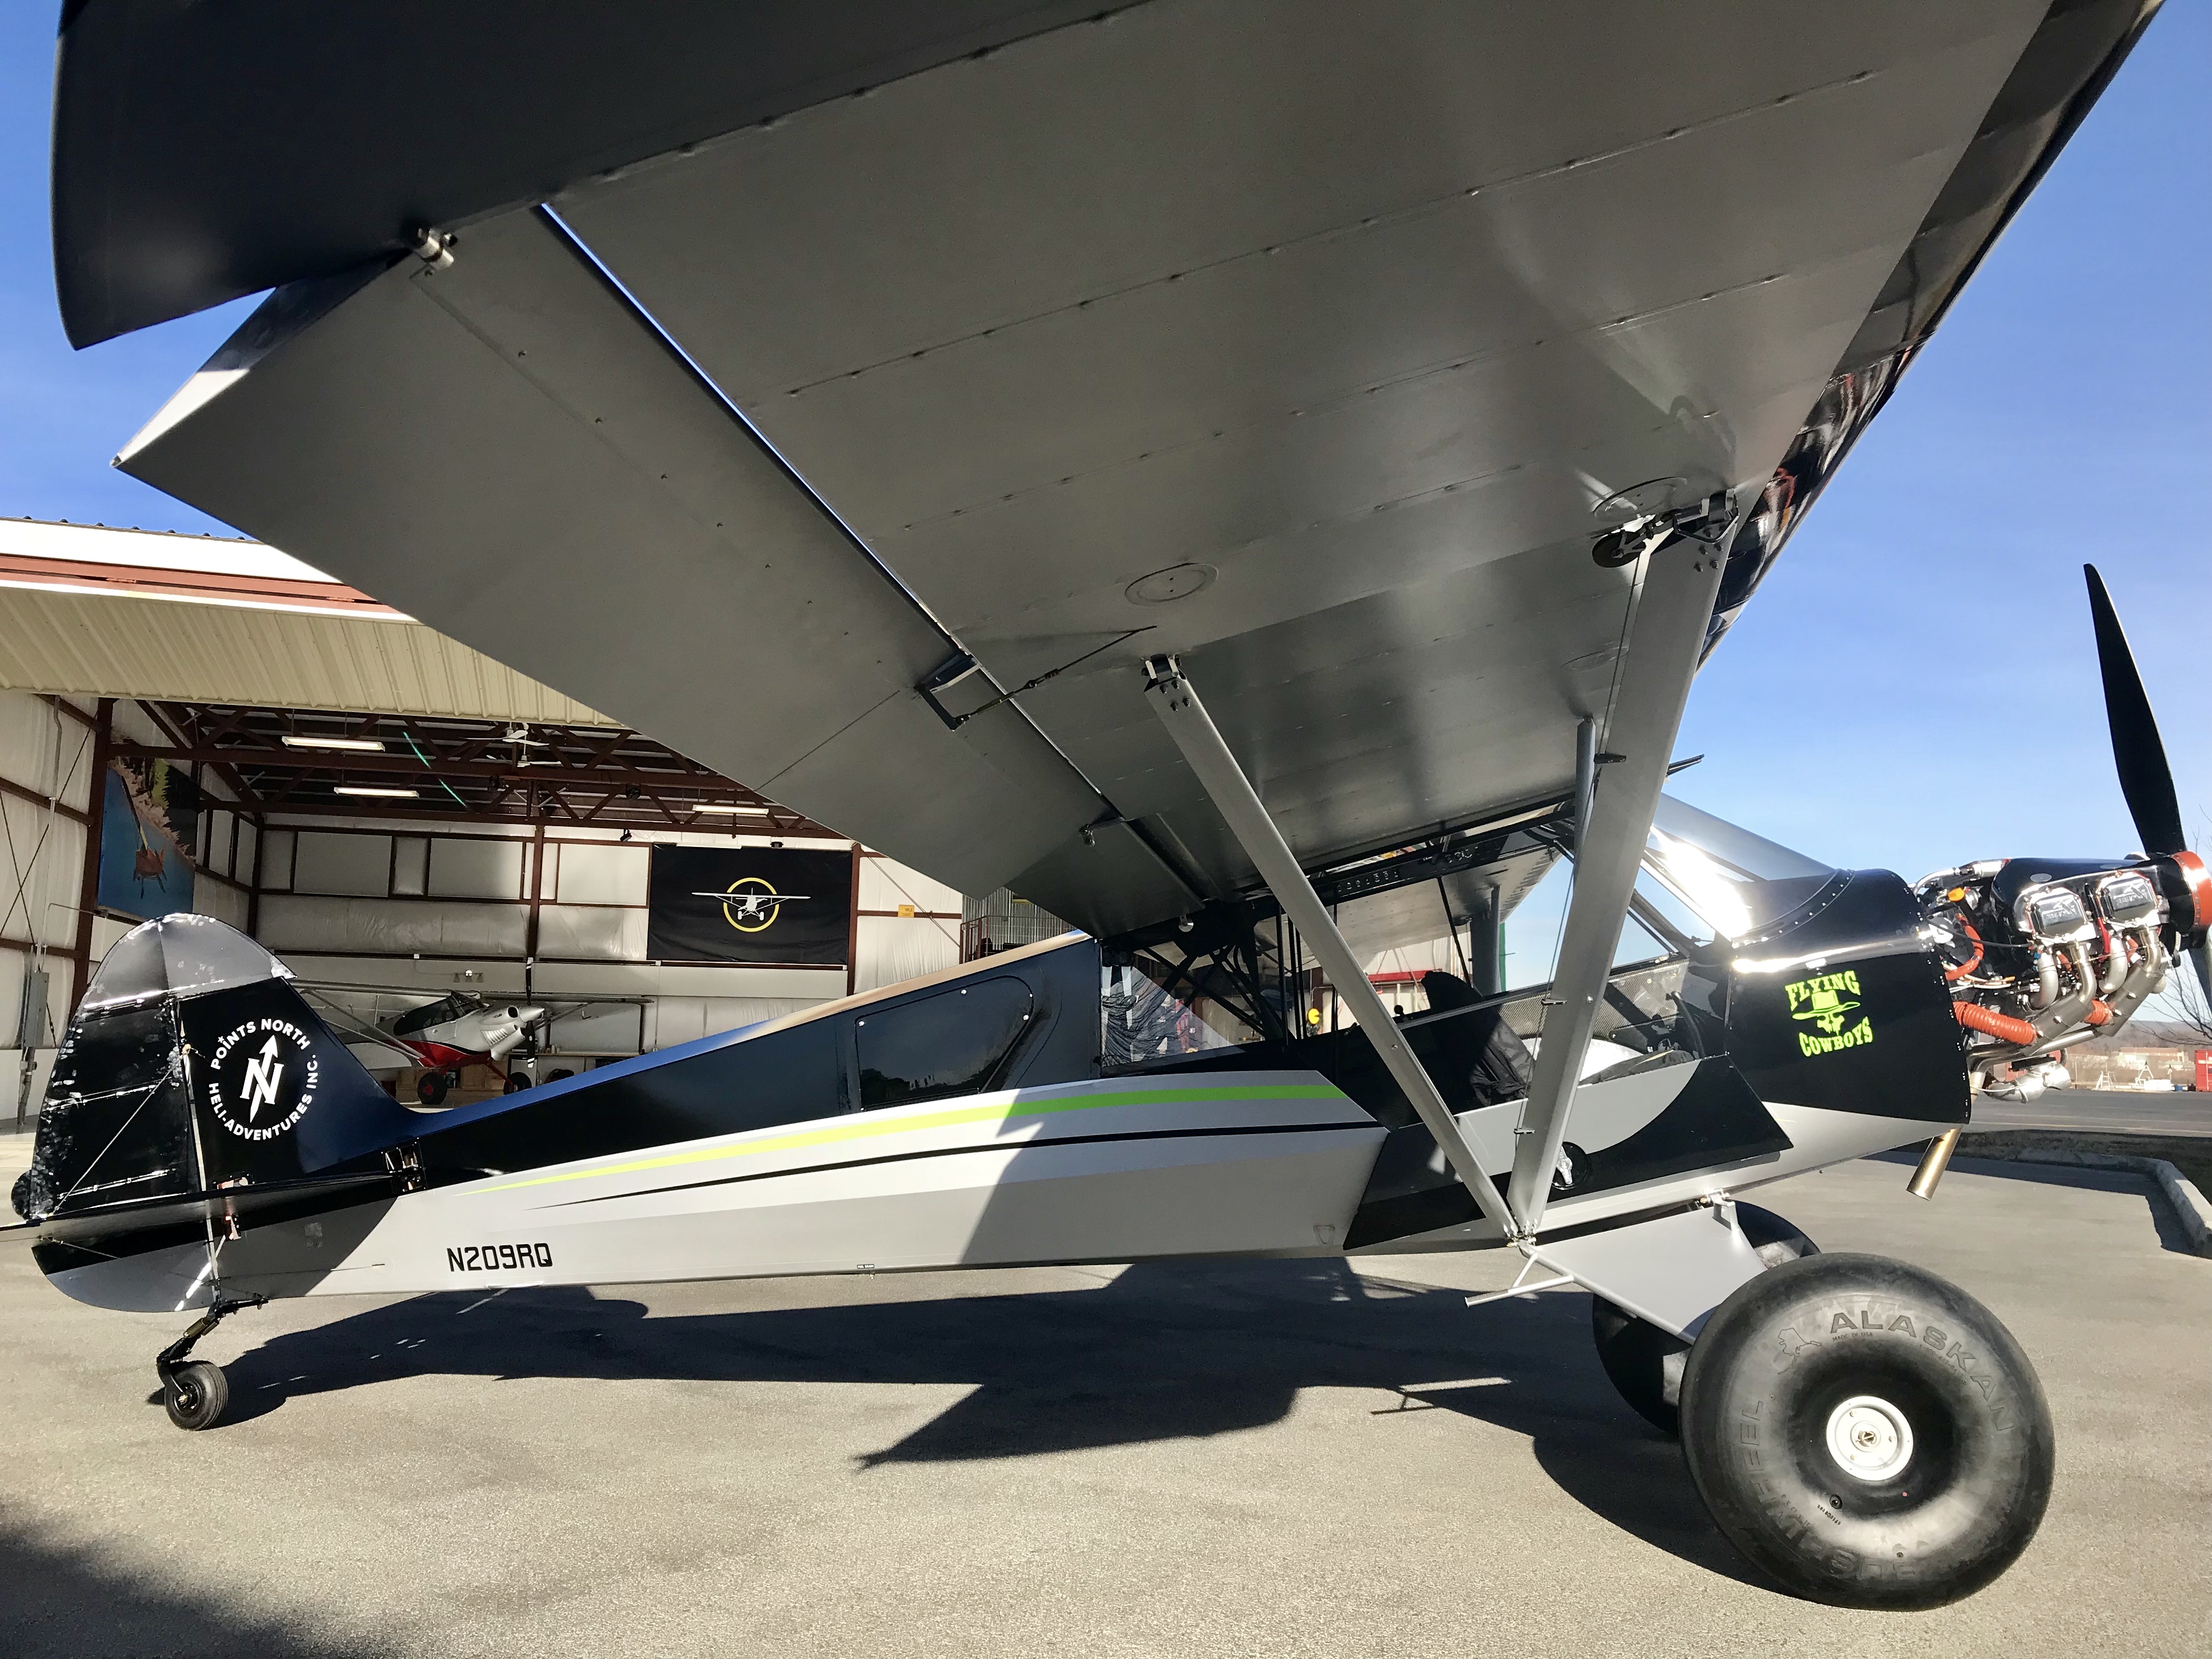
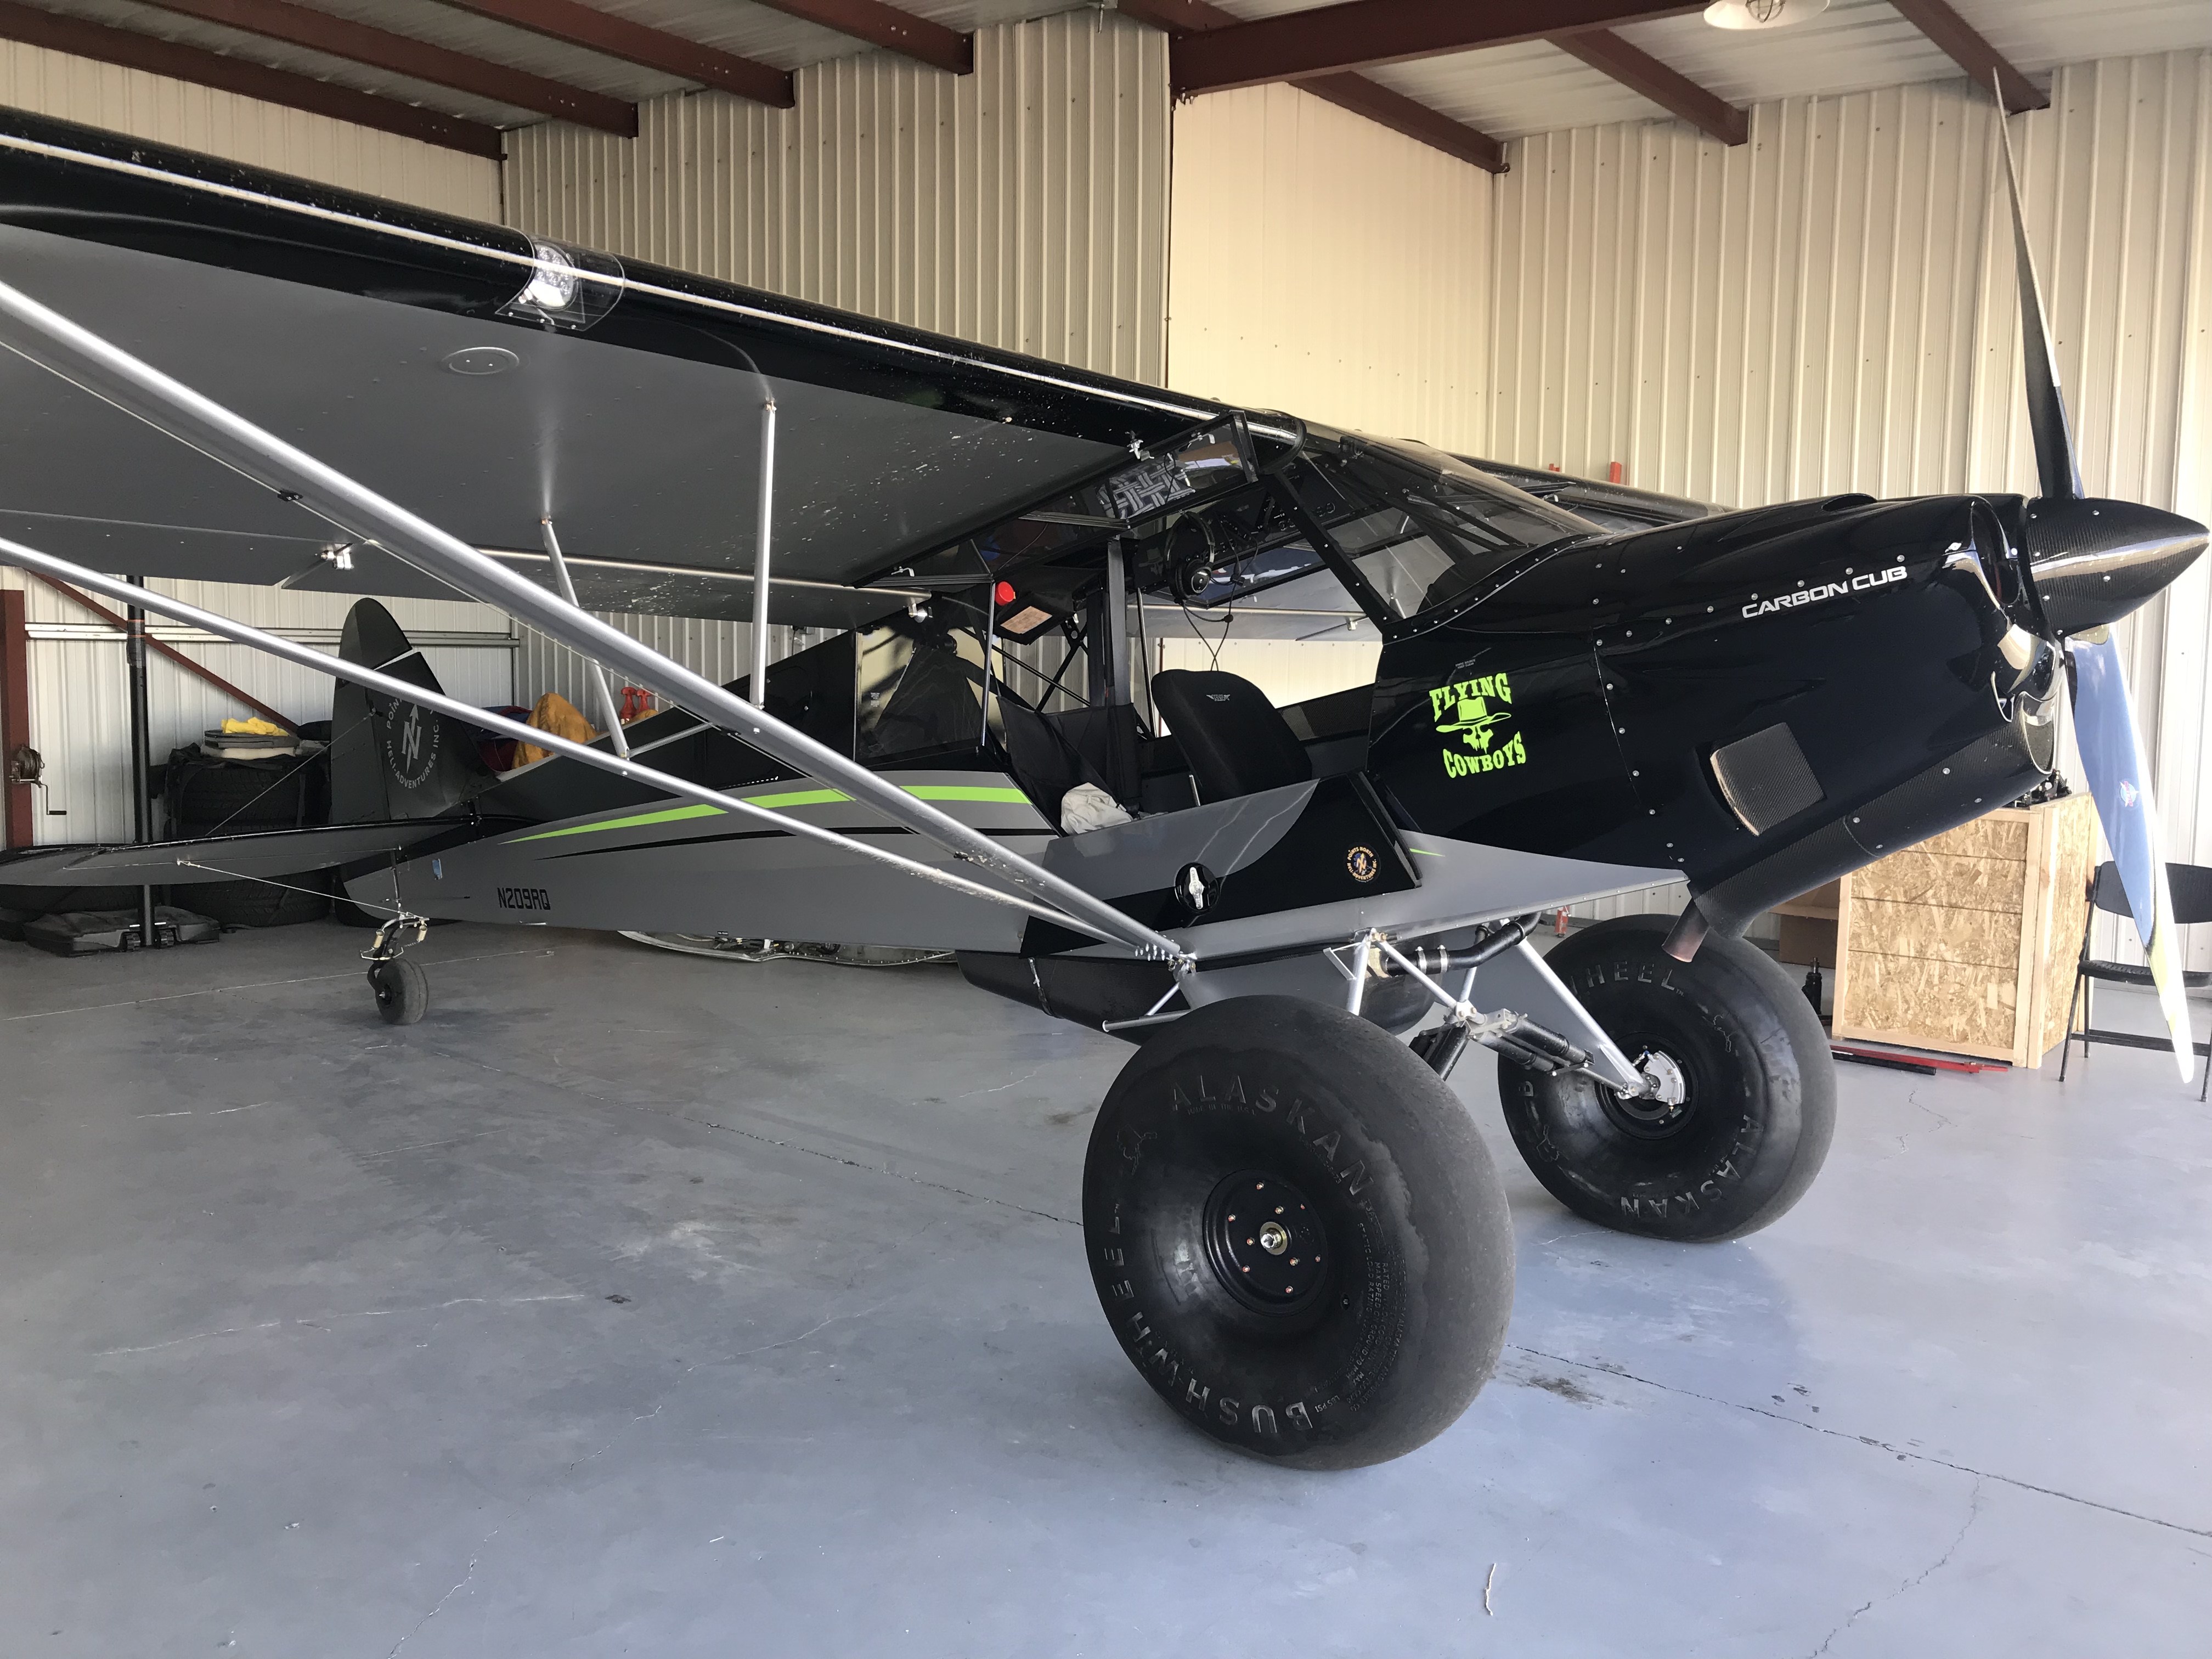
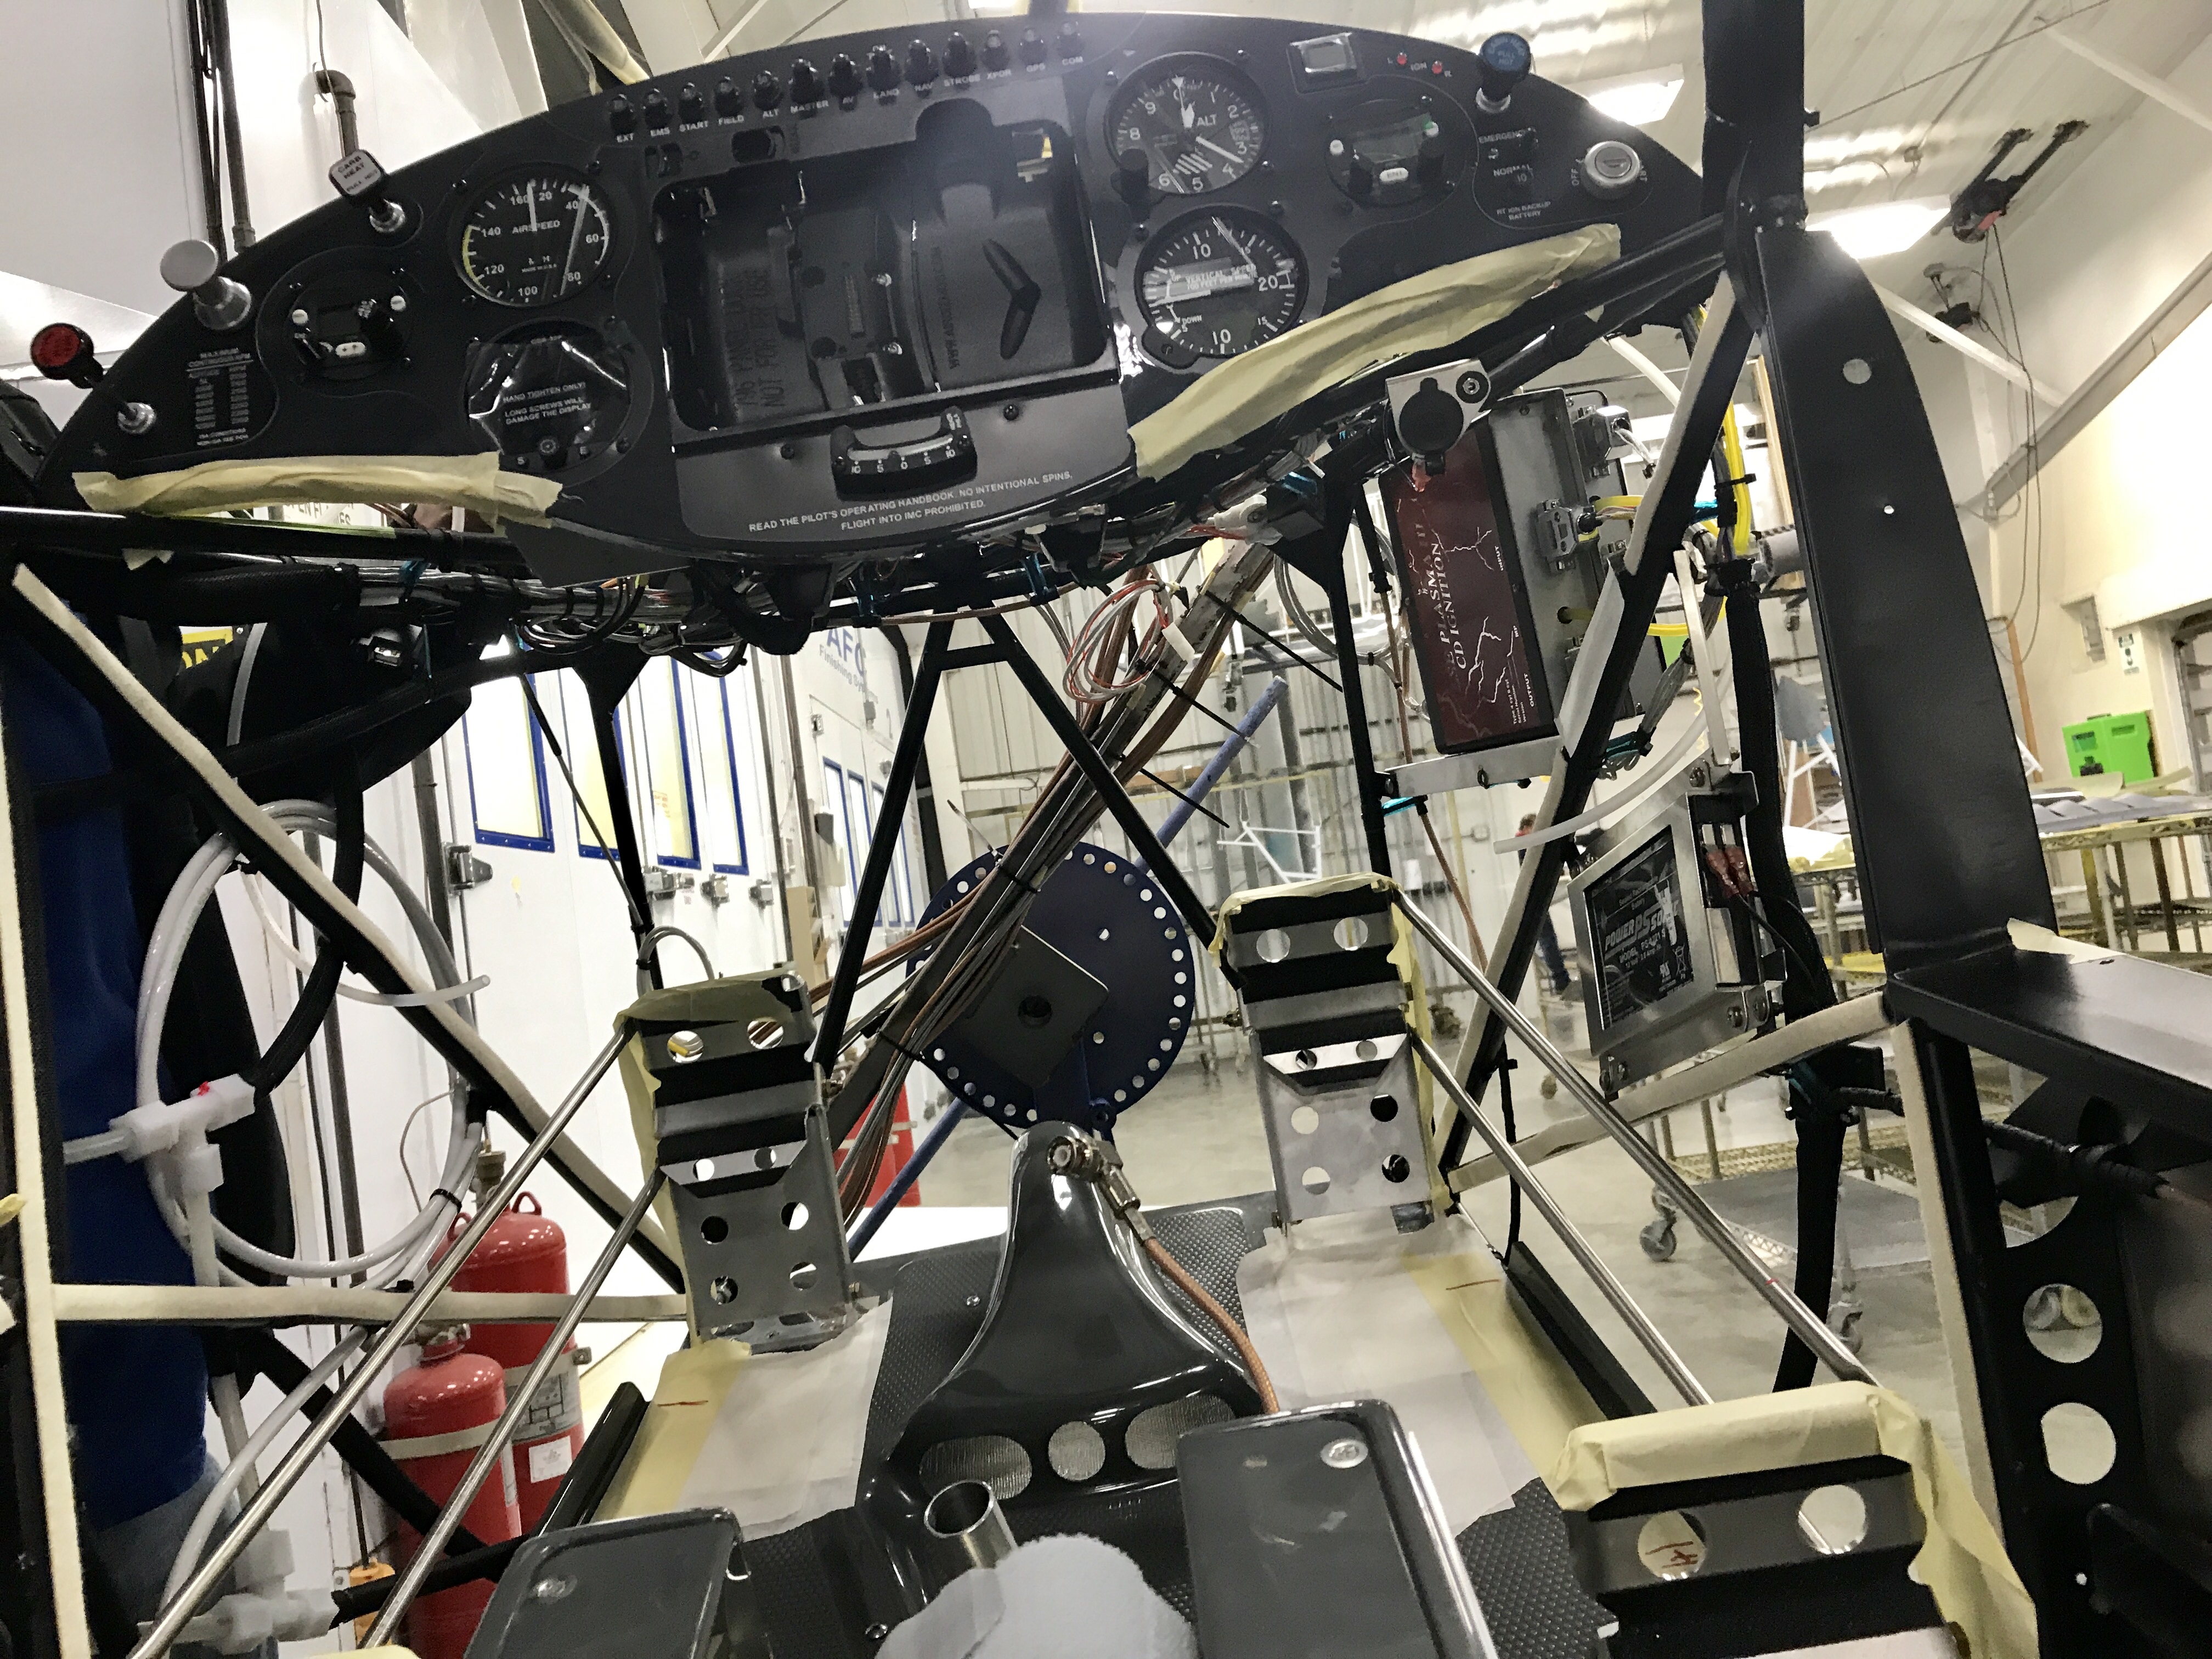
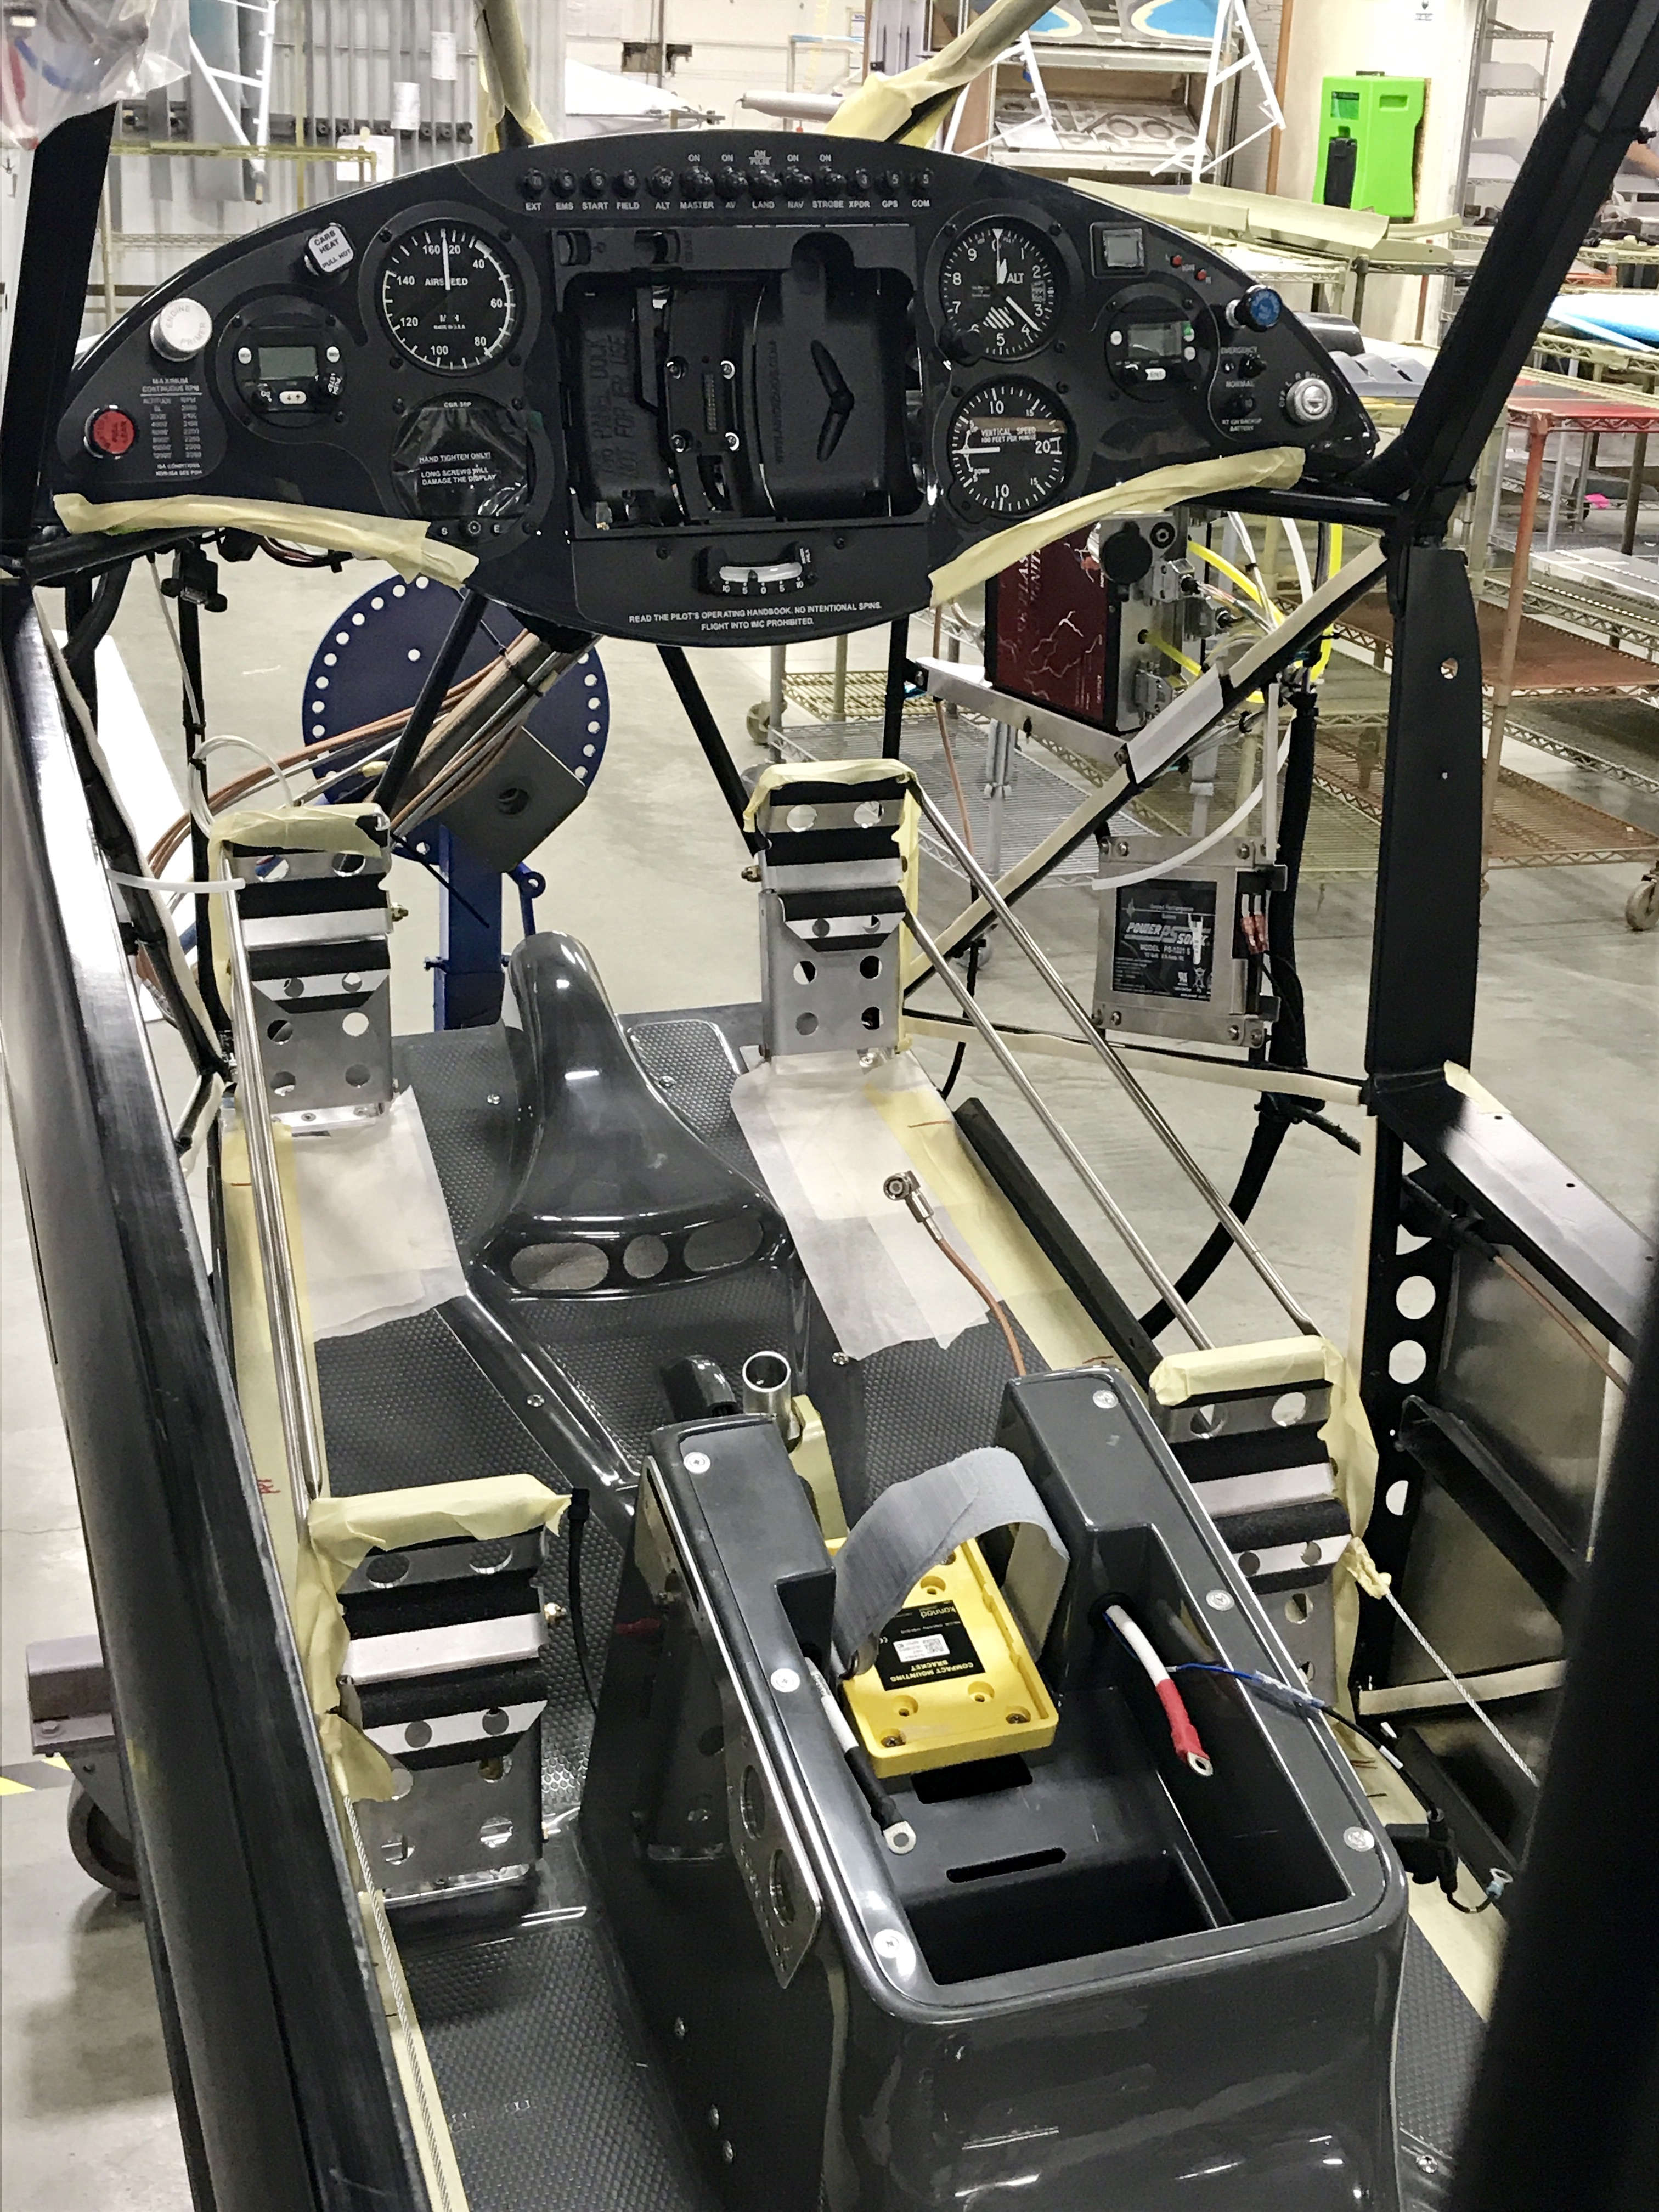
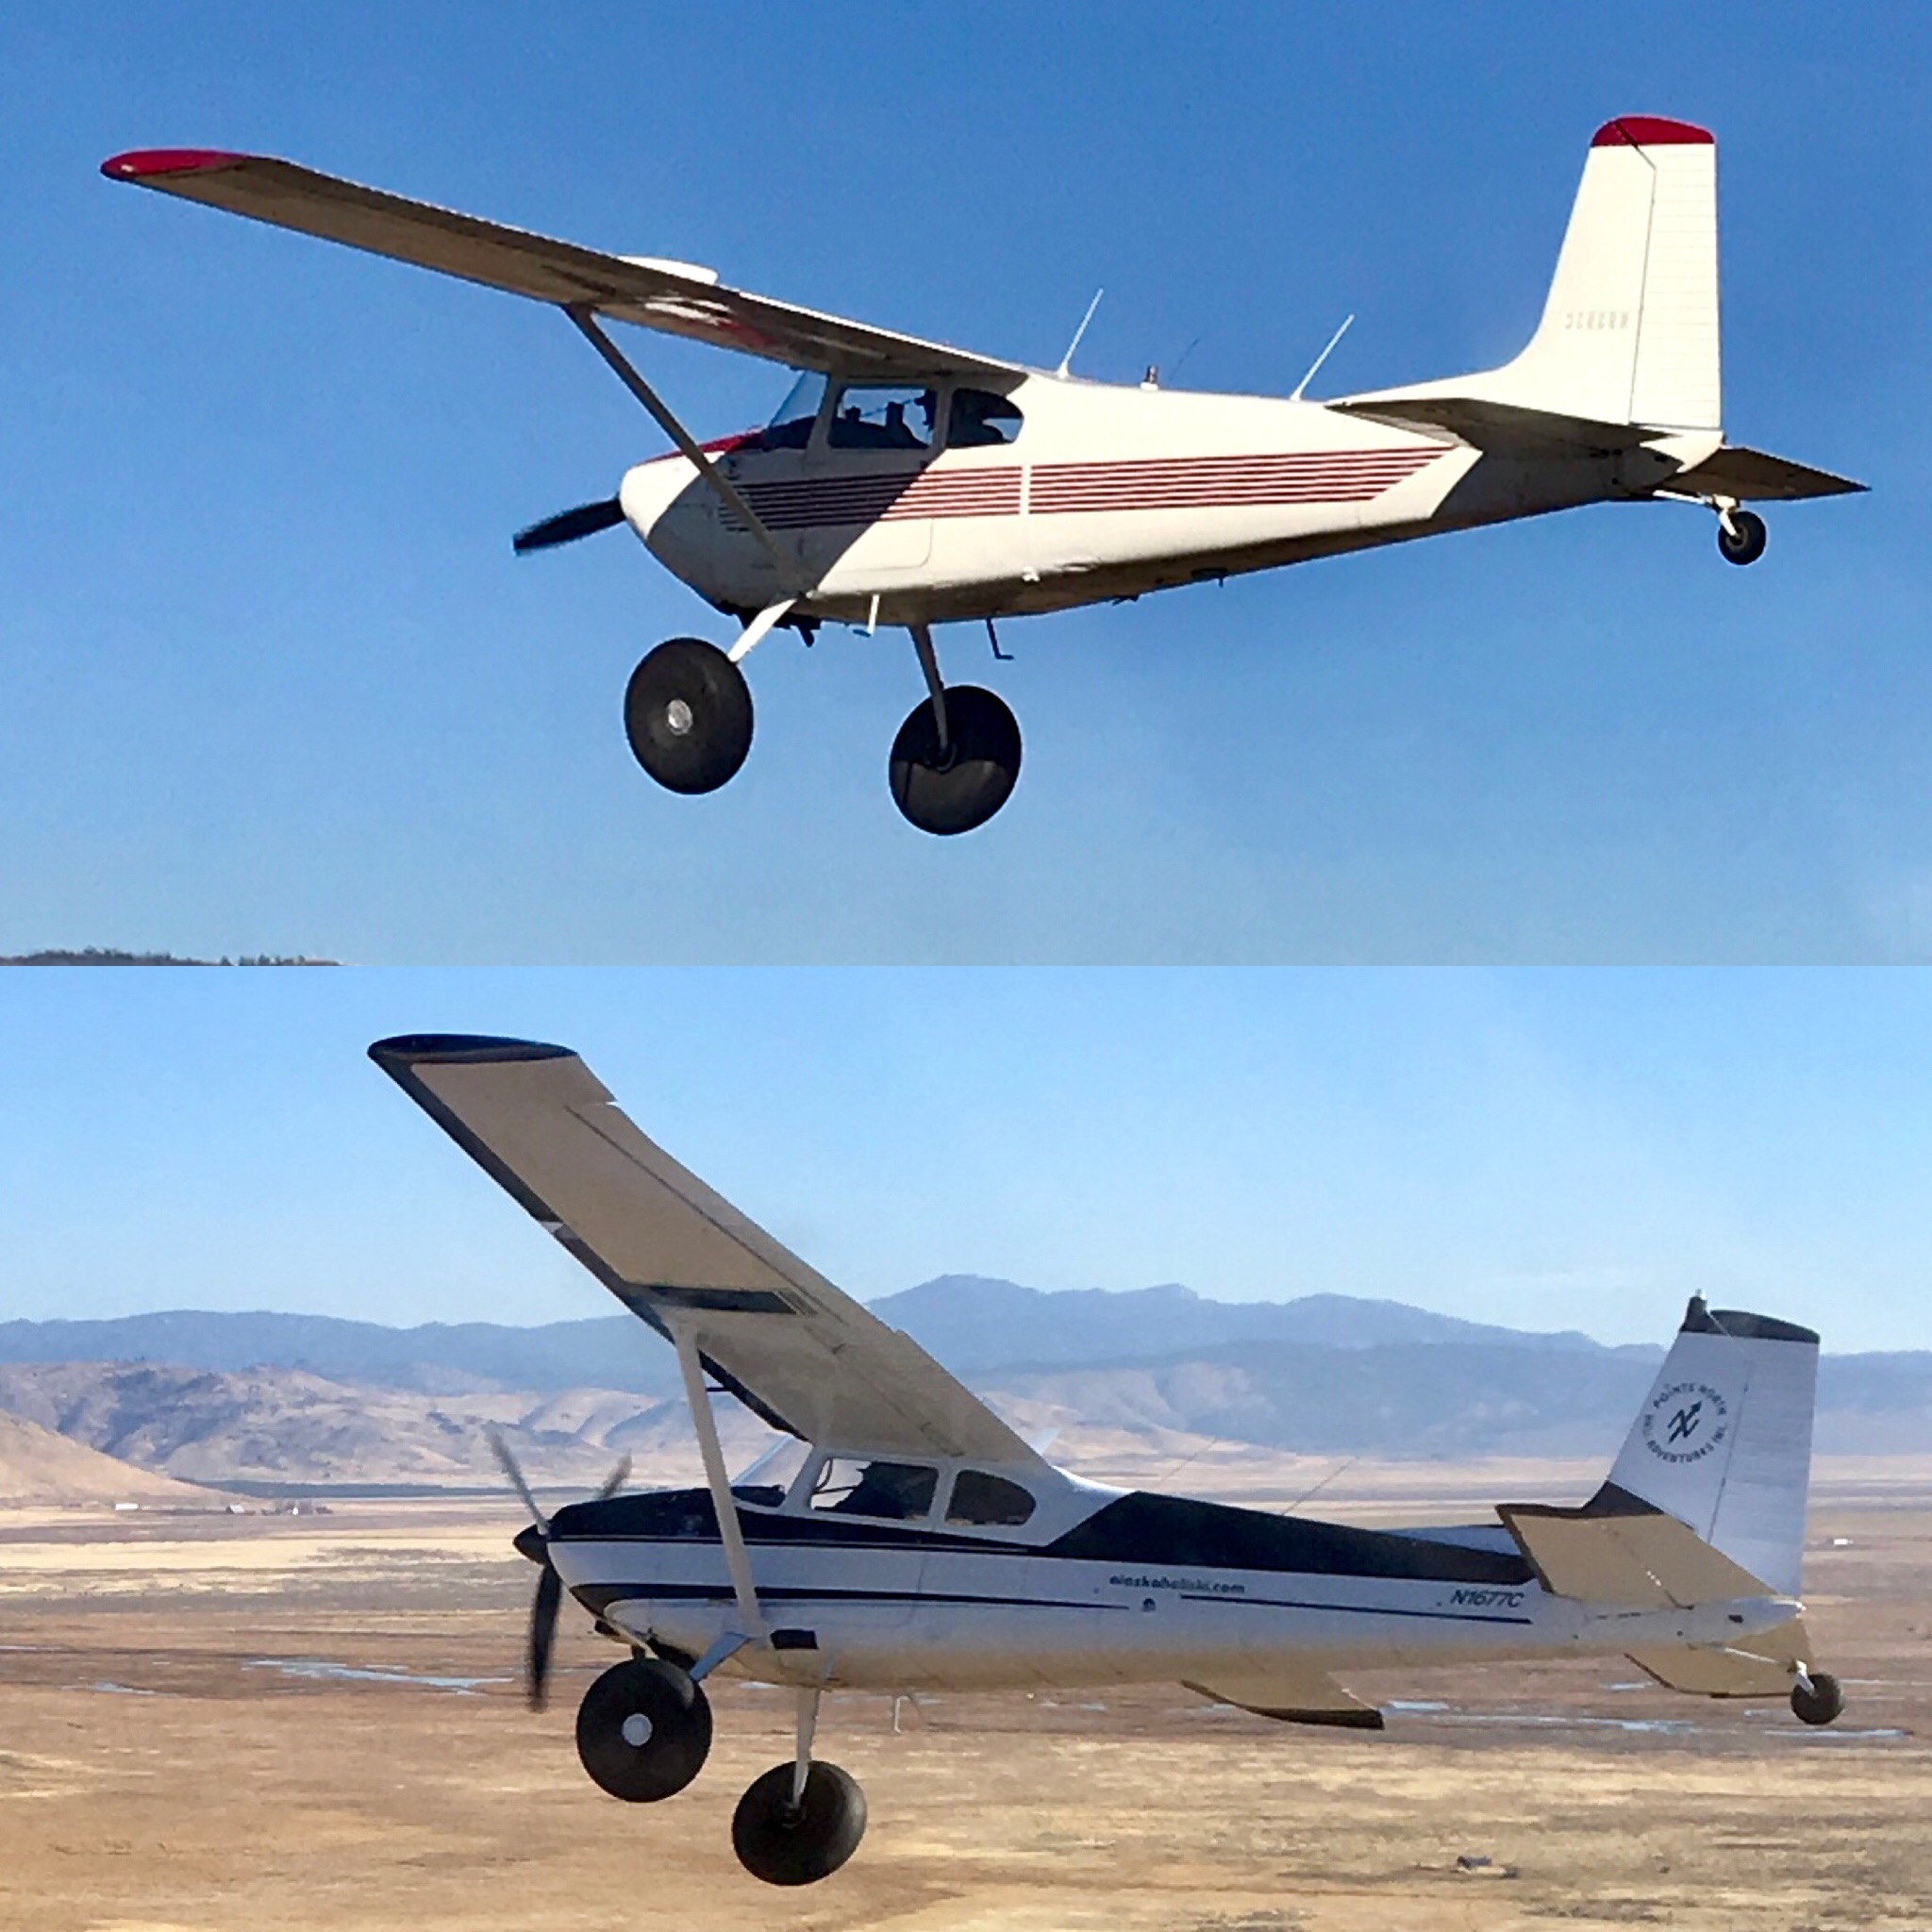
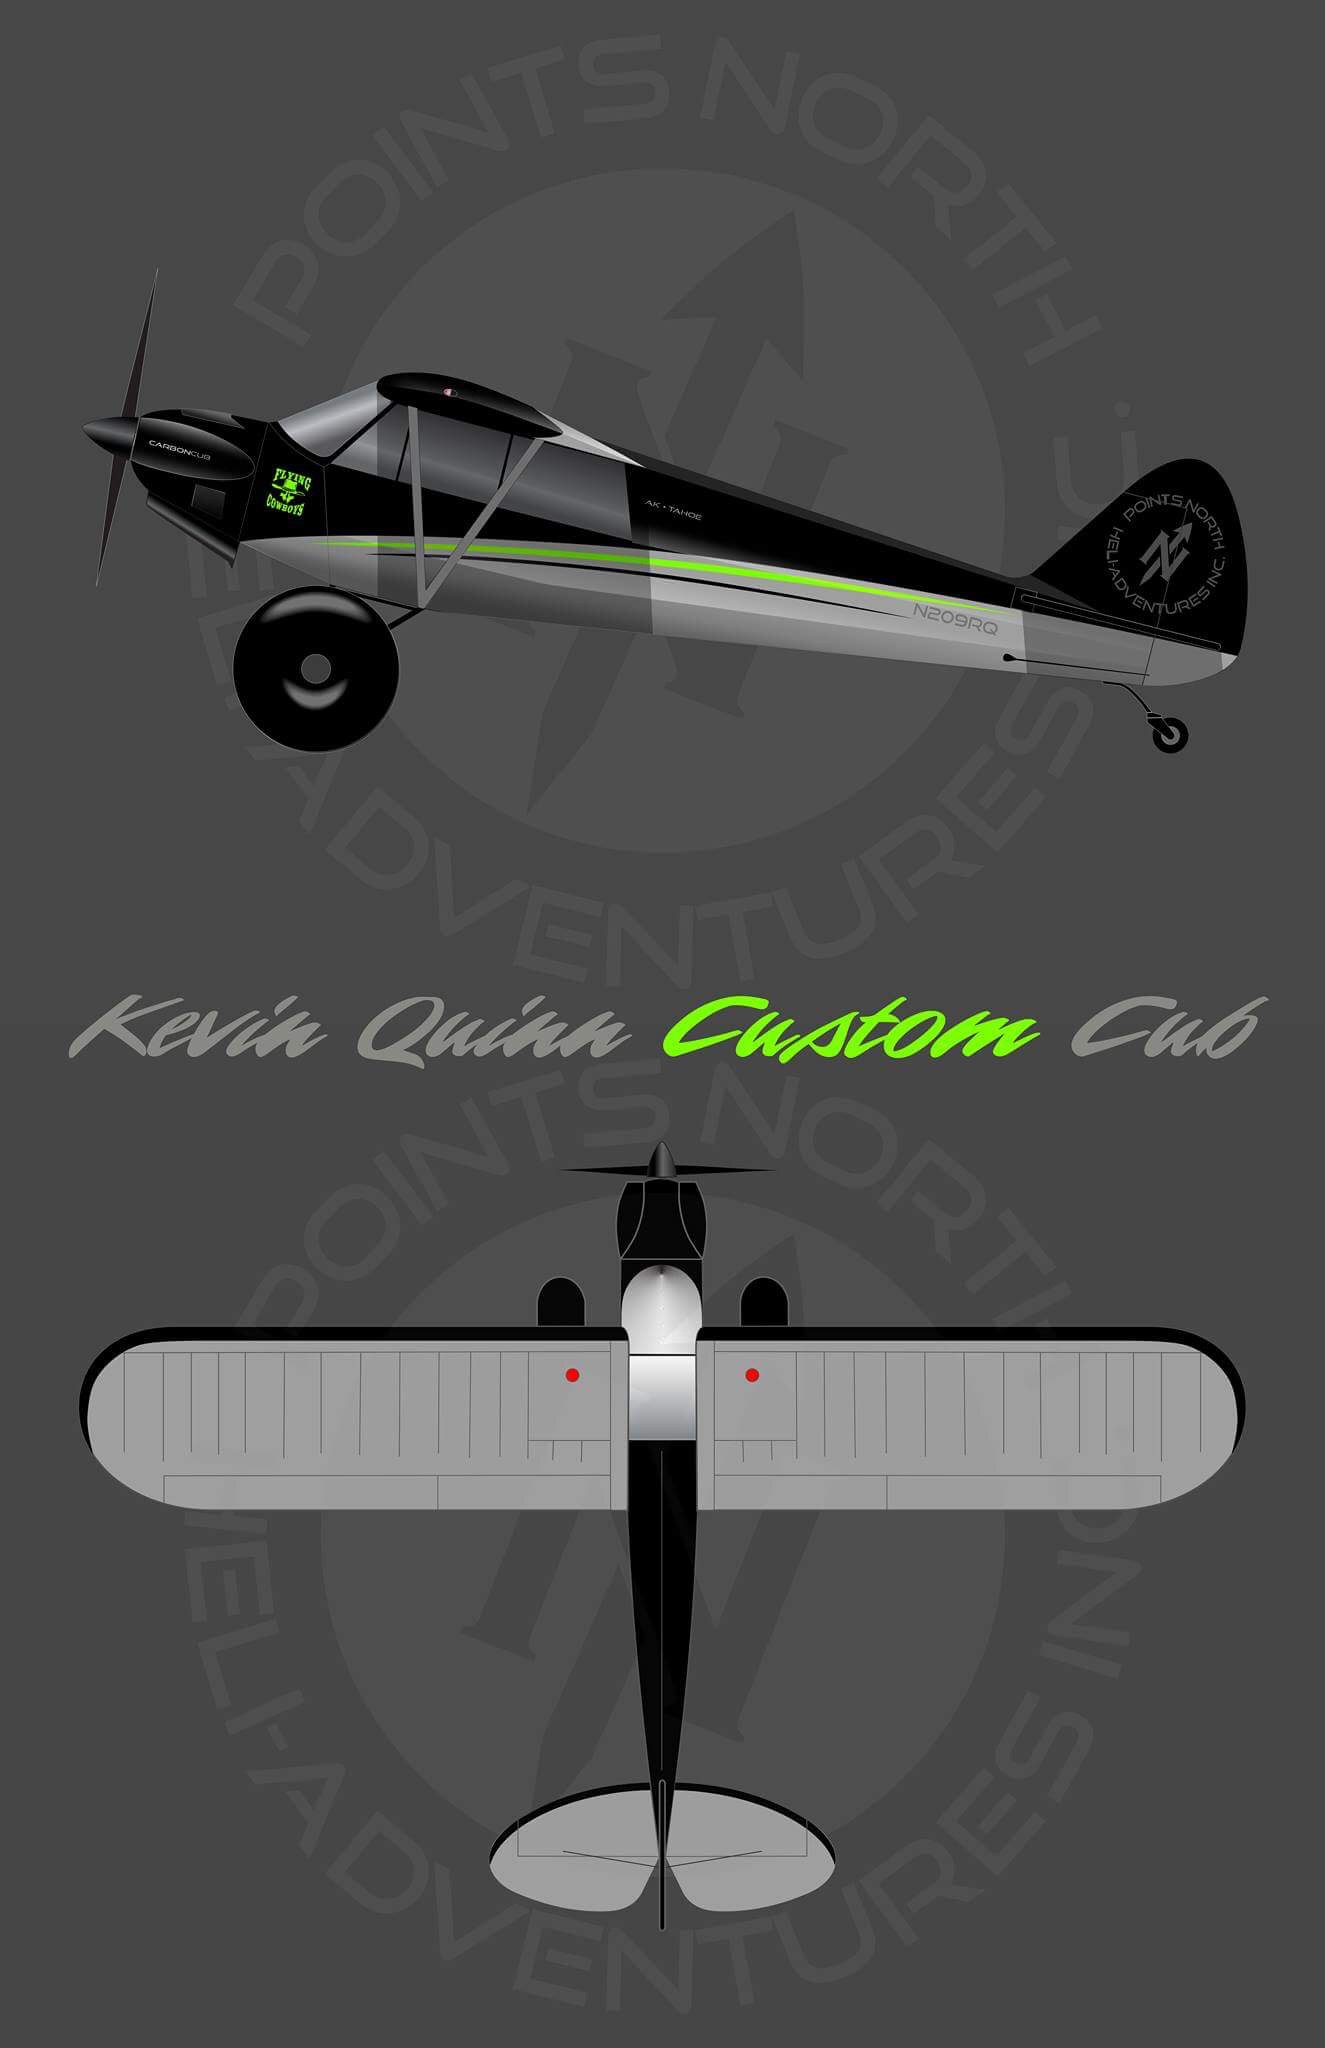
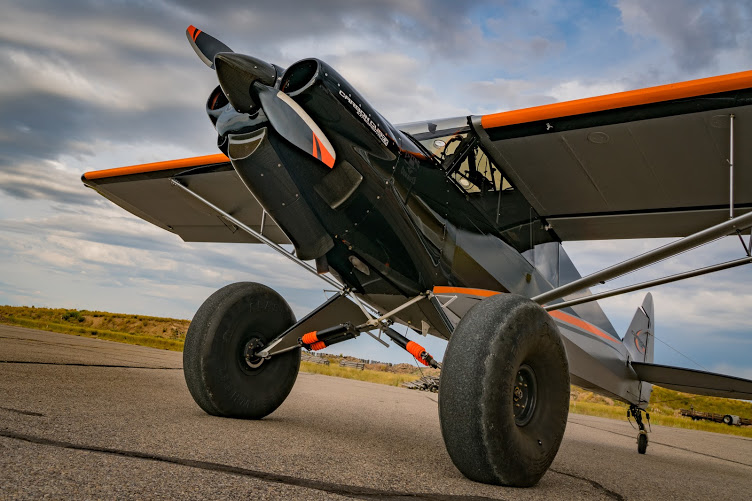
I’m Building a Carbon Cub. Seen here below. Coming January of 2018. The specs on this one are not your typical CC but something unique. Just wait until you see it
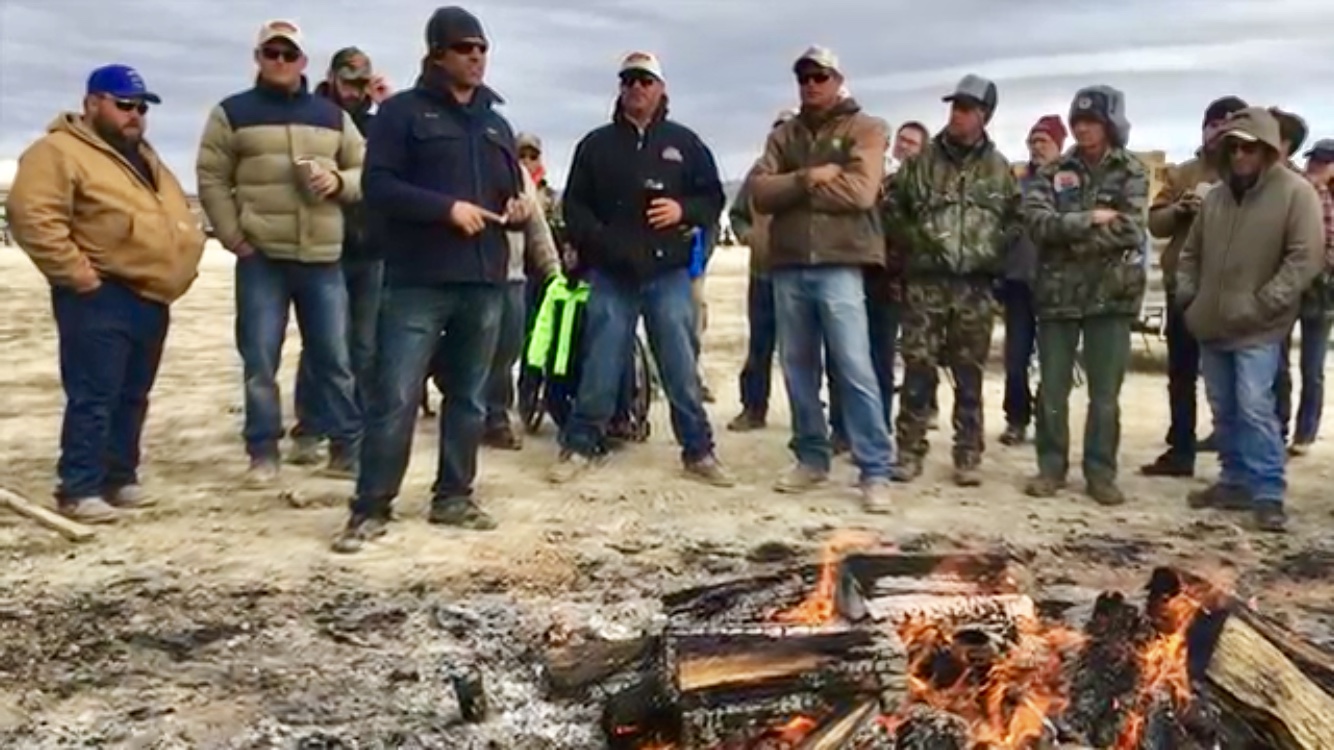
Me giving a safety briefing for all pilots during the HSF
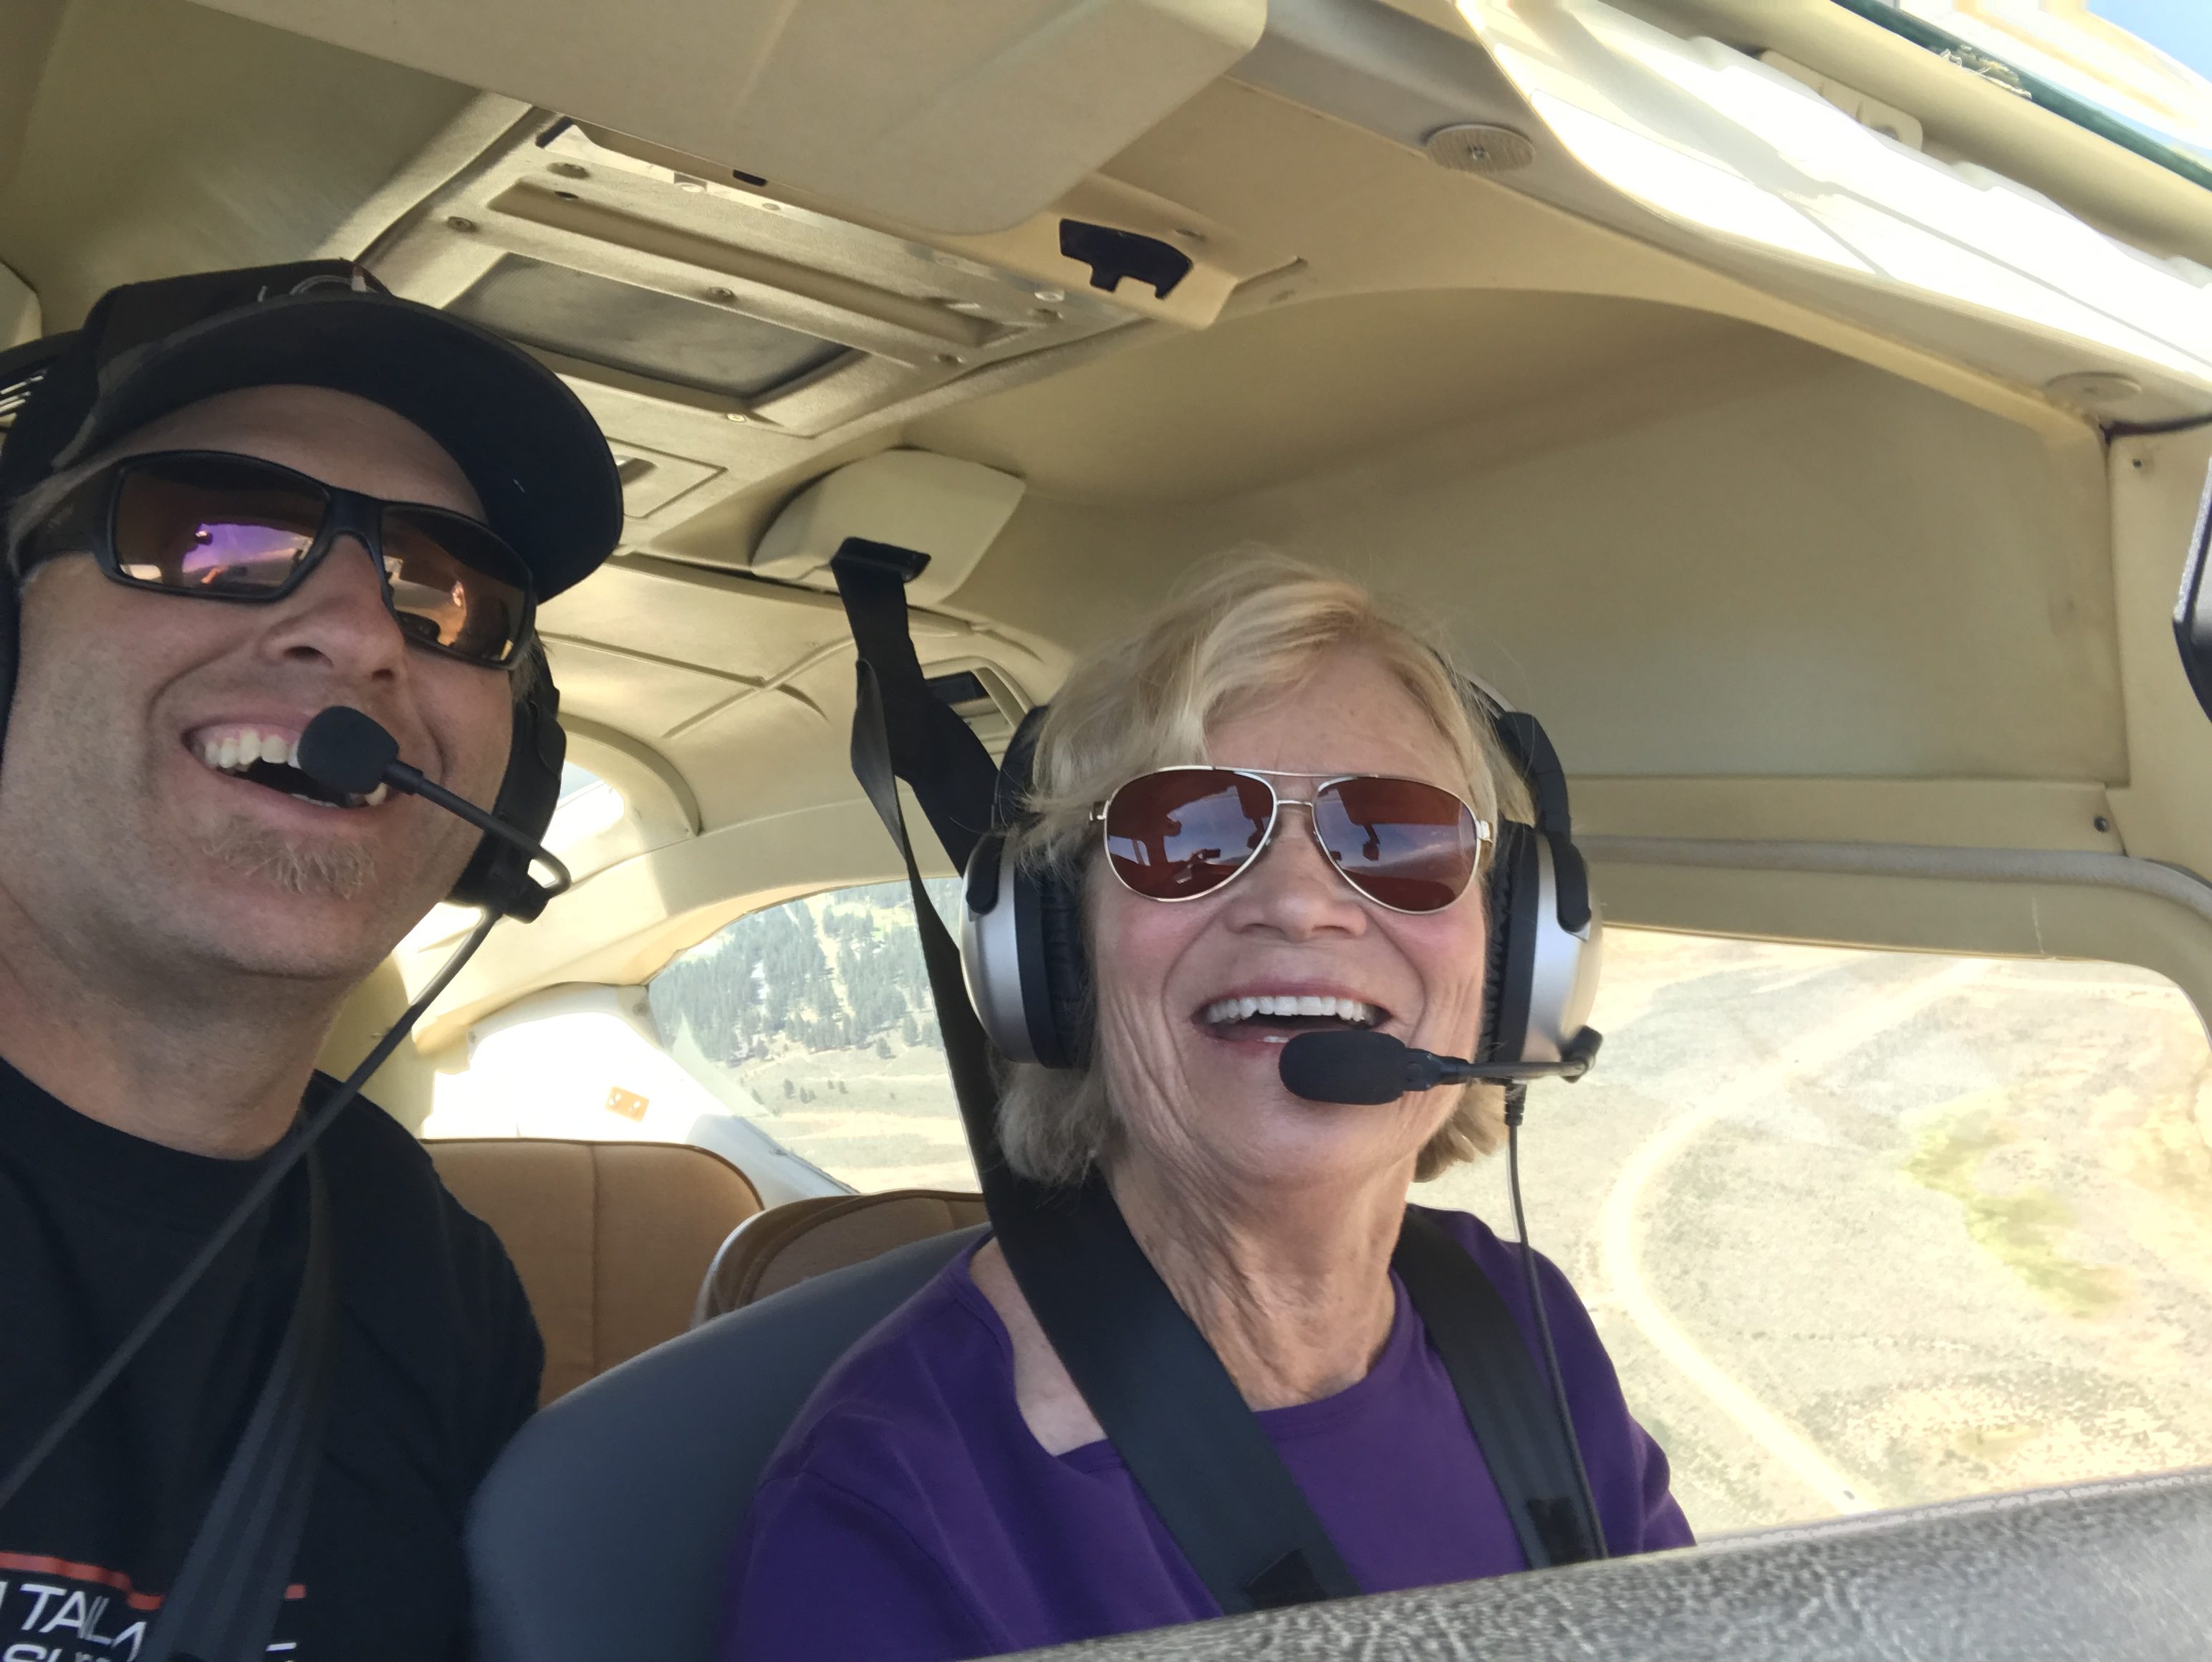
Giving long time CFI Laurel Lippert her BFR
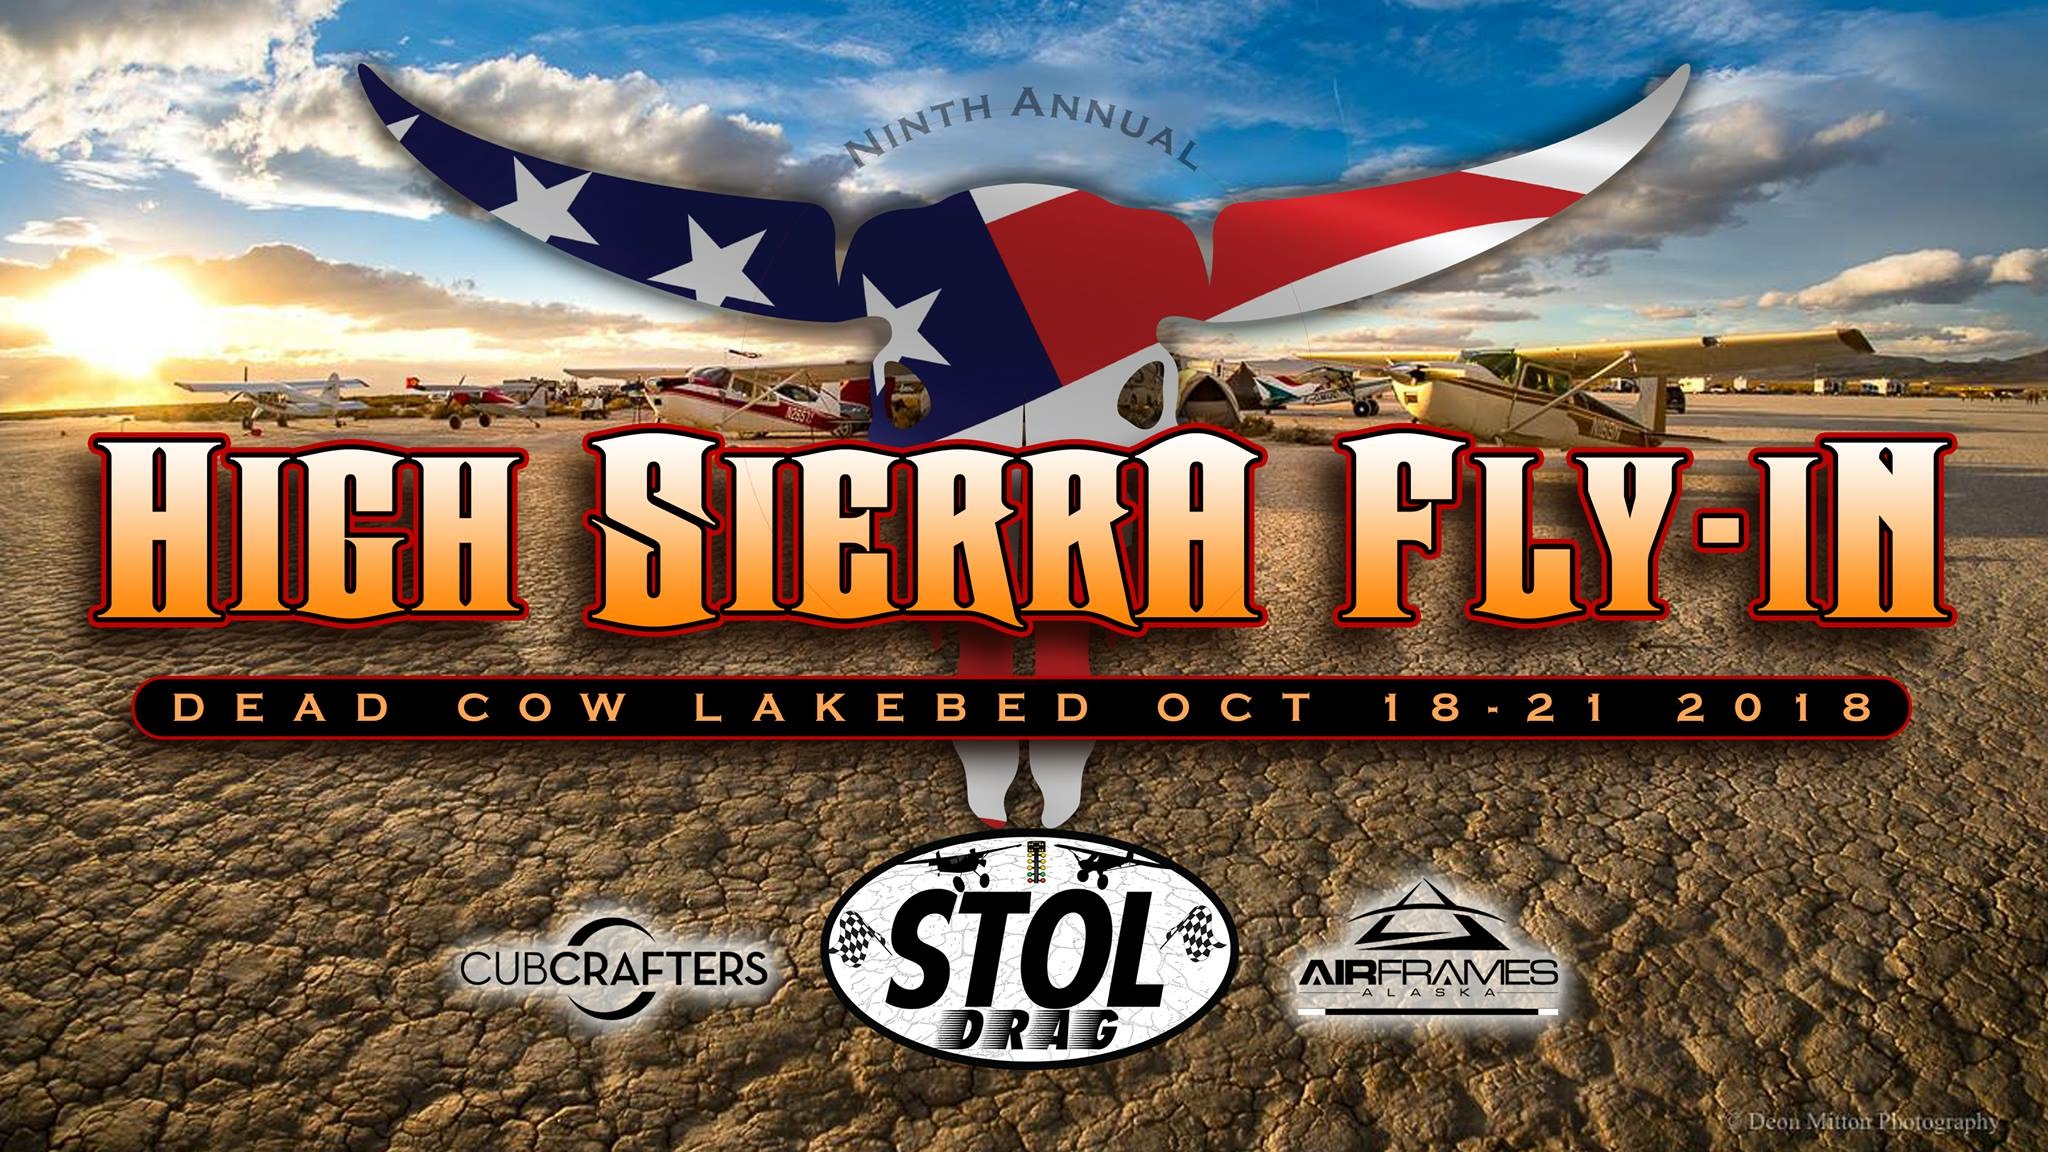
HSF 2018 poster – Ross Parton creation
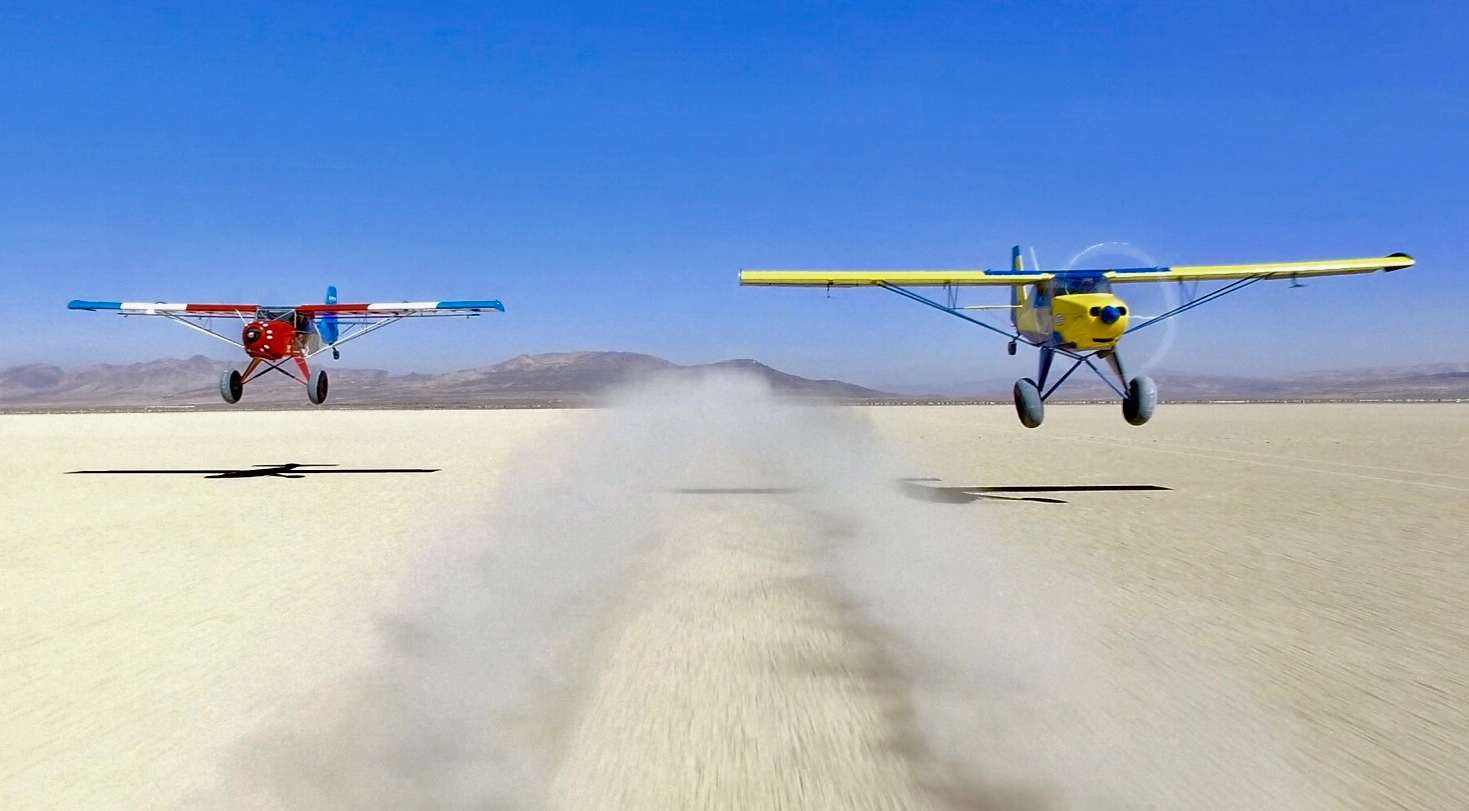
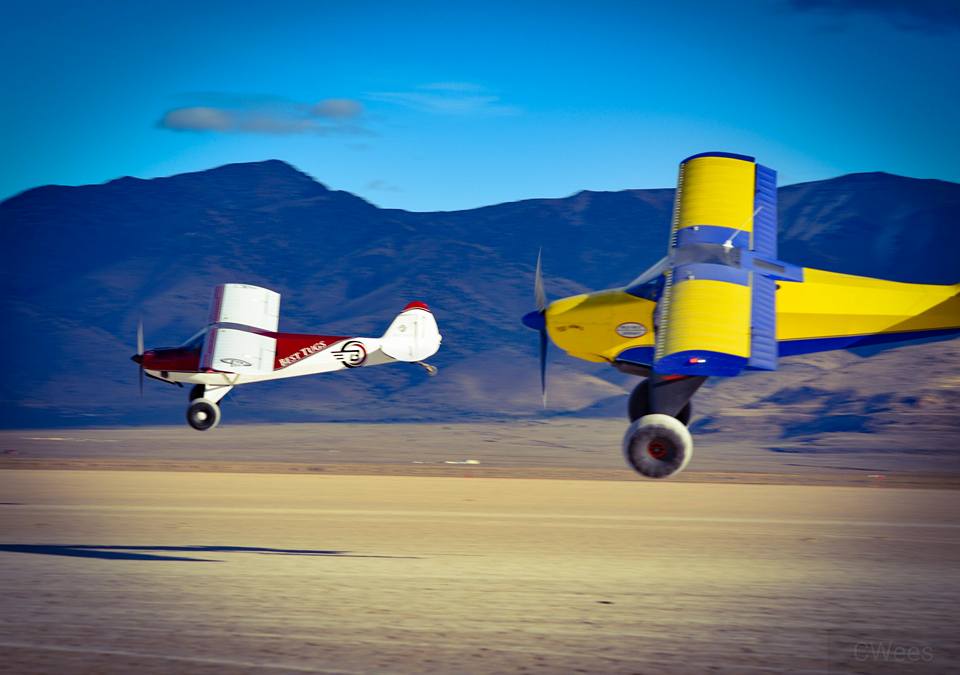
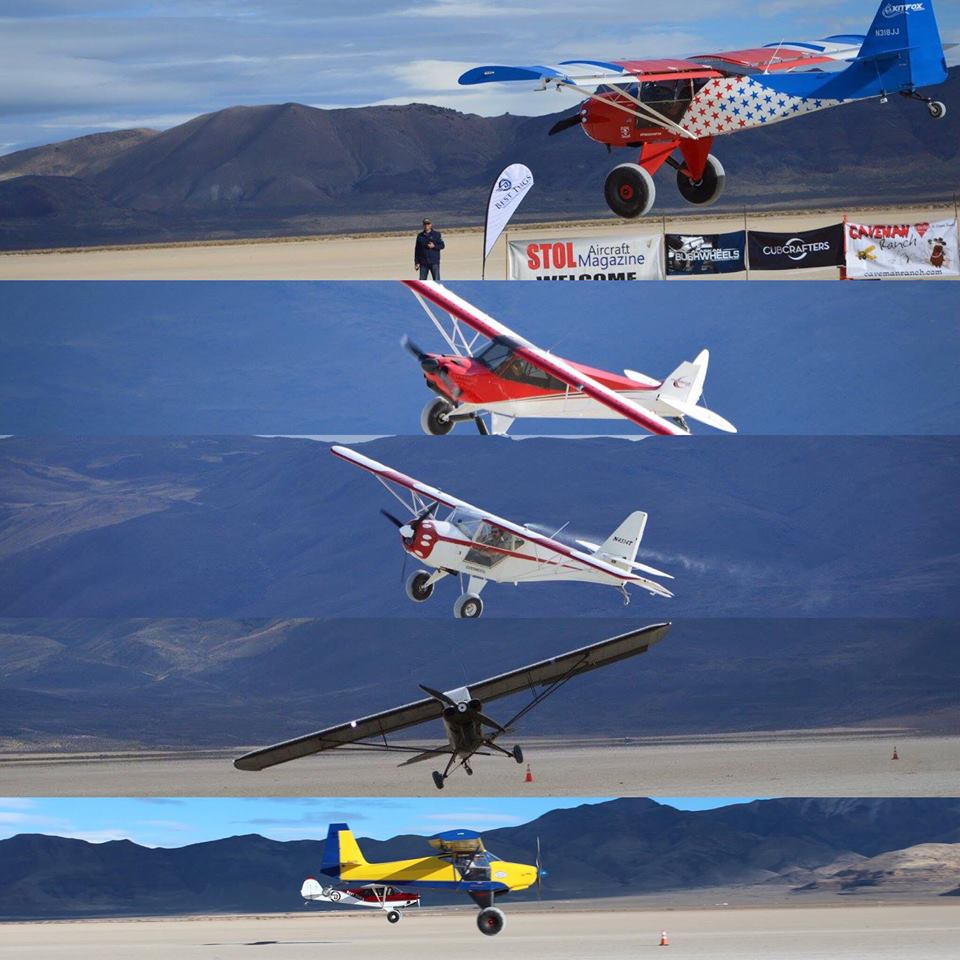
Trent Palmer in his Freedom Fox and Steve Henry in his Highlander during the HSF Stol Drags. This photo was actually set up and taken from the back of a truck. Its not them actually racing. It made for a great shot. Leonardo Correa Luna took this shot at HSF.
2018 Championship Stol Drag race. Steve Henry and Mark patey
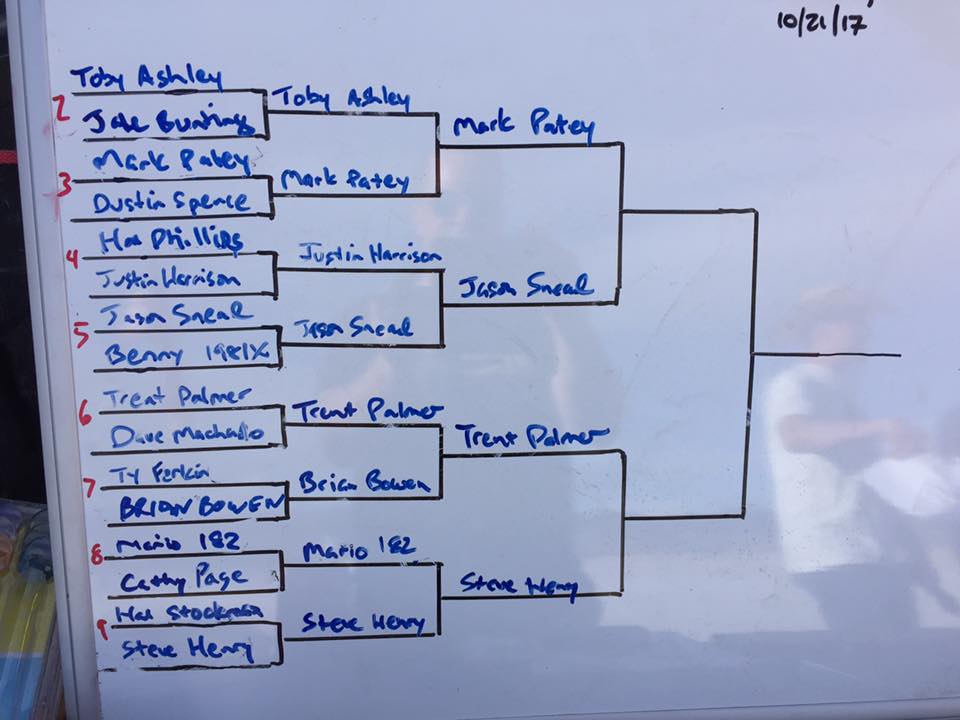
2018 HSF STOL Drag final bracket. Over 60 airplanes competed and this is what it came down to on Saturday.
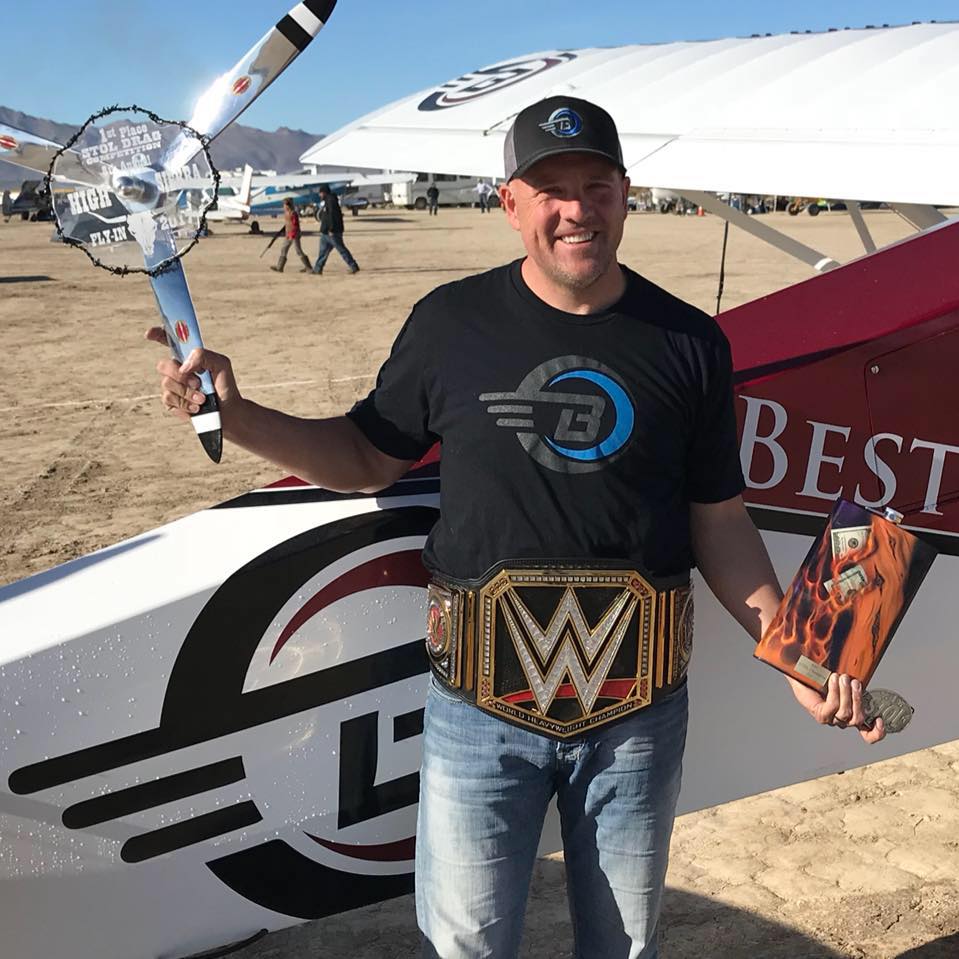
2018 World Stol Drag Champion Mark Patey
Jeff martins mighty Broussard
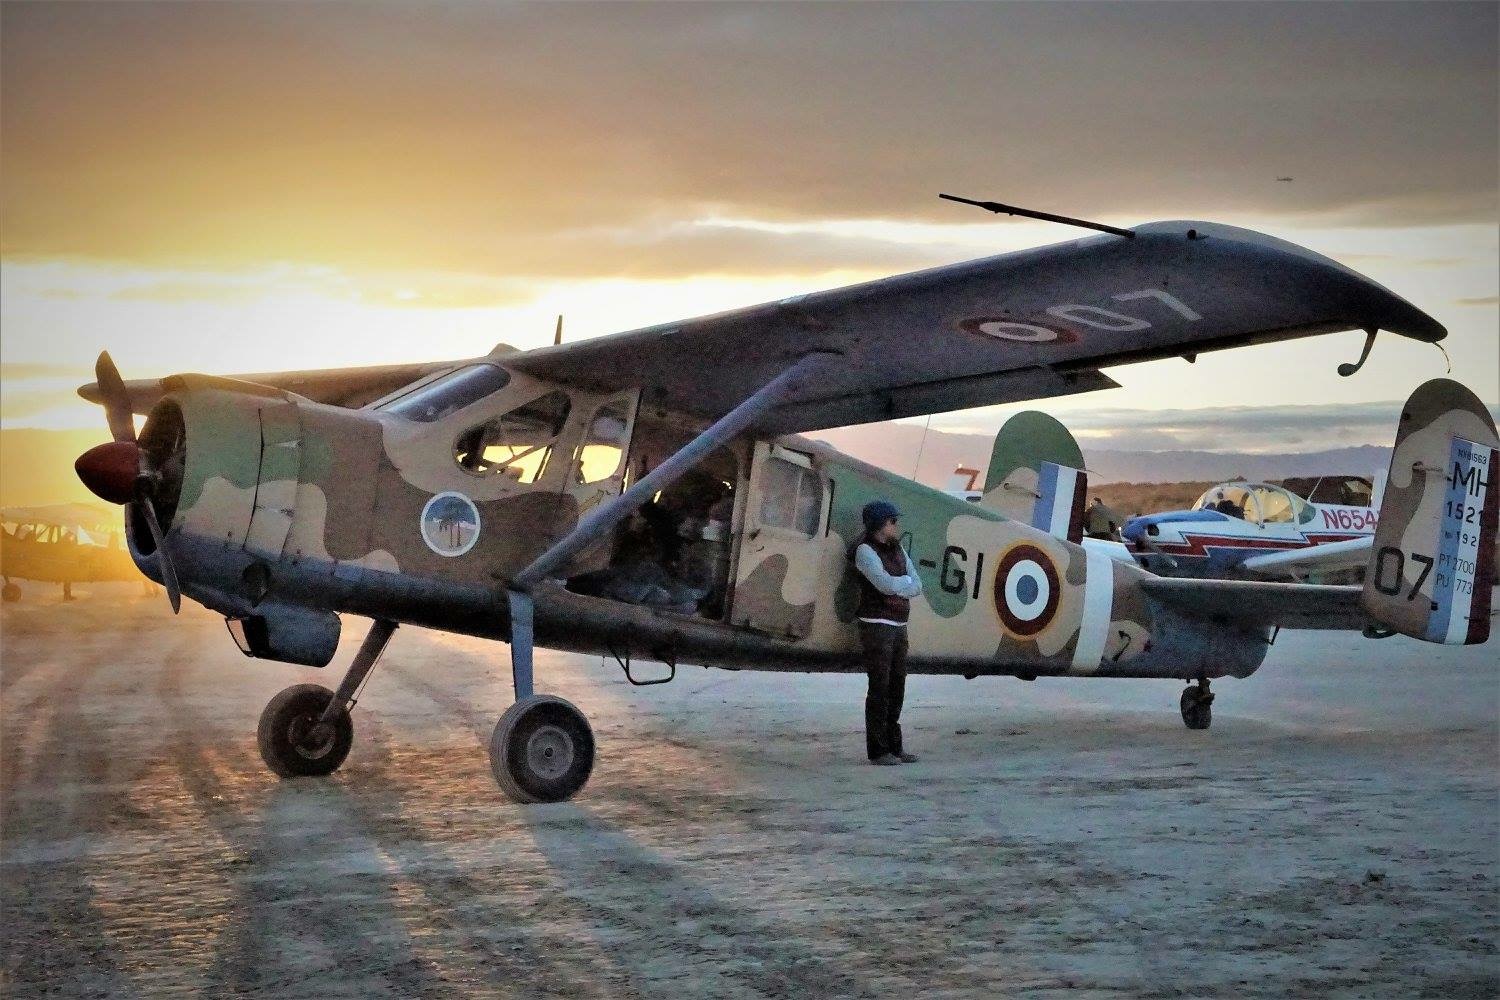
An example of the unique aircraft at HSF
The Sherpa!
The people are what make HSF special!
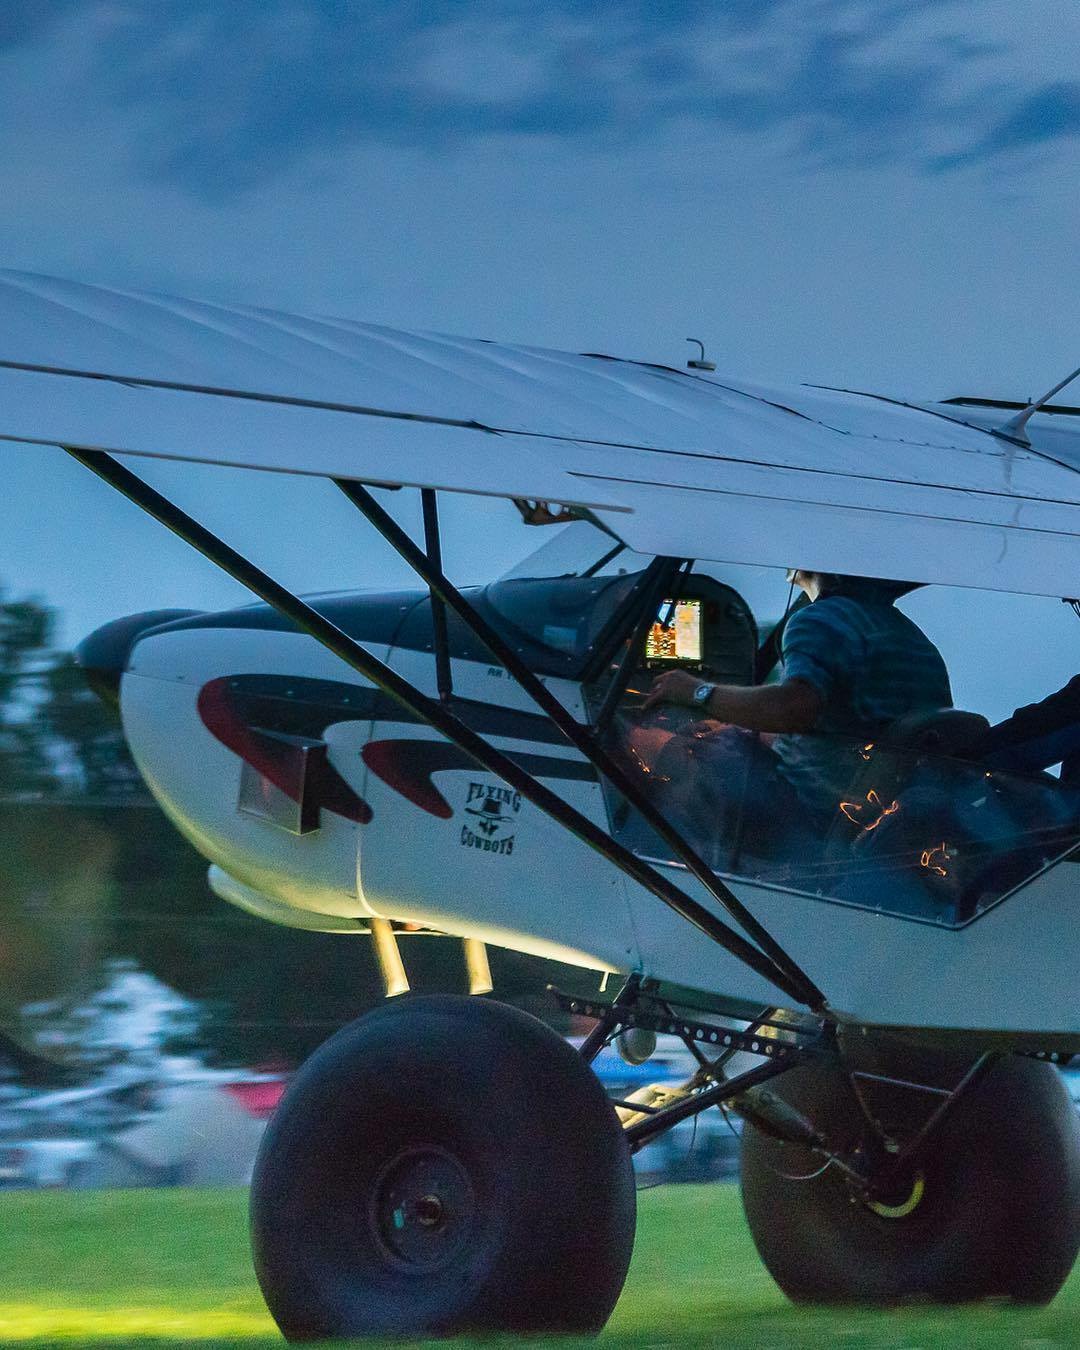
Deon Mitton captured this incredible shot of Rob Dahoney’s Skywagon during the big show Saturday night
More Stol Drag action
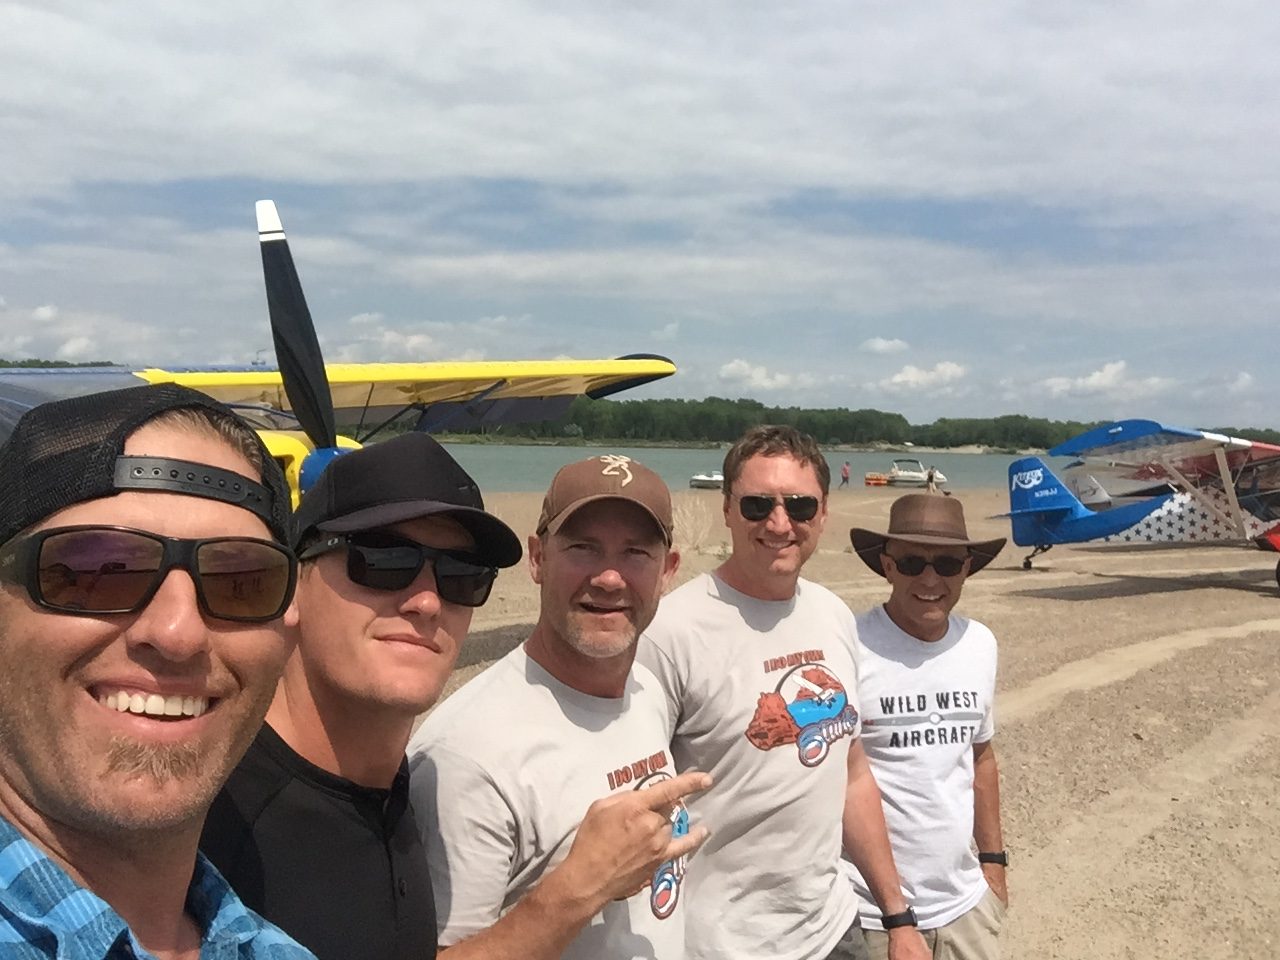
Our trip to and from Oshkosh. Here somewhere on the Mississippi River with my Flying Cowboy breathren
Landing at Clints ranch in WY
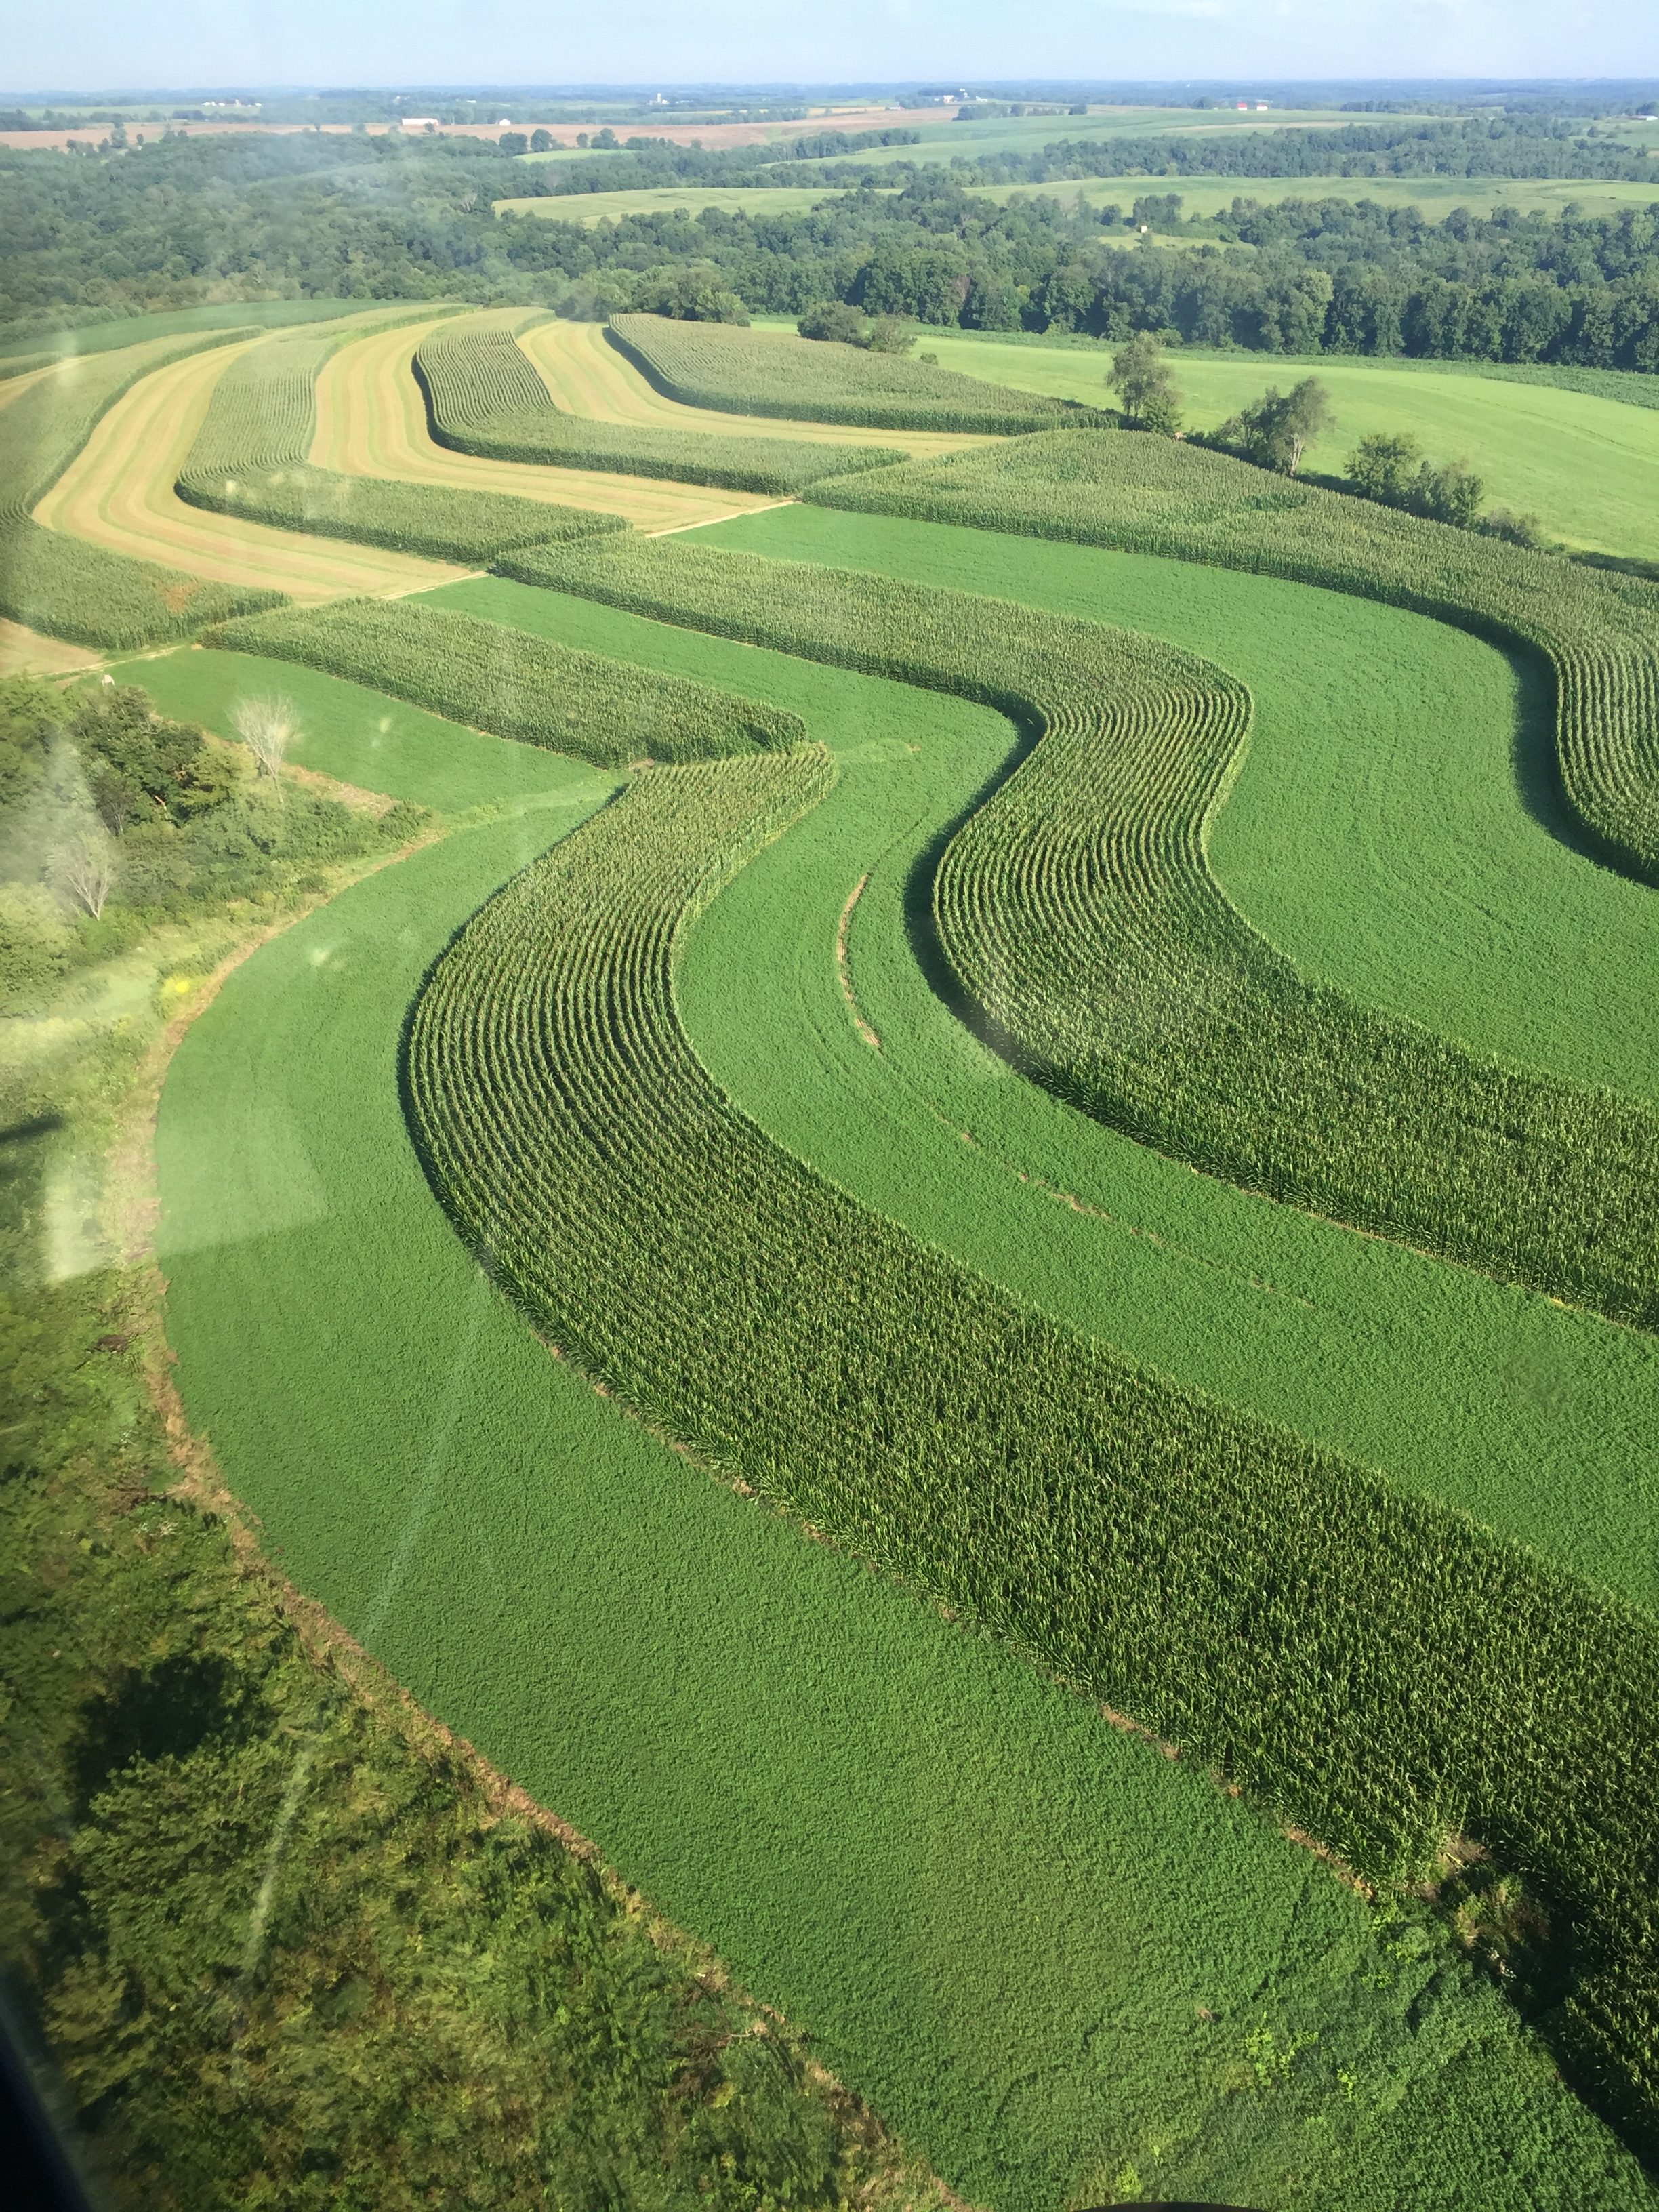
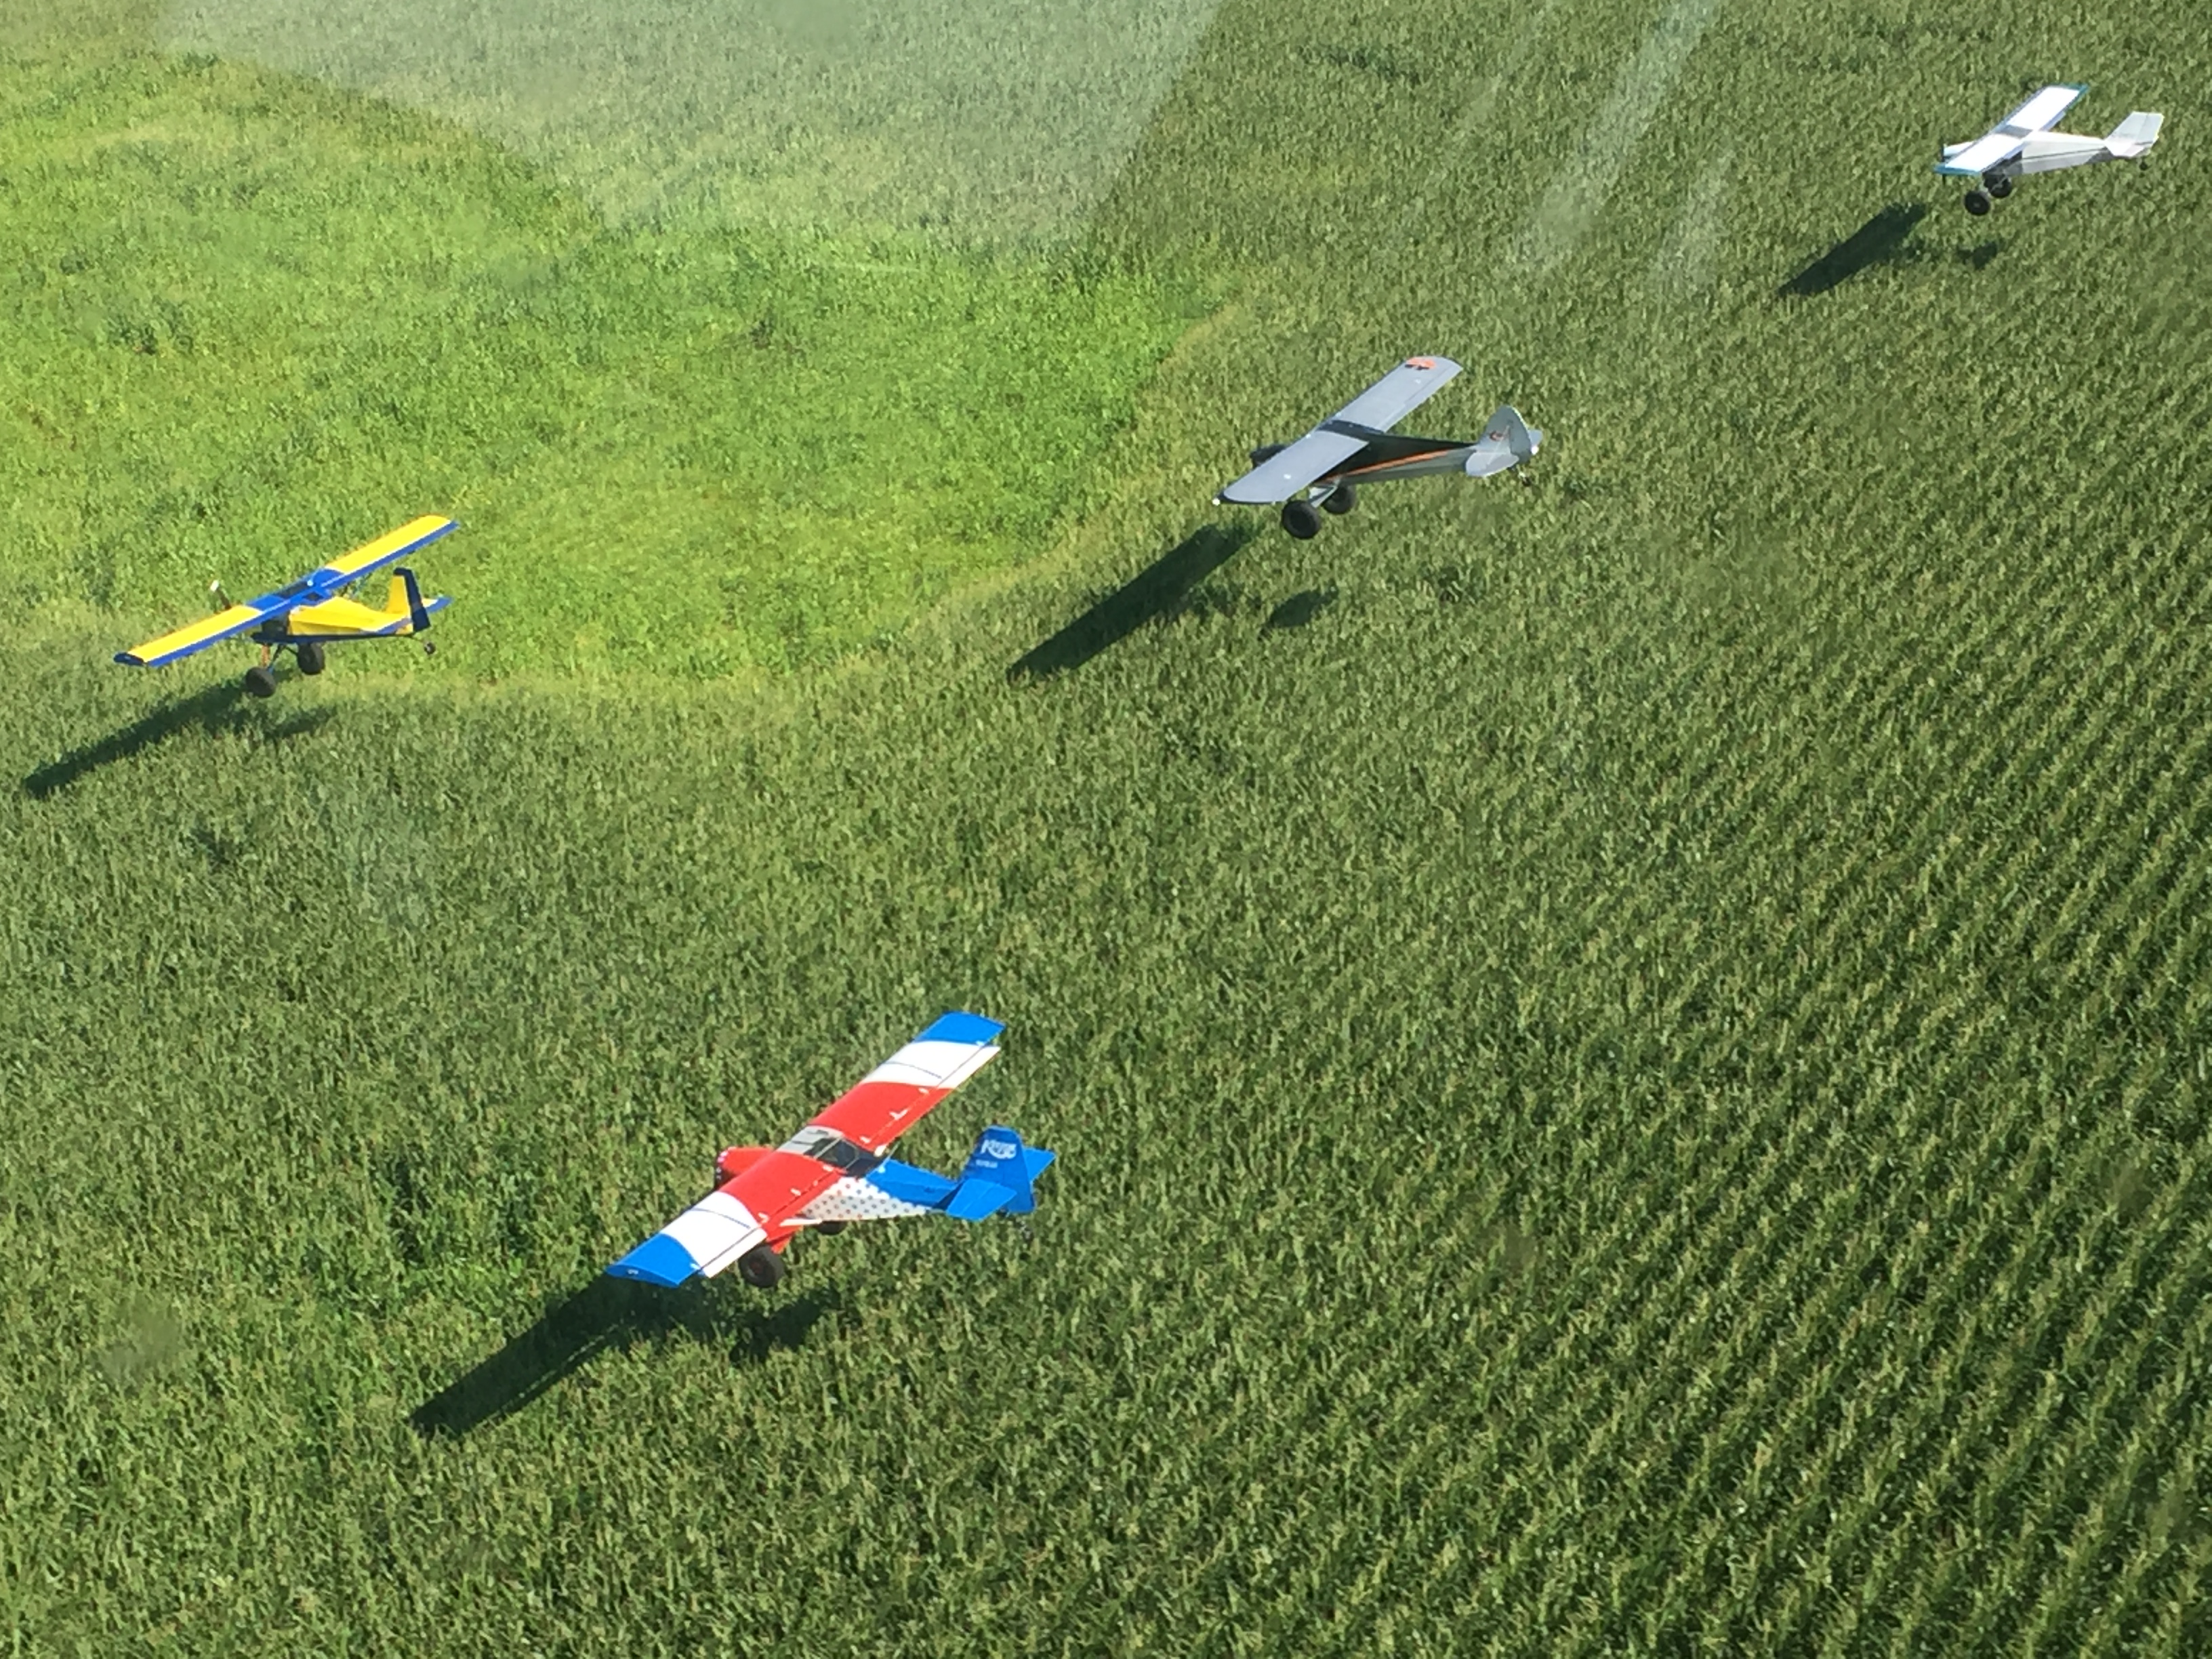
Im chasing Steve here over the endless miles of corn
Im flying here at the Oshkosh STOL demo just before dark
Cory Robins bad ass Carbon Cub EX on 31’s
Cory, Trent and Steve as we fly over WY
All of us parked at Clints
A lonely windmill in the middle of nowhere. We had to land
Somewhere in NB on a hill top early in the morning as we watch the sun rise.
Chuck taking off in his Carbon Cub during the Oshkosh Stol demo

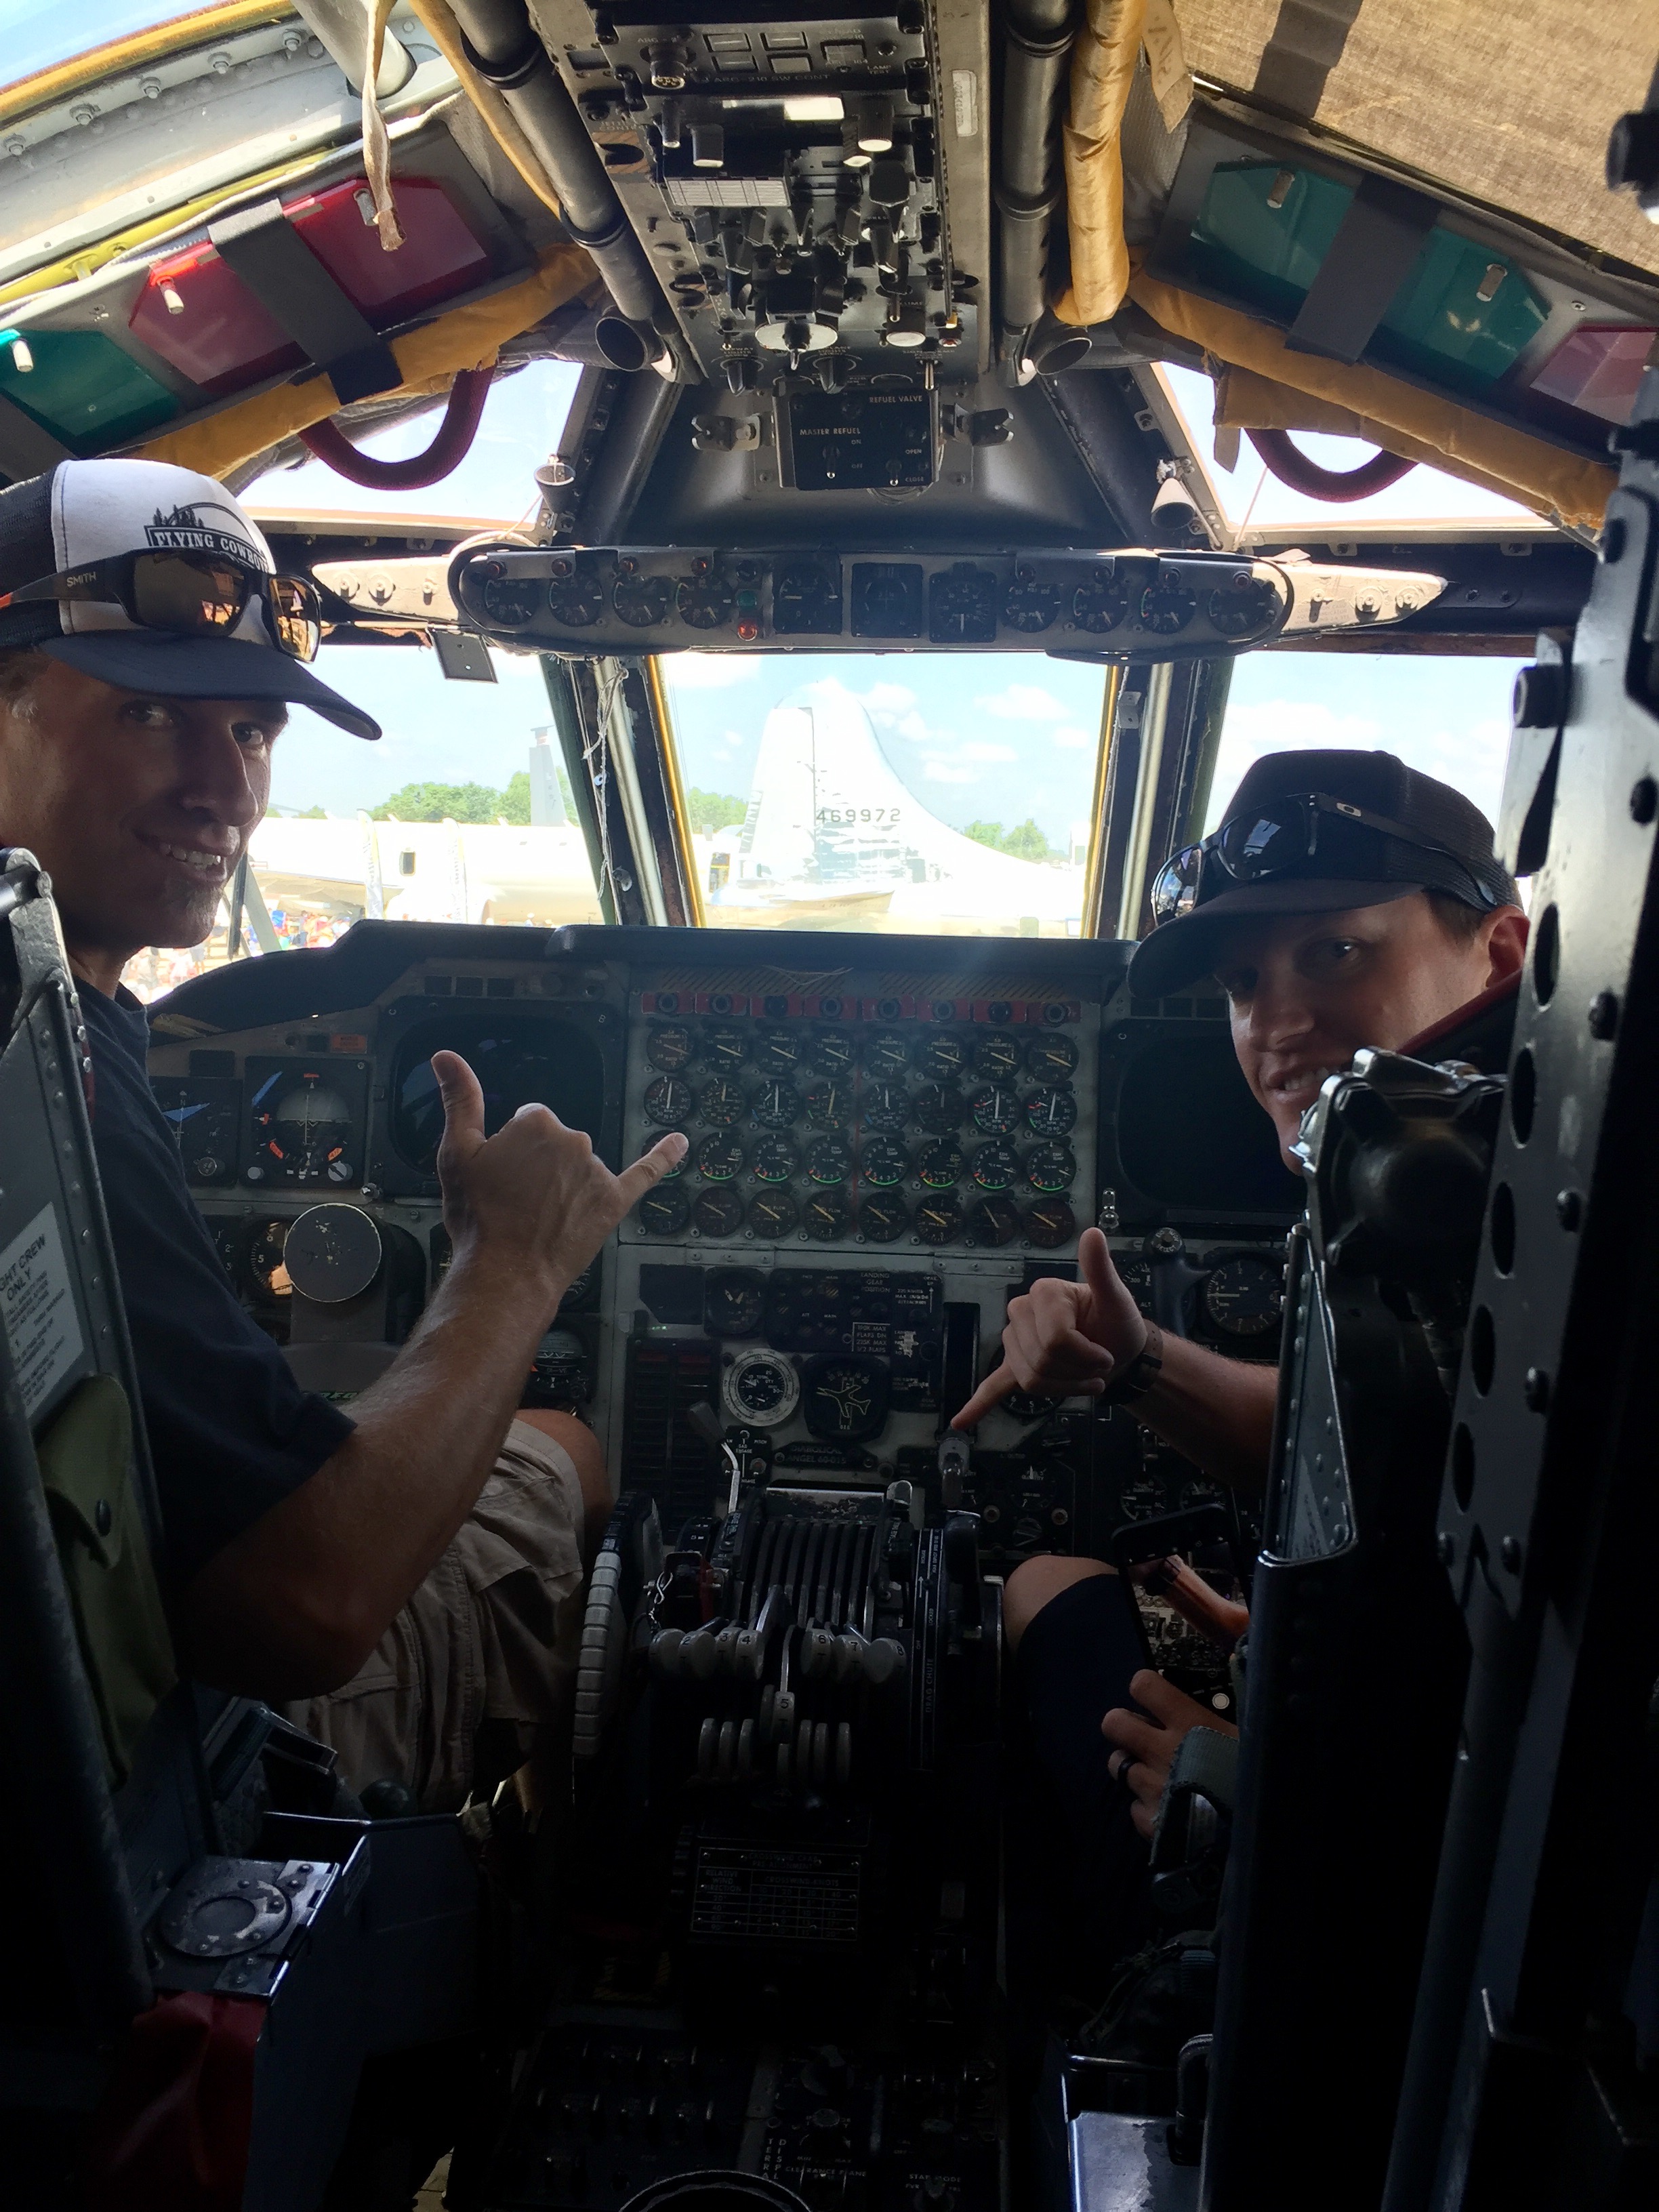
Trent and I sitting in a nuclear power house. Our country has 75 of these. When fully loaded they become the 5th largest nuclear power in the world. The mighty B52! We were very lucky to have the opportunity to sit in this bad boy!
Some of the very best Stol pilots on the planet. Oshkosh Stol demo

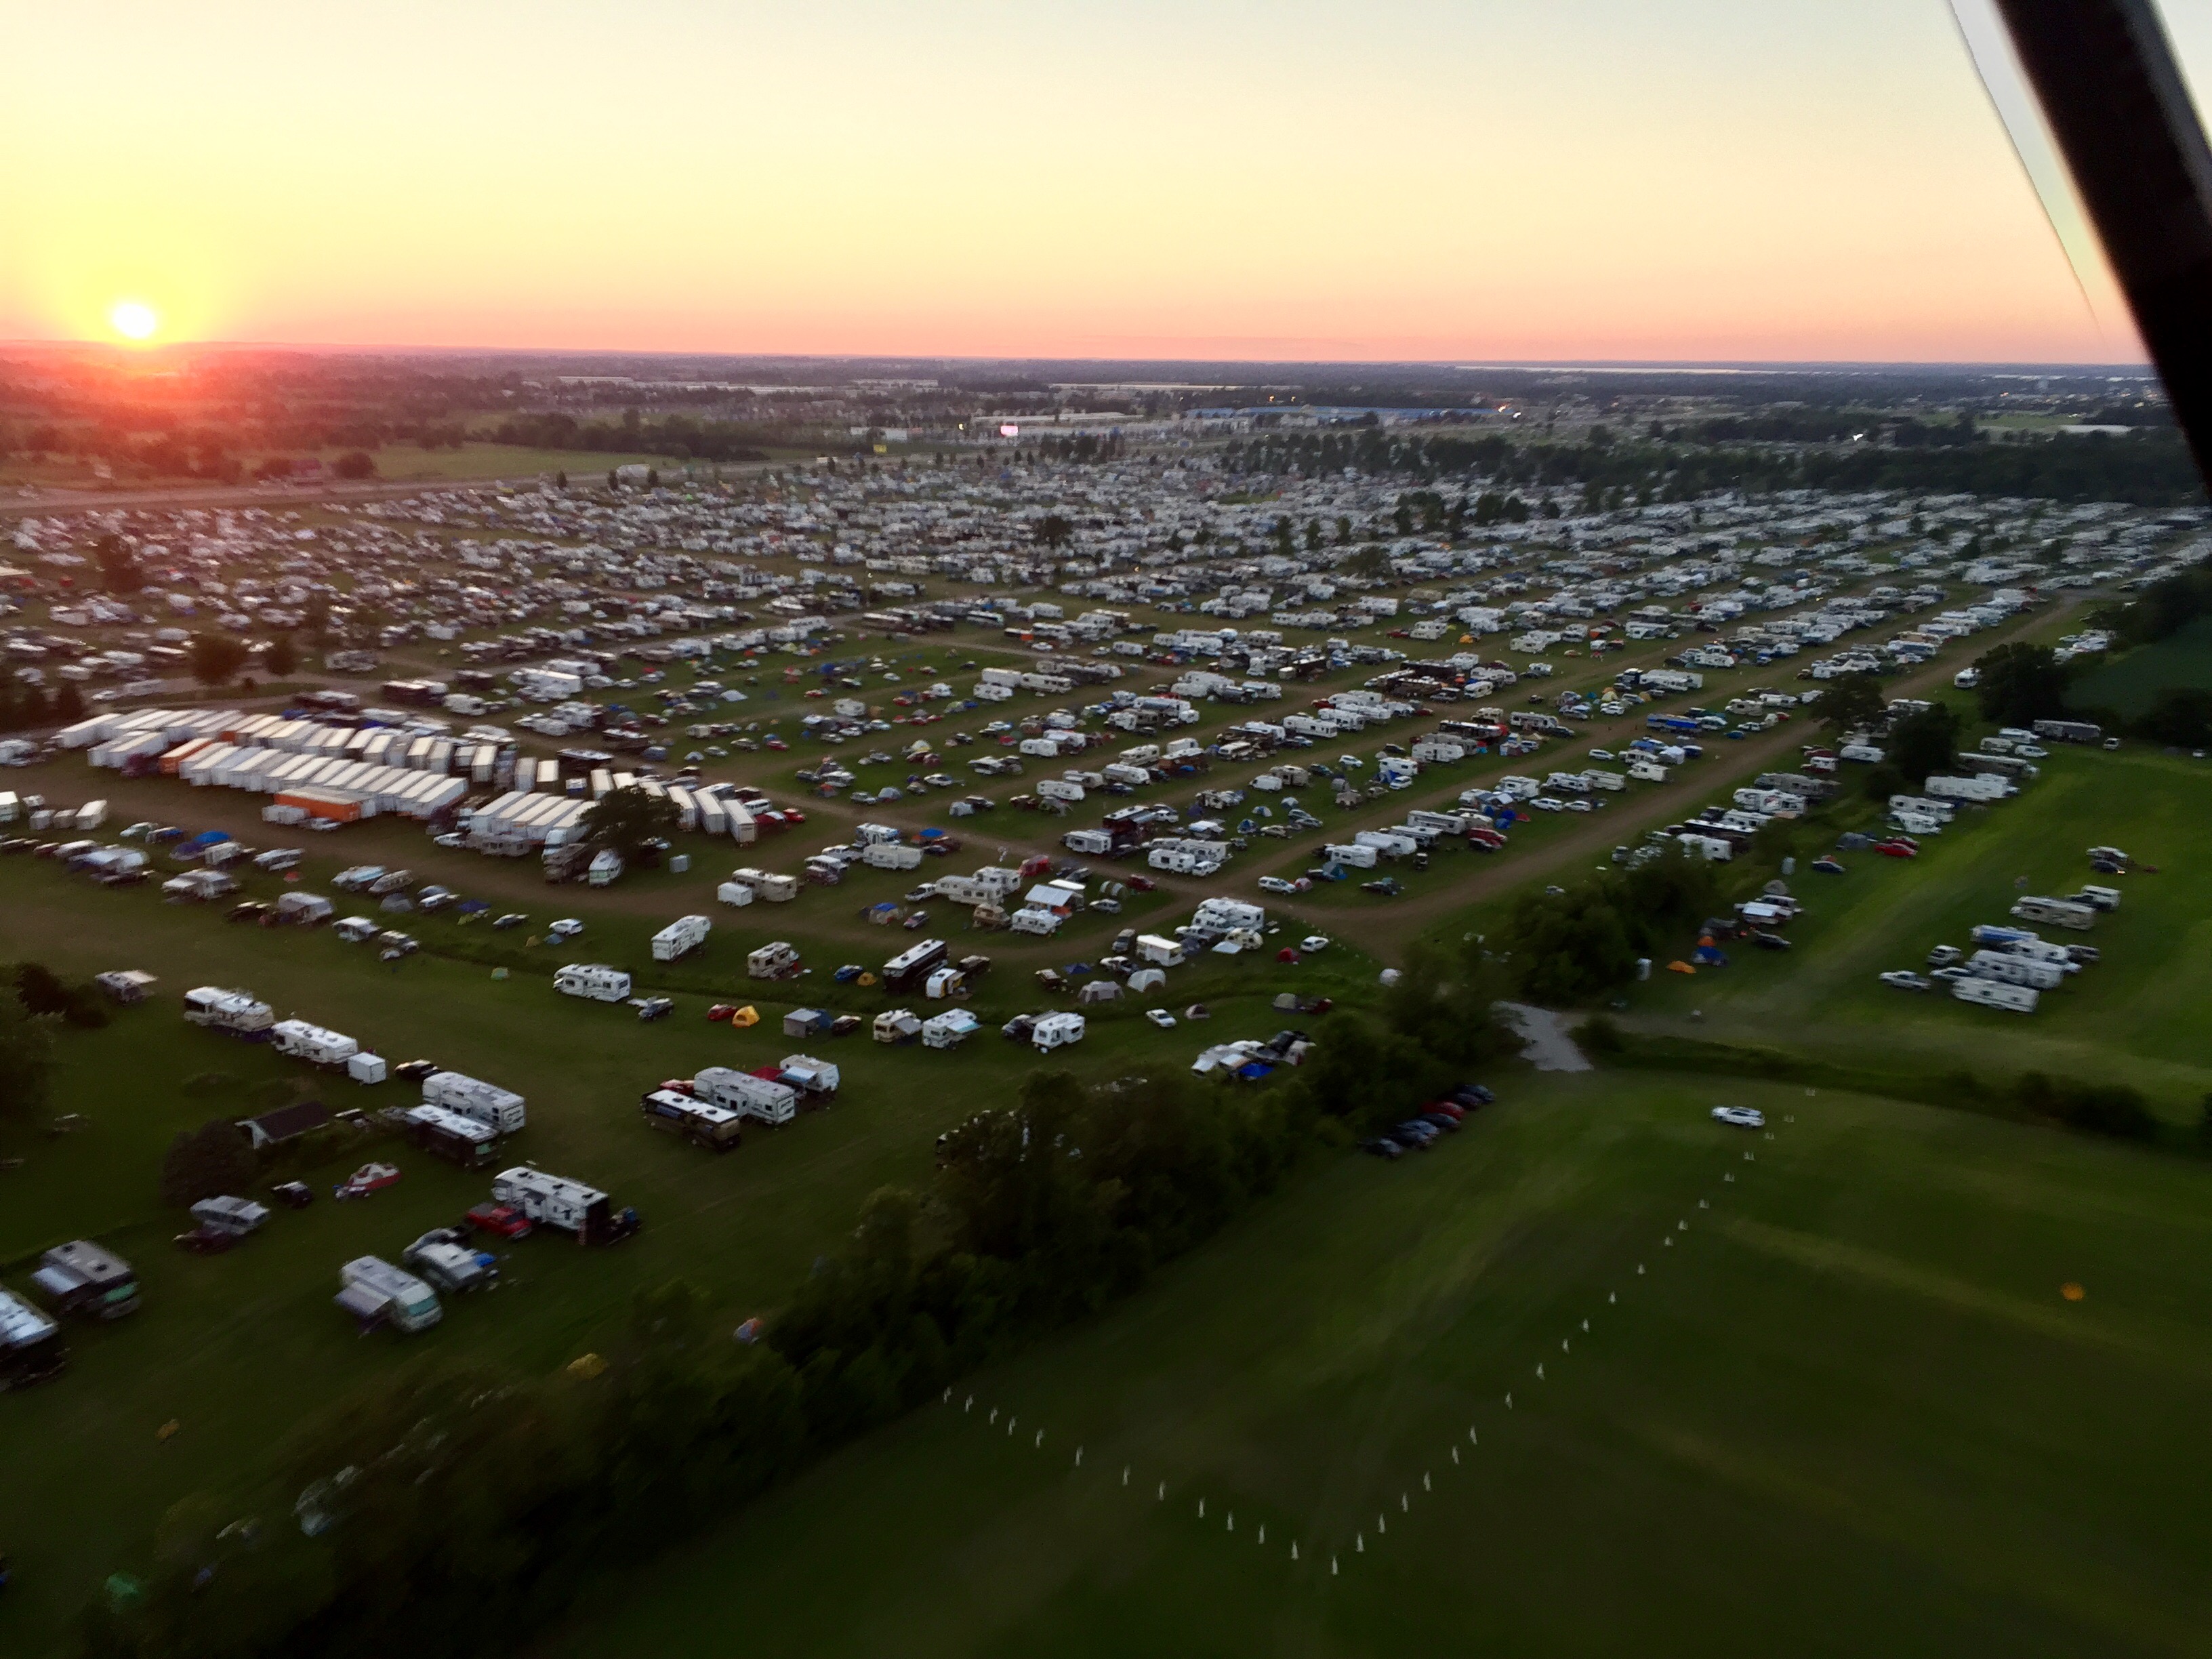
Im flying here during our demo at Oshkosh trying to stay focused but could not pass up grabing a few photos of just one of the many camp areas at Osh at sunset
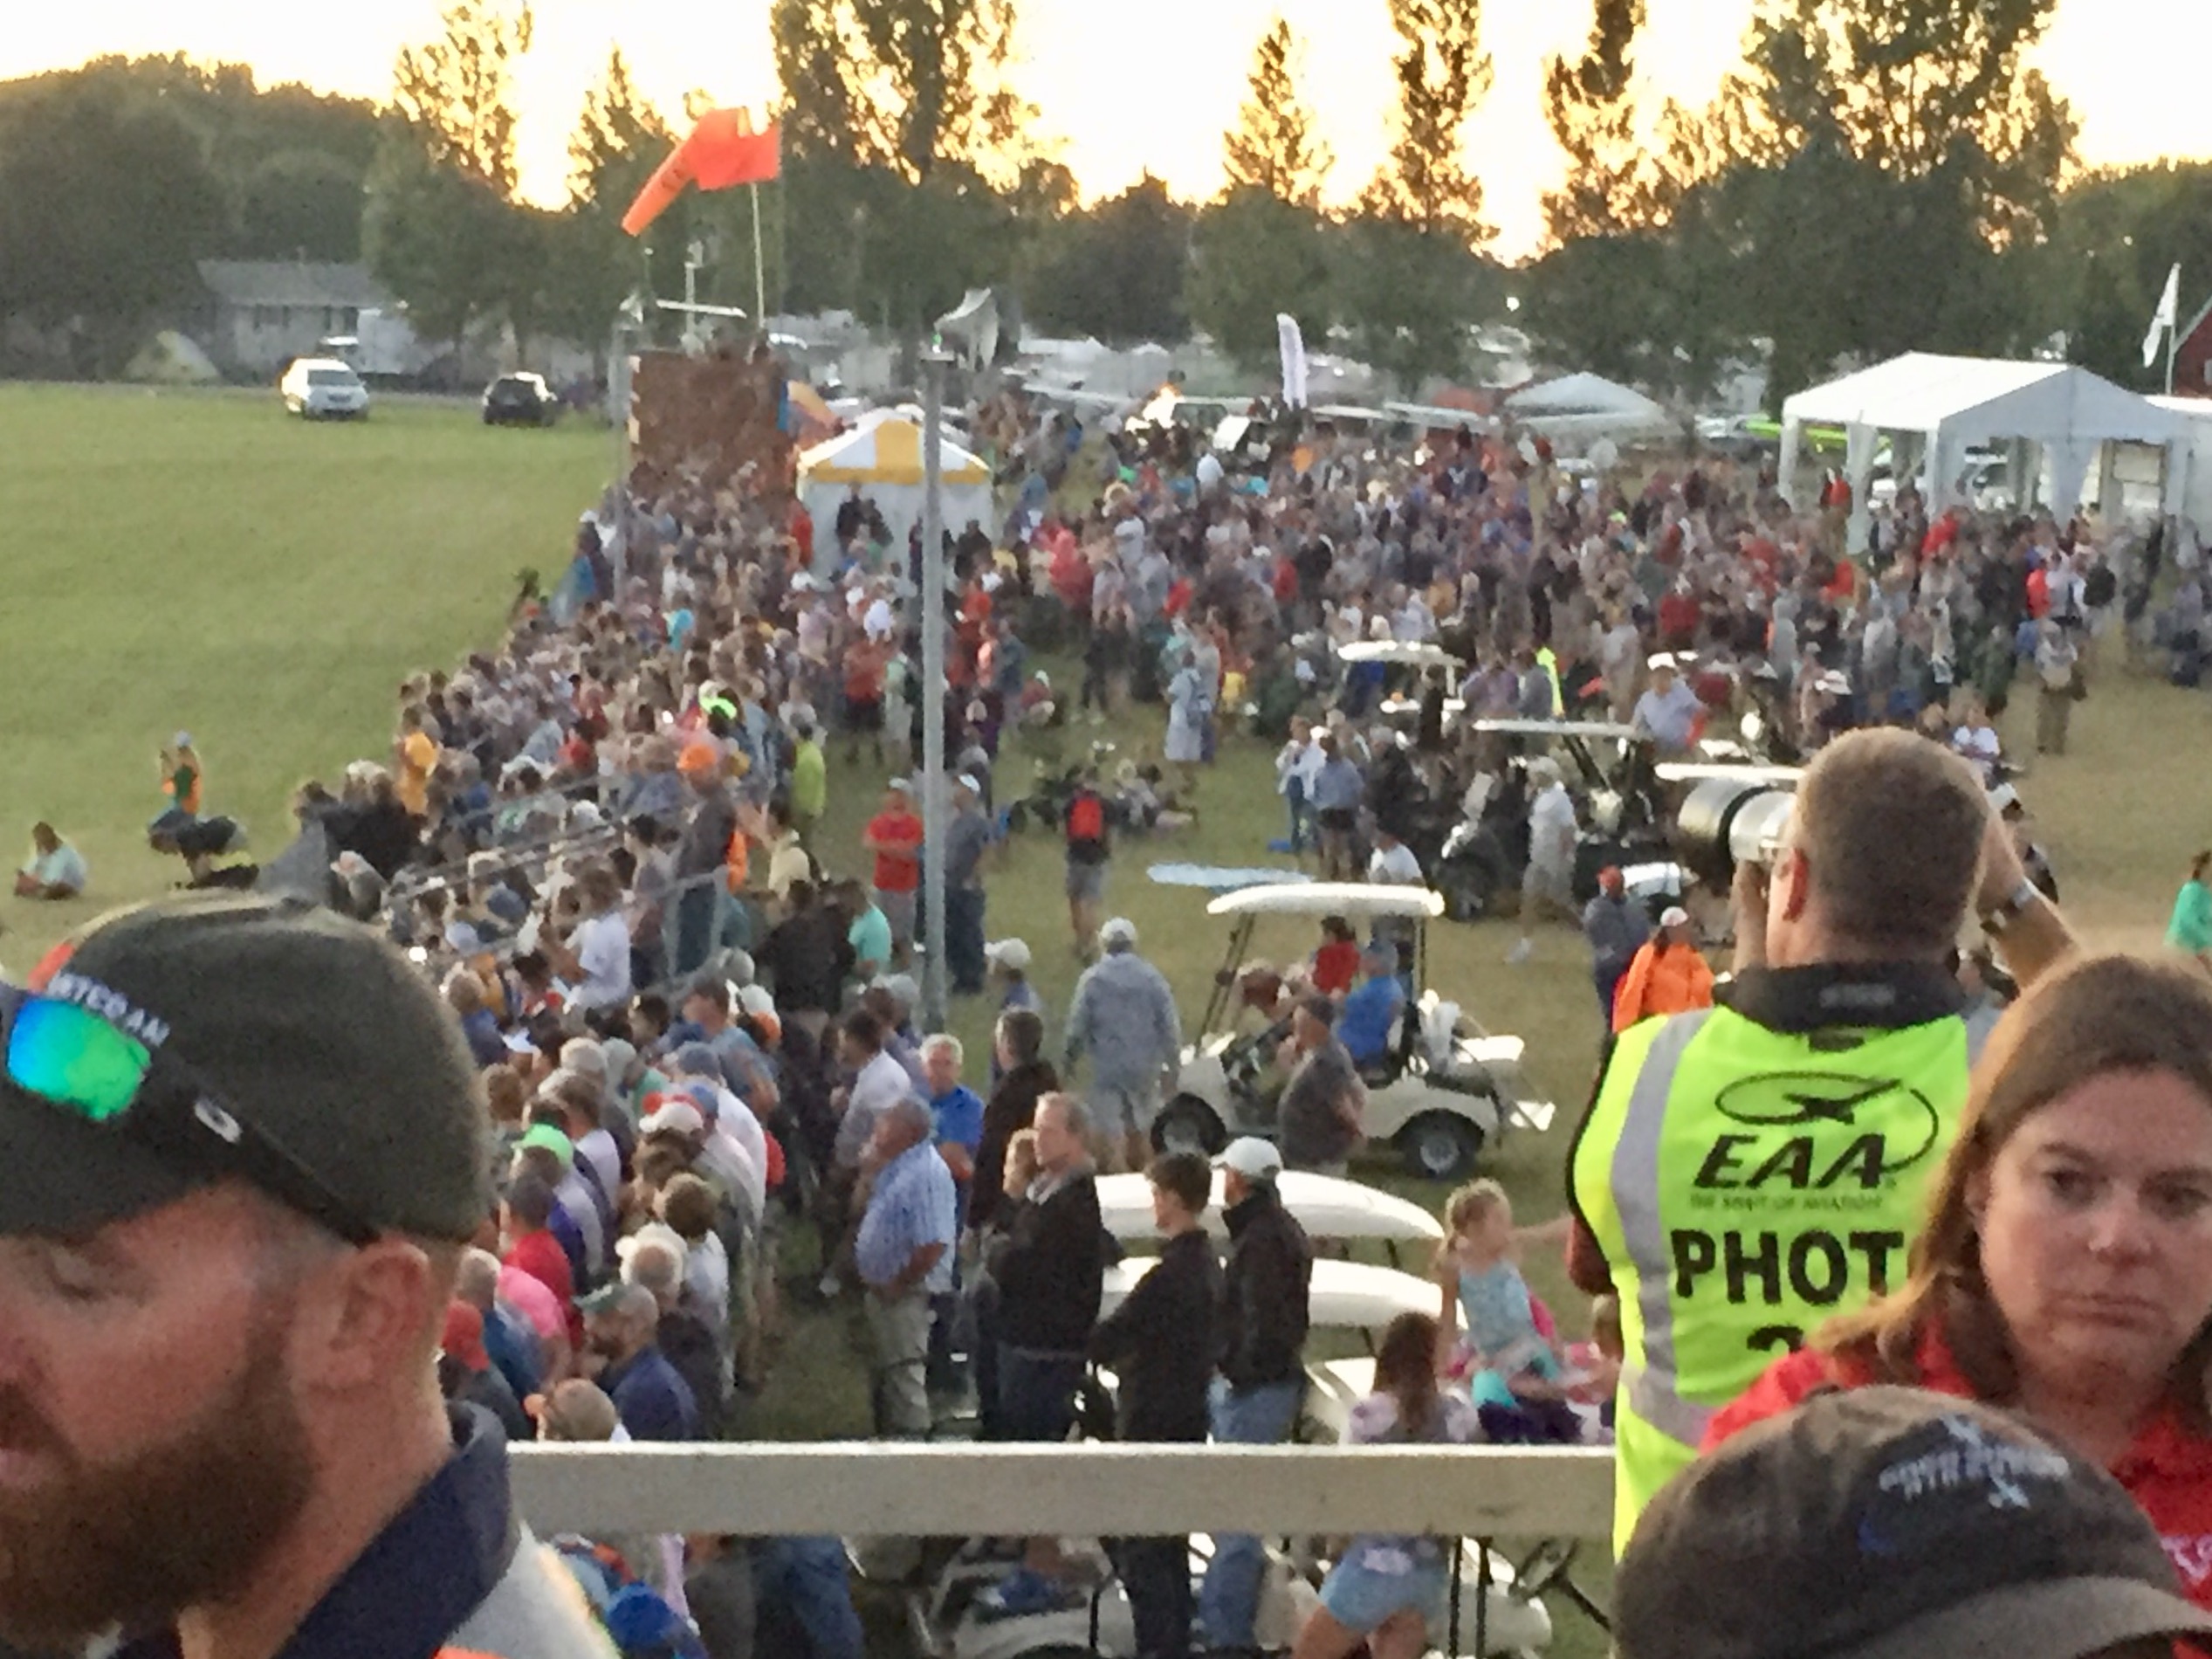
Stop demo crowd
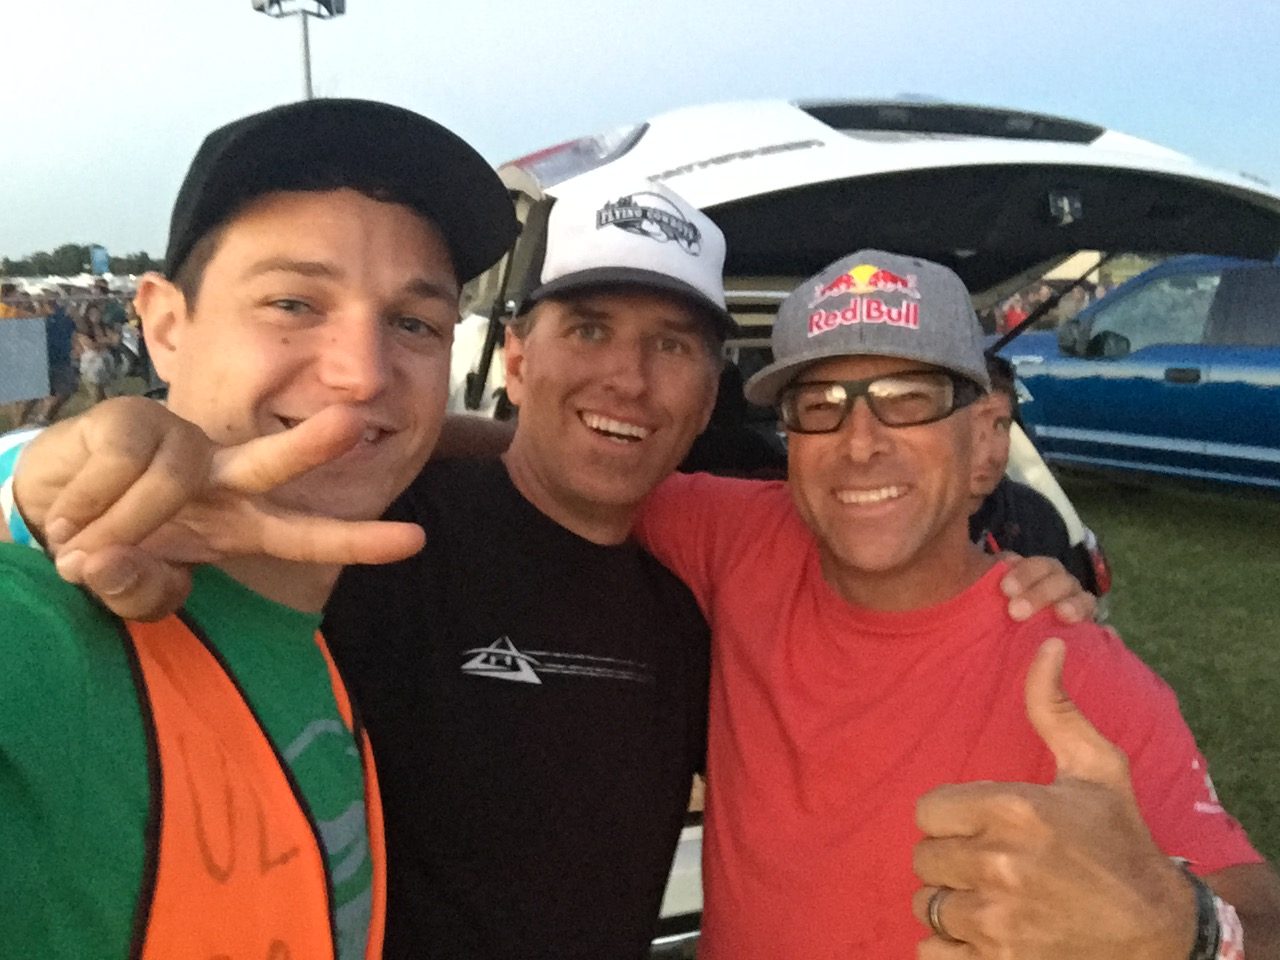
The guy on the left has won the Valdez Stol comp more than anyone else. Bobby Breeden. The fella on the right has more base jumps than anyone on the planet. He is a very good friend of mine, a member of the Red Bull Airfare and former fueler at my heli operation, the one and only Miles Daisher! And then theres me…in the middle 🙂
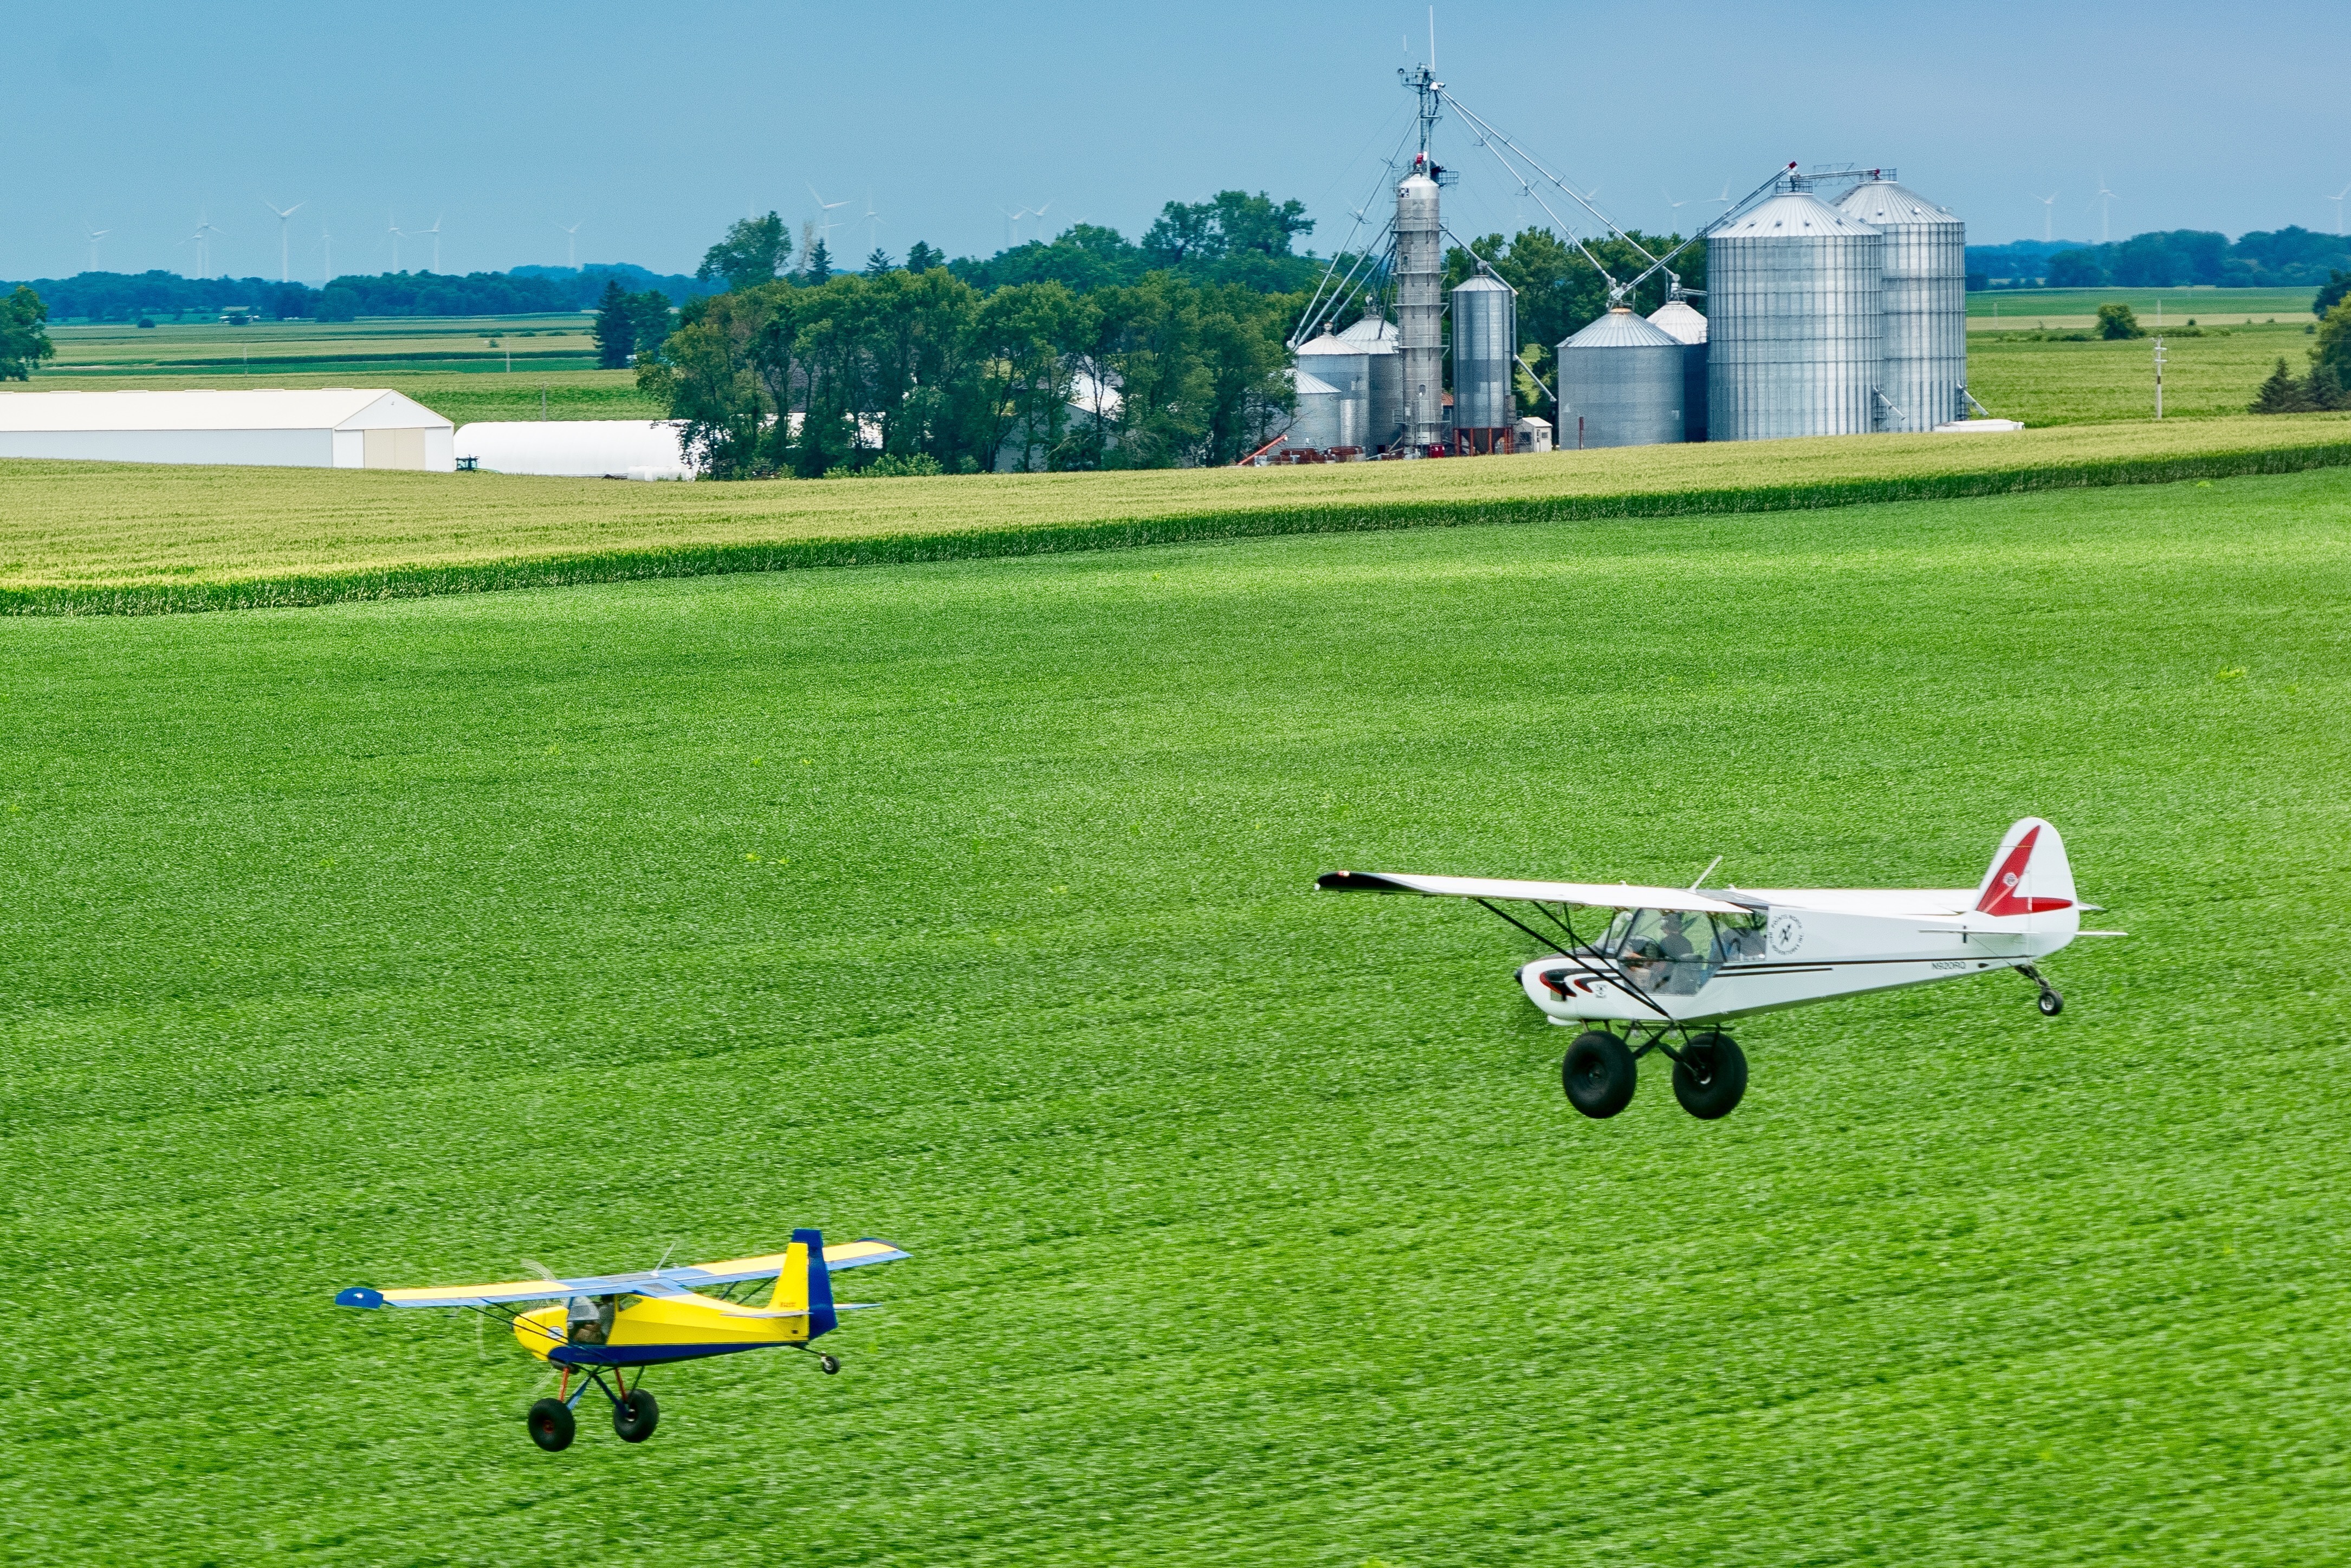
It almost as if the farmers new we were coming. Flying through the endless corn rows is just spectacular.

Osh Stol demo pilot briefing
If you have never been, there no place like it! My dads ashes are in those flowers…
Keep checking back for more…Thanks for your time here
We are going back to Oshkosh this summer as a STOL demo pilot. If you have the opportunity to go, I hope to meet you. Please come say hello. Below is the list of pilots that will be representing the STOL demo at Oshkosh this year.
1- Bob Lutz
2- Walt Snyder
3- Blu Grey
4- Dan Dufault
5- Jay Stanford
6- Kevin Quinn
7- Joe Dory Jr
8- Matt Stantz
9- Joe Dory Sr
10- Bobby Breeden
11- Jason Sneed
12- Hal Stockman
13- Steve Henry
14- Robby Pedersen
15- Jerry Burr
16- ALT1 Eddy Doyle
17- ALT2 Harvey Cleveland
There is no place like the Sierra Nevada Mountains around Lake Tahoe to train and become a better pilot. The topography, density altitude and over all environment makes it an excellent choice for honing your skills as a backcountry pilot. Take a weekend and come fly with me! Mountain flying and utilizing the terrain to your advantage is a learned skill. Wind in the mountains is like that of water in a river. It must be respected. I would like nothing more than to share my knowledge and experience with you!


The following is a good write up from Master CFI Mike Vivion written up for Backcountrypilot.org. Its a good read.
Off-airport landings require some very specific and thorough preparation and training. Failure in either or both of these can result an overwhelmingly undesirable outcome, like bent metal, injury, or death, and can turn a really fun day into a possible forced bivouac a long way out from civilization.
Airports do a lot for us, a fact that most pilots don’t fully appreciate. The off airport environment offers none of those benefits/guarantees, and a lot of potential traps.
Going off airport should not be a “Hey, let’s go land somewhere” kind of operation, though often it is.
Hone your skills first
The first thing you absolutely must do prior to going off airport is to develop your skill set on an actual airport. Runways have stripes….learn to land precisely that stripe, and keep the airplane there, throughout the landing/takeoff roll. Every time.
Learn to choose your touchdown spot and train to land precisely on that spot, not twenty feet down from that spot, and certainly not ten feet short of it. Every time.
Learn to fly your airplane at a comfortable slow flight speed down the runway center, just offset from the centerline, while ten feet off the ground, and looking at the runway for imperfections (most runways have them). Start this process at altitude by learning to fly precisely and consistently in slow flight, plus 5 mph, minus 0 mph, every time. Use the flaps…it’s what they’re for. Get proficient at this in the air at altitude before you try it close to the ground.
Most of this should be done initially with a competent and experienced instructor in the plane. “Competent” meaning someone who knows what your objectives are, is very experienced at it, and knows your airplane type well. Beware the instructor who says “Well, I’ve never flown one of those, but I have a lot of time in a Cub, Cessna, etc….” Find someone who is familiar with your exact airplane type, specifically. And really familiar, not just a quick turn around the patch or so.
Practice very light touchdowns and very low passes along the runway centerline. Learn to not plunk the airplane on the surface….learn to finesse it on with some power. This is to evaluate the roughness of the surface….you’re not going to land like this when you’re actually landing….this is part of the airport prep process and is an essential skill as well.
Okay, so you’ve beat up several airports hard, and put in a number of hours of very specific training on-airport, and you can put the airplane precisely where you want it, on airspeed, on target, every time. Your touchdowns are at minimum controllable airspeed, every time, and there is never doubt in directional control. If you’re not quite there yet, you are NOT ready for the off airport environment. Sloppy doesn’t work in the off-airport environment.
Site evaluation
Finally, after great preparation, you’re ready to start thinking about taking your airplane off-airport.
A common question is: Do you go somewhere you’ve walked first, and the answer initially is yes. Find a fairly easy gravel bar or similar low-consequence patch of ground and go walk it. Or, go there with someone who’s been there before (with them in their plane) and see how they do it. Understand that there are fools out there, so just because they’ve been there before doesn’t mean they’re doing it right…..judge for yourself. Nobody is perfect.
Do a couple of these spots that you can walk out first. Find the obstacles, ditches, soft spots, etc. Mark them somehow, if you like, but get them firmly fixed in your mind.
Pass #1
Now, go get in your airplane, preferably with that experienced instructor if possible. Fly over the site, at say… 100 feet and in a good safe slow flight configuration and speed– Not 40mph or near MCA, but something suitable to observation of the surface. Look for your known obstacles that you noted prior. Got them all fixed in your mind? Now choose your landing centerline, obviously one that provides the longest length and avoids obstacles. Find some references that will allow you to hold that centerline once you’re low….it’ll look a lot different from the surface. A small bush on the approach end, a big rock at the far end, or a tree on the other side of a bend in the river, etc. Use good, easily visible landmarks that’ll keep you oriented and located.
Pass #2
On the second pass (once again, at a safe observation speed, see below Size Estimation) you are going to choose your touchdown point. Make it logical, not right at the bitter end of the “runway” necessarily, but fix it in your mind. That’s where you’ll touch. Miss that spot, and you must go around. On this pass, look for other obstacles that you maybe haven’t seen before. In other words, don’t get fixated. Continue to evaluate the situation– several elements to the location can be dynamic. The wind can change (you did figure out where the wind is from and it’s approximate velocity, right?), obstacles can mysteriously appear due to viewing them from different vantage points, and even wildlife can present itself. Make passes on the right and on the left if possible, to get different sun angles on the surface. It’s amazing what a different angle will expose sometimes. Things that were totally invisible from one angle literally appear out of nowhere.
Escape routes
Establishing escape routes is paramount, as go arounds are going to happen in the site evaluation process. In fact, the go around/escape route is part of the site evaluation process. So, figure out which direction you’re going to go during the go arounds, learn the obstacles, and fix them in your mind. Don’t even think about going in for a touch and go before you’ve fully figured out the escape routes.
Length estimation
We need to know how long that airport is, just to be sure we can safely land there, with a margin. Let’s fly over the airport at a flaps down, stabilized speed of 60 knots (69 mph), precisely aligned with the runway, but offset to one side. As we pass the touchdown point, start your mental timer….One thousand one, one thousand two….etc as you fly precisely parallel to that landing zone, until you pass the end.
Why 60 knots? A nautical mile is approximately 2000 yards or 6000 feet, meaning that if you are at 60 nautical miles per hour, your velocity is very close to 100 feet per second. Easy rules of thumb like this can make length estimation a quick calculation, without having to do any math more complex than multiply the seconds counted times 100.
At the end of your pass if you counted 11 “one thousands,” you’ve got approximately 1,100 feet of landing surface. Not precisely, but this is a good ball park.
Touchdown
Now you can start to consider putting your tires on the surface. Line up, as if you were going to land, but do a very light touch and go. The purpose is to determine the roughness of the surface. This should be done close to MCA, but adding some power just at the touch to keep it light…don’t plunk it on in other words. You practiced this at the airport, remember?
You make as many of these passes as is required to fairly evaluate the surface conditions. Additionally, every one of these passes has the benefit of helping you evaluate escape routes, go arounds, etc. This process can take some time and many passes. Sometimes, you’ll find something, perhaps an obstacle or something else, that you didn’t see on the previous passes, or even from the ground. Take as long as necessary to get comfortable with the site. If each pass doesn’t make you at least a little more comfortable with the site, you may want to move along to another site. If it’s not looking better, that suggests it may be ugly. This is an evaluation, after all, and that suggests that we may decide this site is not suitable or worth the risk.
Once you have all this figured out, you’re comfortable running your tires on the surface, and everything looks good, set up for a landing pass. Never give up the notion that every approach may terminate in a go around, though. Get the airplane lined up, on speed, on glide path, and the touchdown point right where you want it, and if everything looks good right to the touchdown, land and use moderate braking.
But, whatever you do, do not pioneer a landing site, doing all this work, then land ten feet to the right (or left) of the site you pioneered and evaluated. There can be a log over there you never noticed, because you were focused on that one landing lane.
After landing
After landing, stop on the runway and shut down. Get out and walk it first to find a safe place to park. At least at first, you need to be very conservative, thinking all the time, extra vigilant. While not as dangerous or damaging, getting a plane stuck mud or a hole can be just as inconvenient out in the wild.
Walk the length of the landing surface prior to takeoff, again mapping obstacles, and looking for anything you missed seeing from the air. Use this to improve your skills at evaluating sites.
If you’re flying out to a site with a wingman in another airplane, let them pioneer first, see what they do, how they do it, but do not let them rush you. Just because they did it, doesn’t mean you can. Take your time. Trust your own rules.
Most of all, never stop learning this craft. Off-airport flying can be some of the most rewarding and fun flying there is. As noted earlier and graphically in this thread, it can do a lot of damage as well. The moment you go off airport, you increase the risk factor in your flying. Make certain your insurance covers off airport operations.
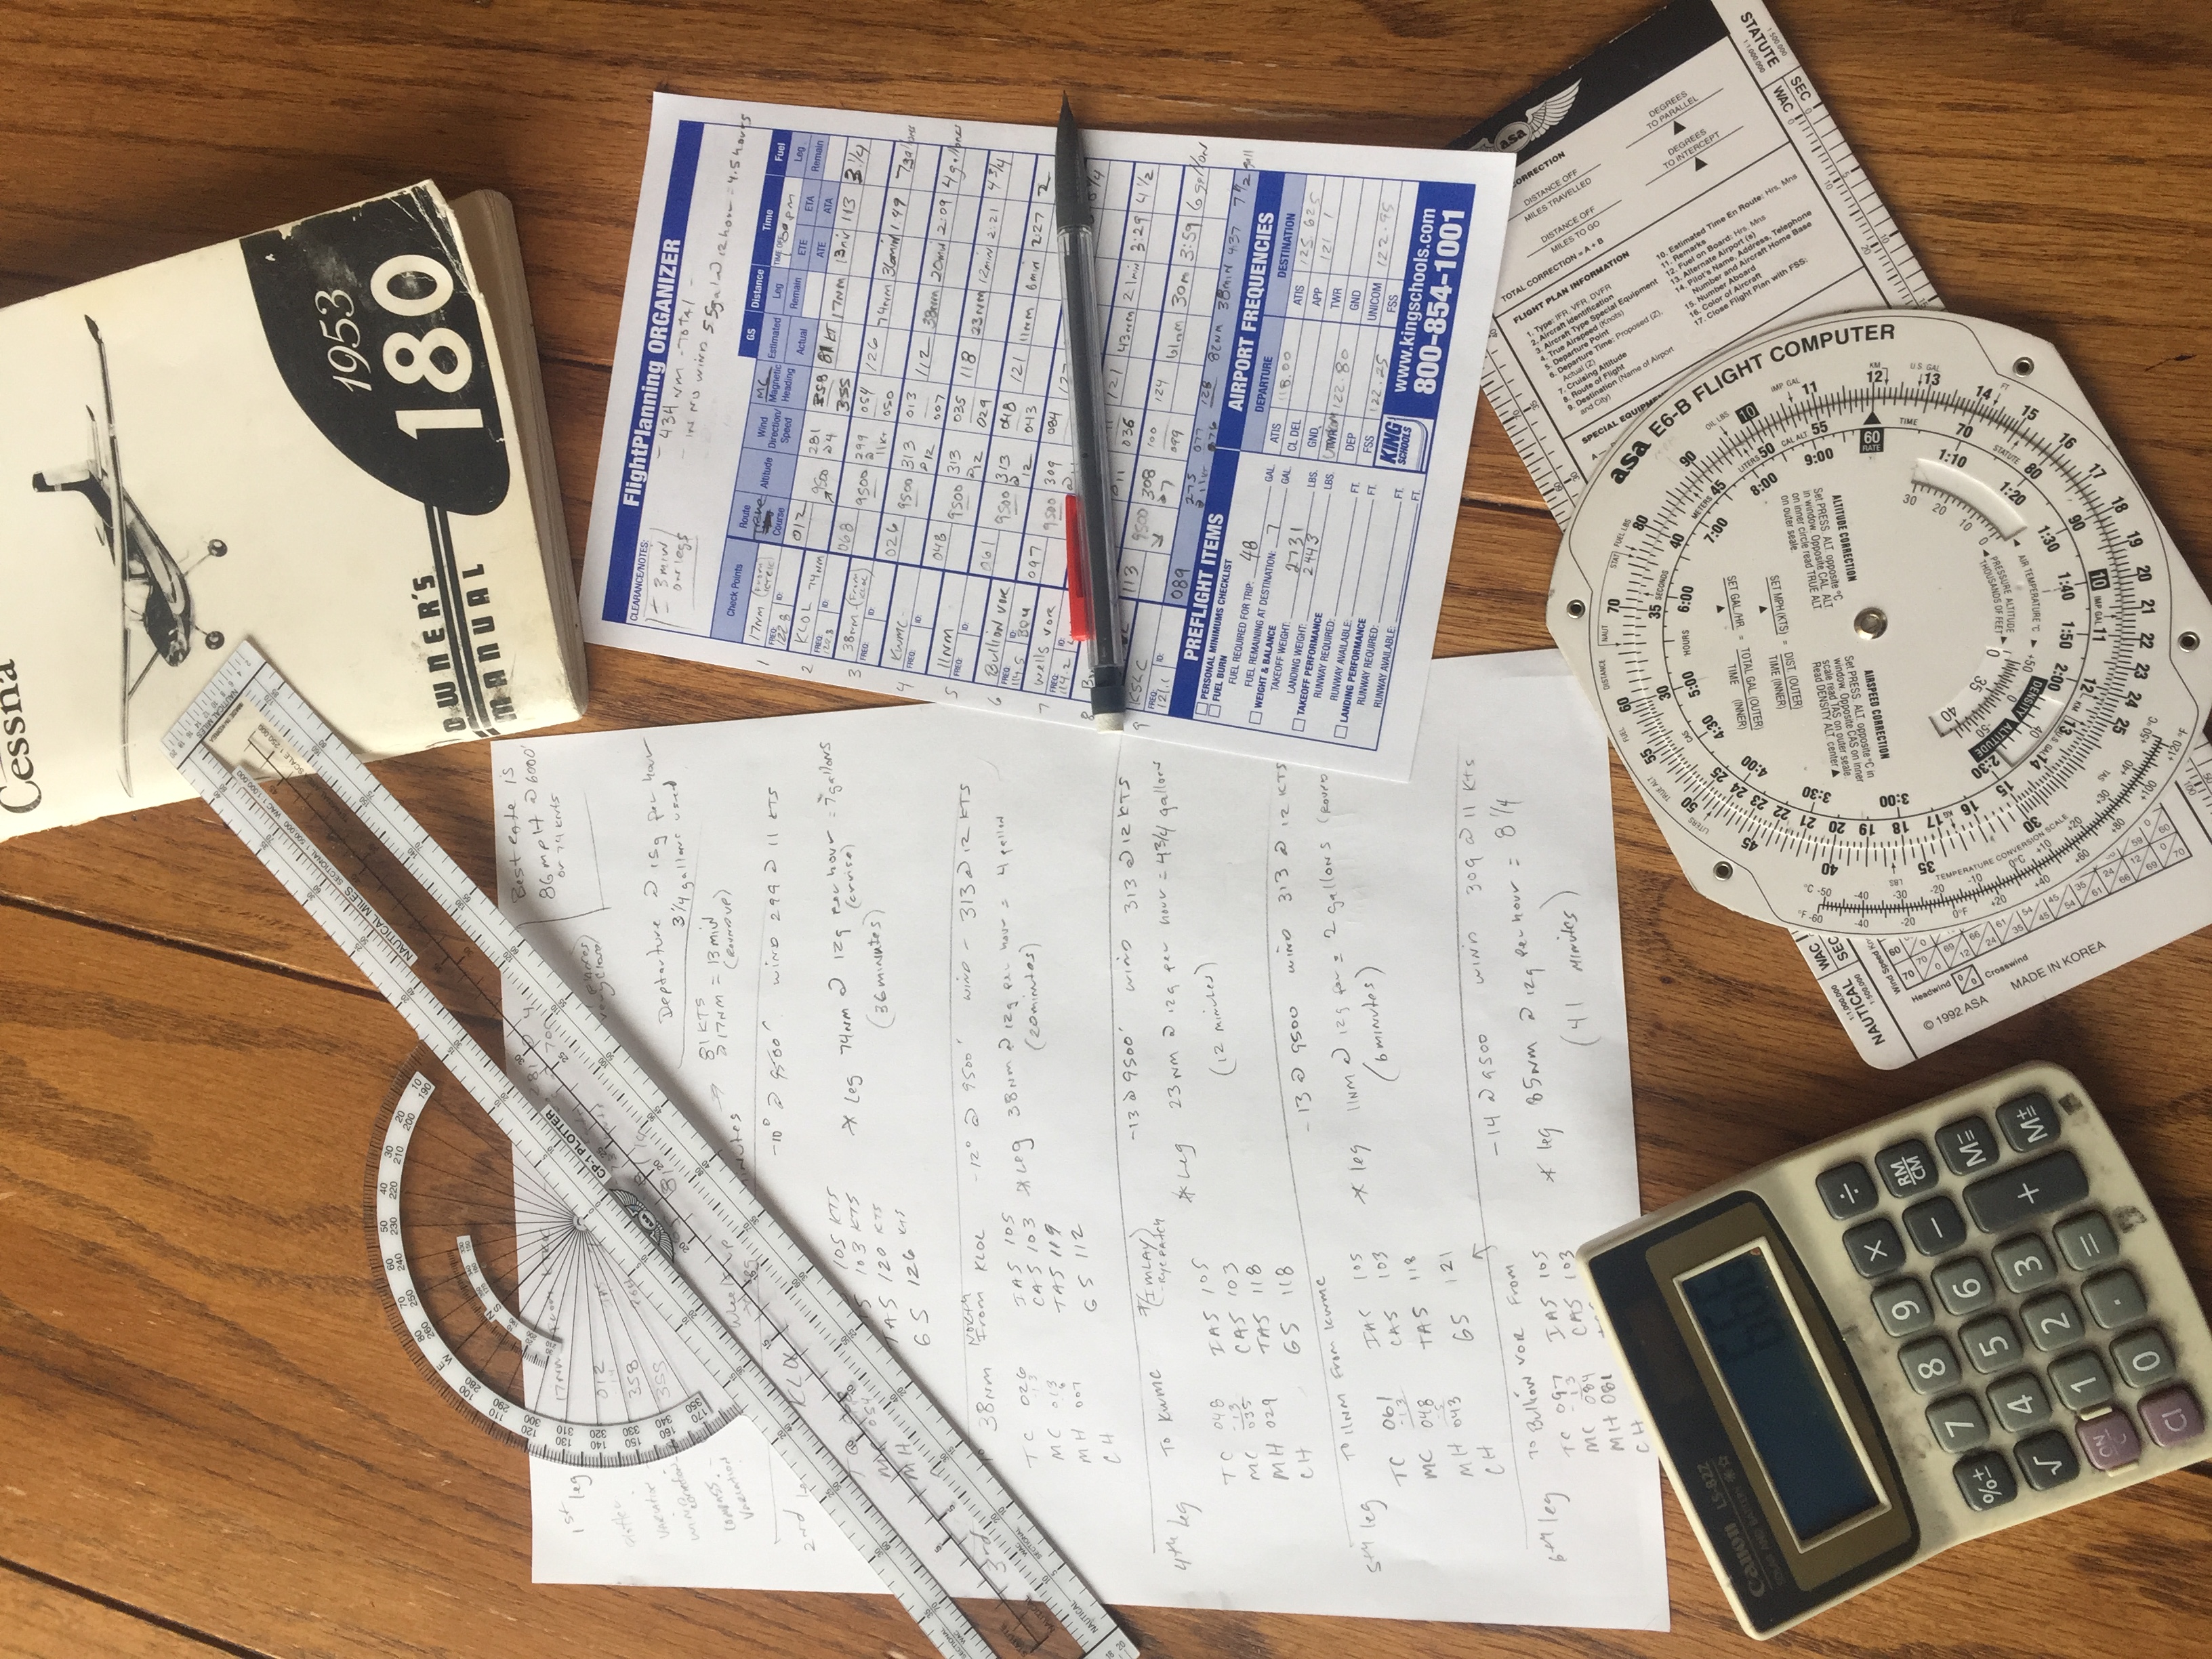
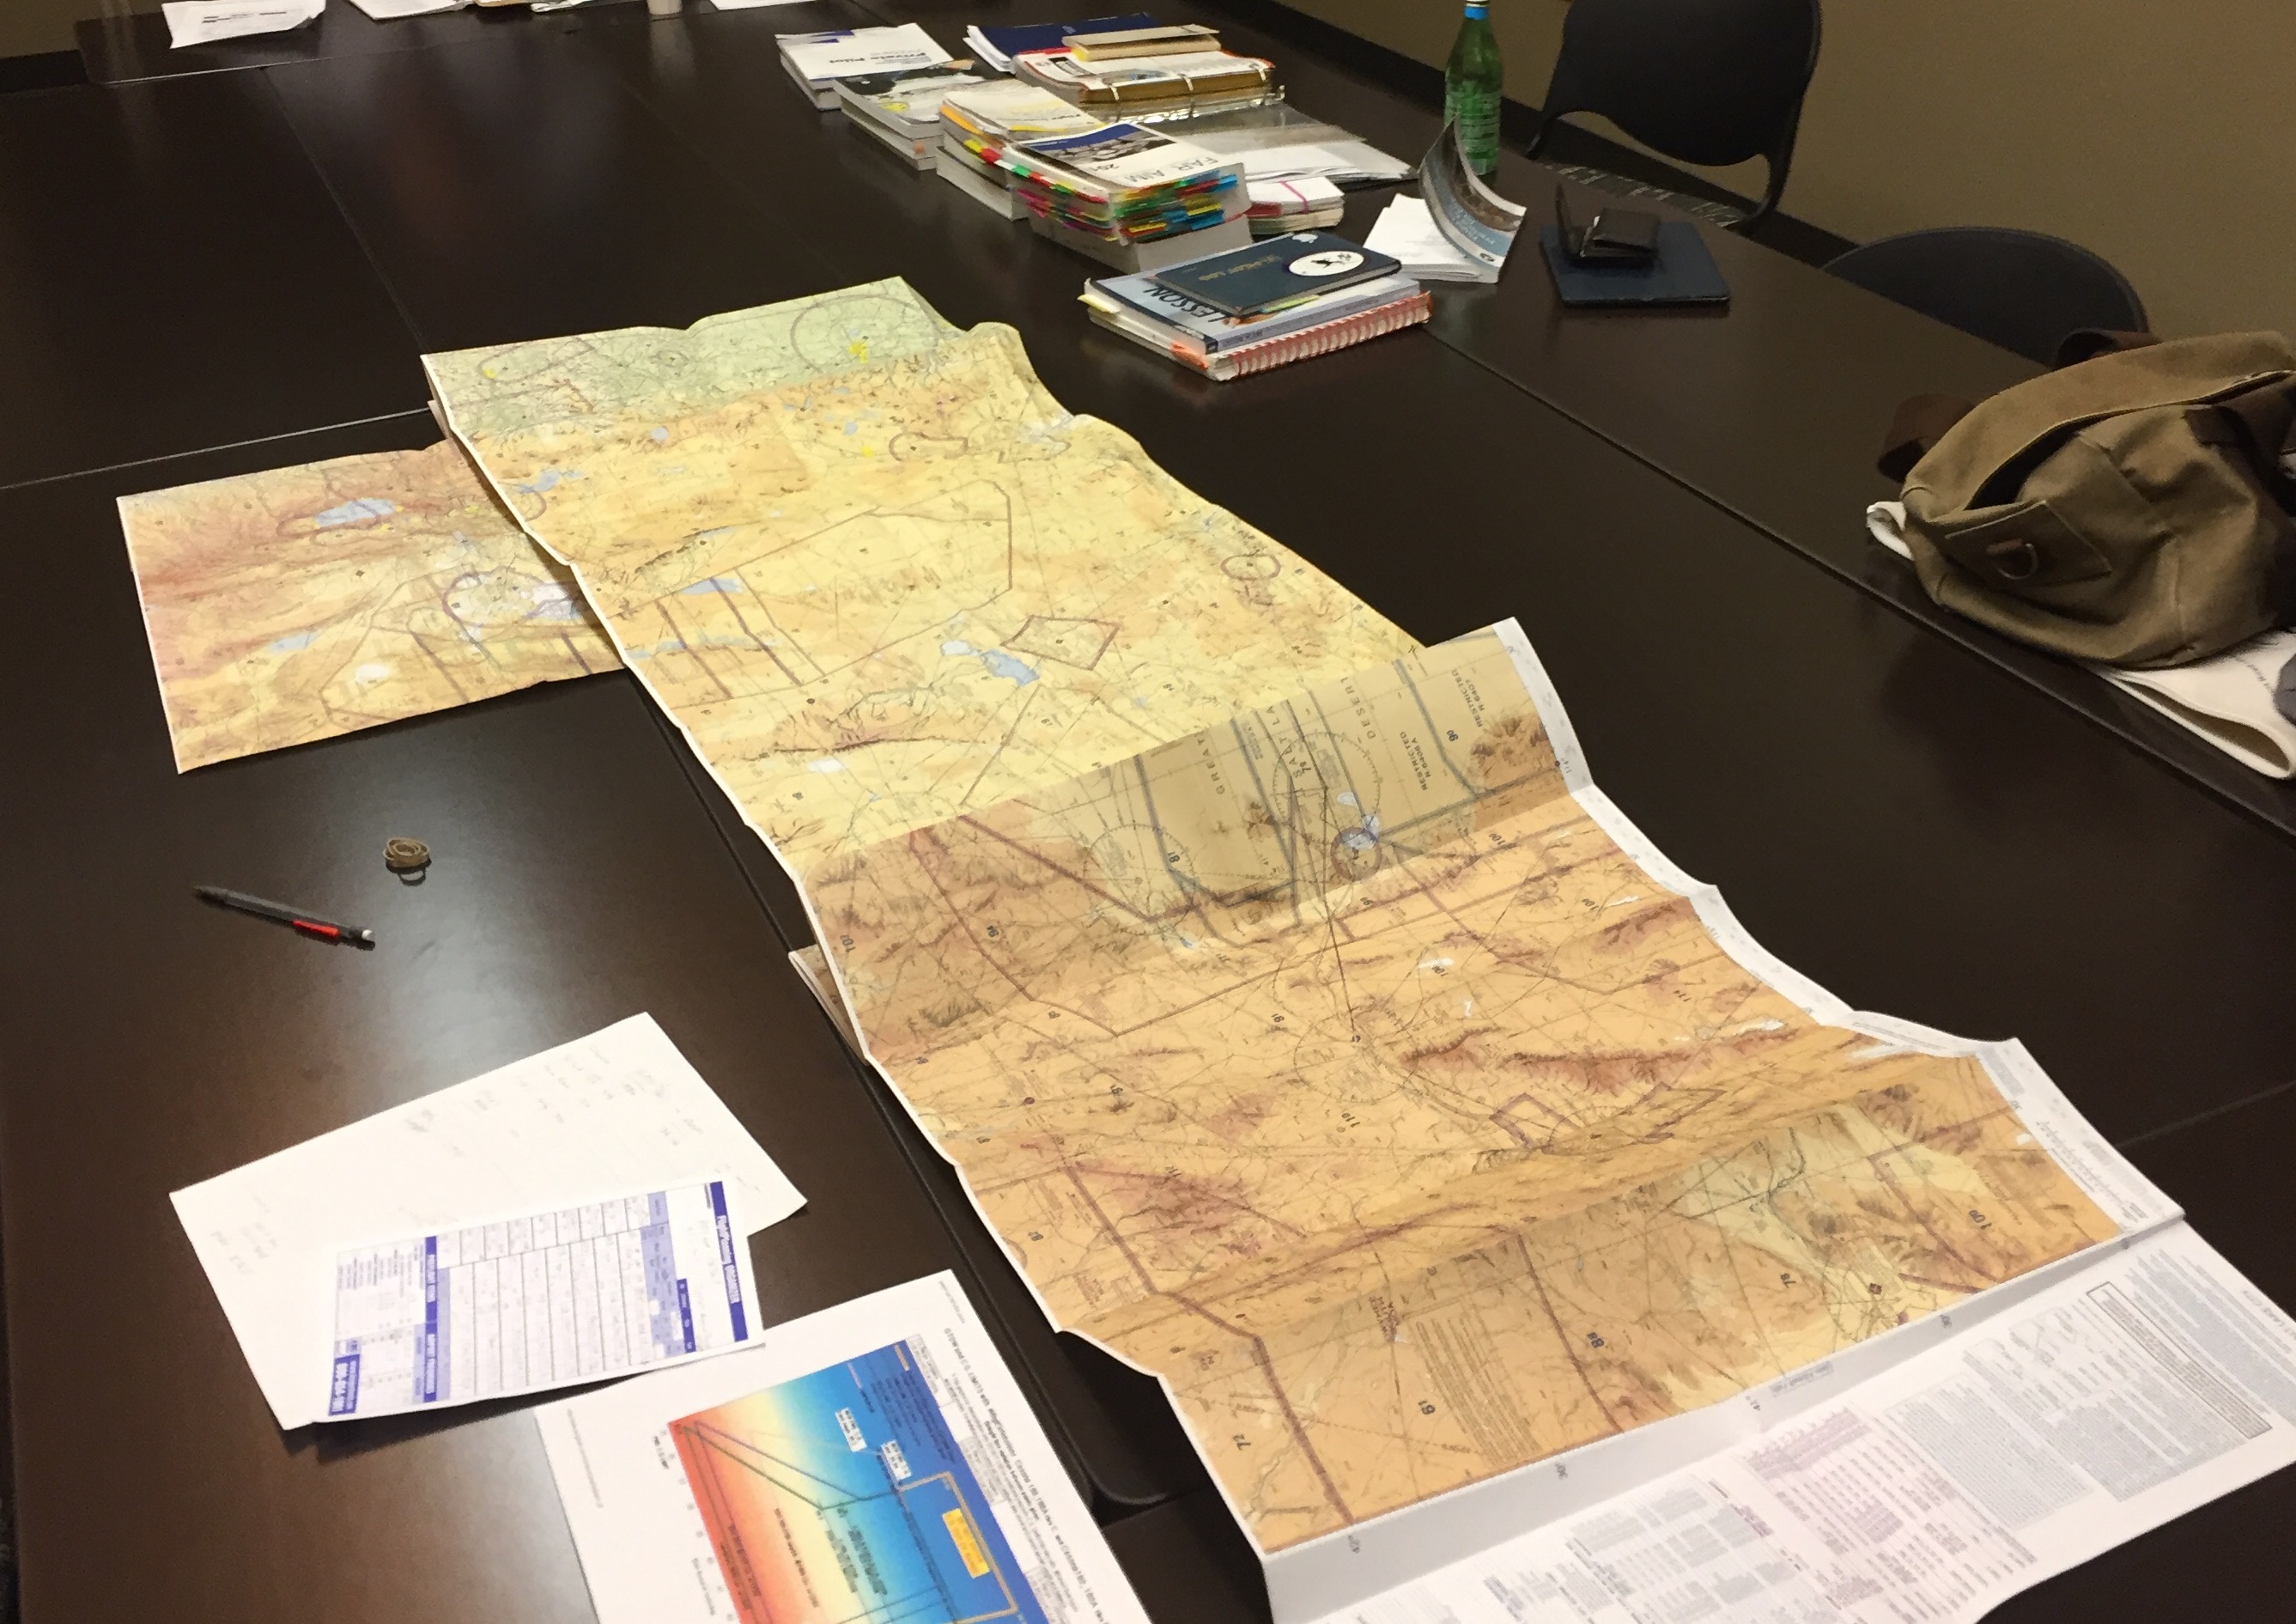
After 6 cancelations due to weather we finally got this done! As of 1/26/2016 I became a CFI. 🙂 I had the room blocked out and scheduled for an oral that generally runs for 4-6 hours or so. We knocked it out in just under 3. Being prepared helped with this.
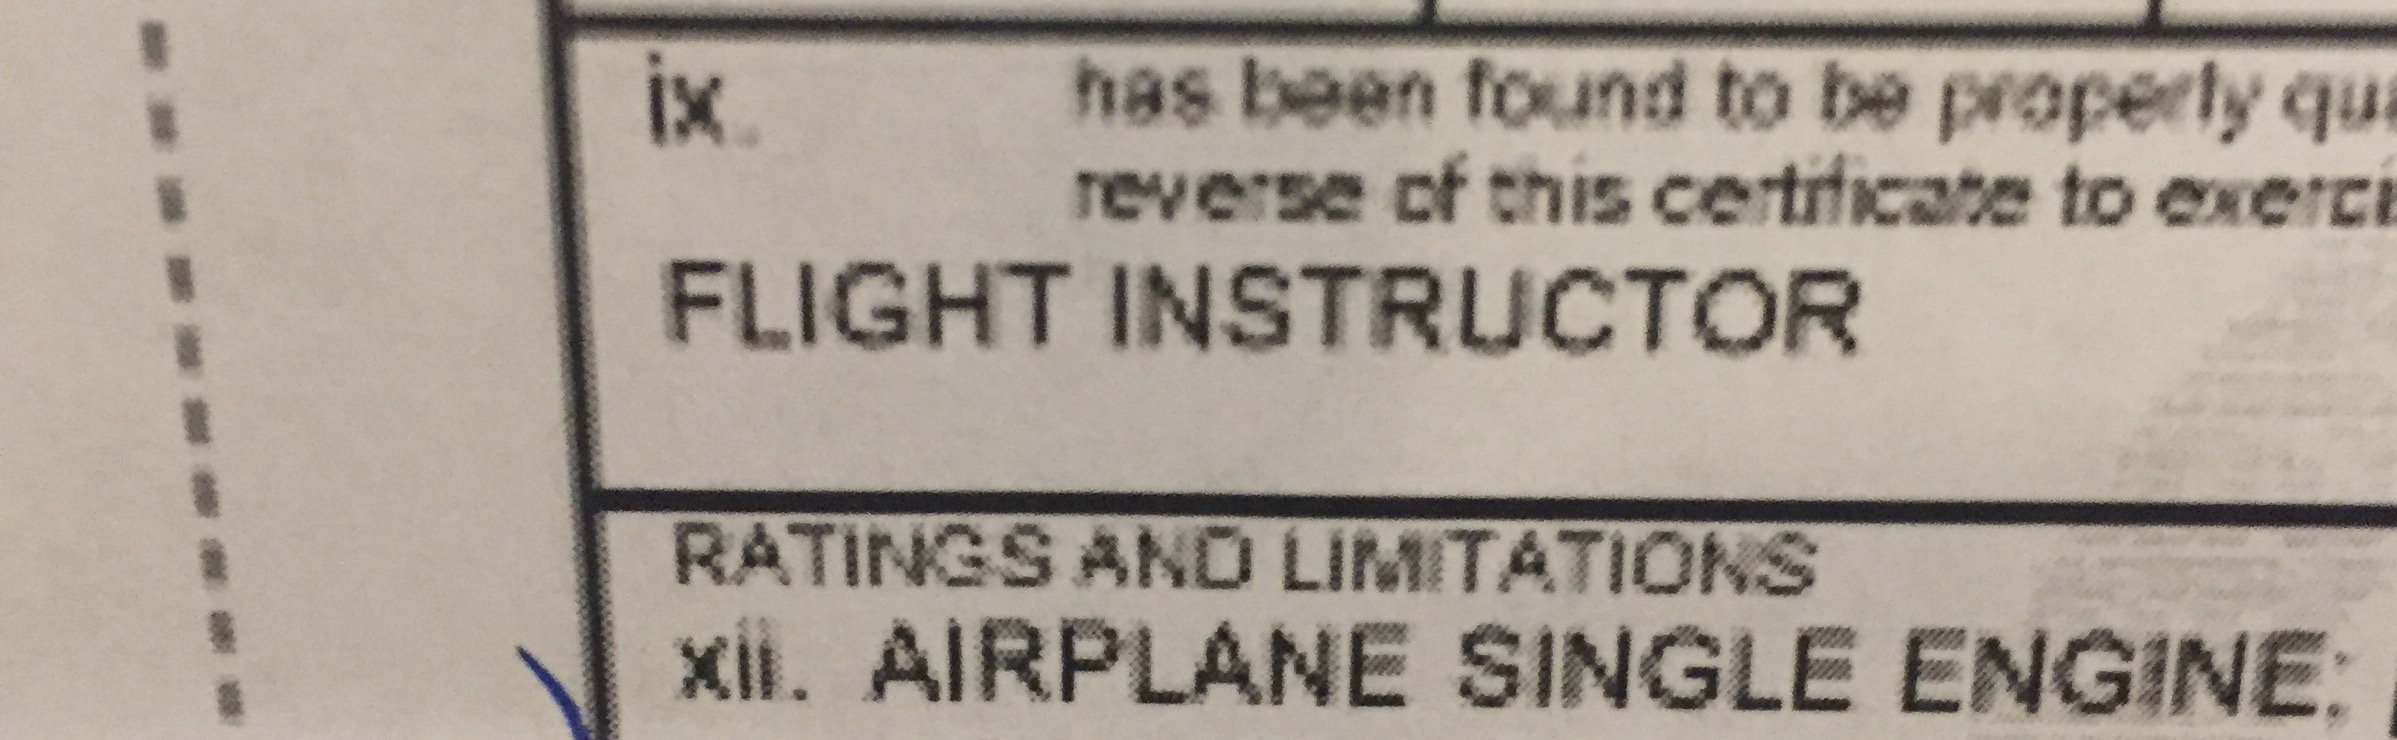
The flight portion is generally around 2 hours. Ours was completed in about 1.5 hours. I found it to be a lot of fun.
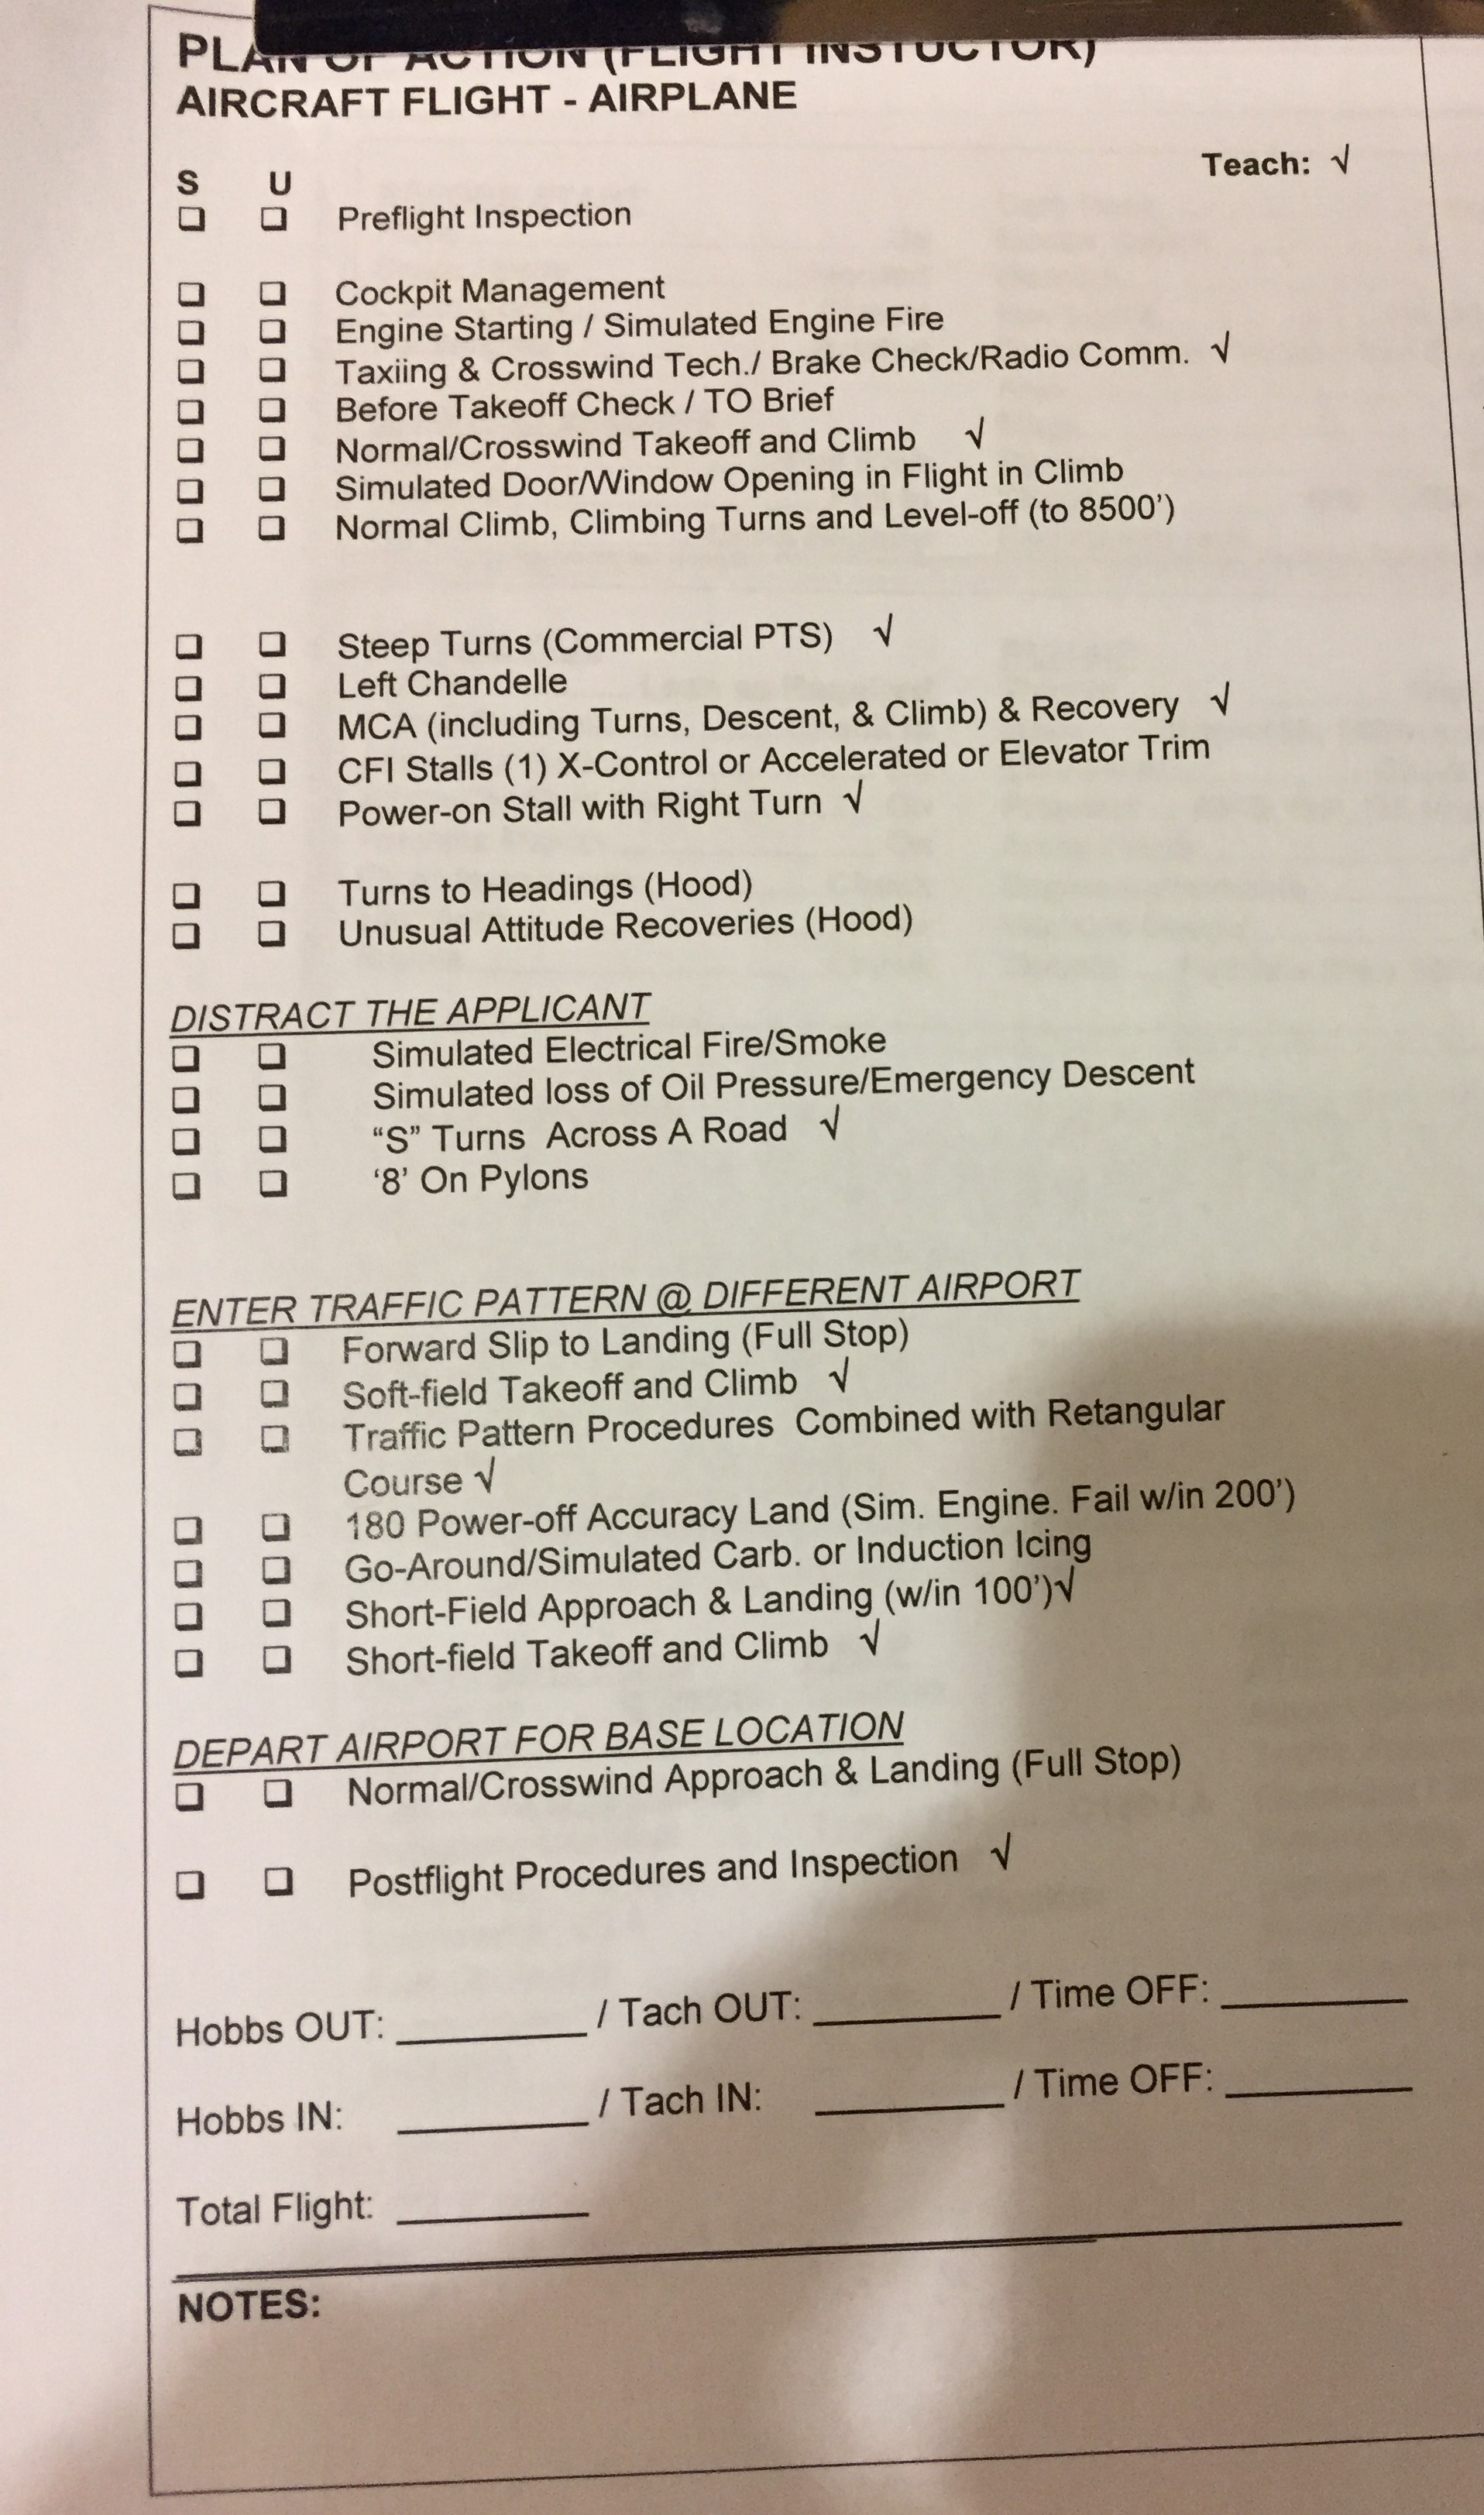
Having everything laid out prior to the Examiner arriving is key (in this case he was from the Reno FSDO)
Knowing your flight plan inside and out and teaching it was one of my assignments.